Clinician

Currently Offline
Posts: 42
Likes: 0
Joined: Dec 21, 2010 20:45:21 GMT -6
|
Post by blazef20 on Dec 23, 2010 22:57:58 GMT -6
ill check it tomorrow thanks alot. hopefully i can get this thing going  this is what its is in now |
|
|
|
Post by Alleyoop on Dec 23, 2010 23:15:29 GMT -6
Blazerf20,
Also make sure you have a good ground from the engine to the frame. Put a wire on a nice clean spot on one of the bolts on the frame and then the other end put it on one of the Valve Cover Bolts. If the engine has a bad ground that will cause bad spark plug missfireings and bad spark.
Alleyoop
|
|
Clinician
Currently Offline
Posts: 42
Likes: 0
Joined: Dec 21, 2010 20:45:21 GMT -6
|
Post by blazef20 on Dec 23, 2010 23:19:24 GMT -6
Im gonna go through the whole thing and do that actually i did notice some of the bolts were pretty rusty
|
|
|
|
Post by Bashan on Dec 24, 2010 6:42:37 GMT -6
Orange, red, or irregular spark is VERBOTTEN! That's usually the coil. I hate coils, they hide inside their little canisters gibbering and plotting against us. I've said this before and I'll say it again, they are all going to crawl up (that's how they get around with those little wires and caps) on the high tension lines and will rule the world! Honey, where's my aluminum hat? Bad coils can work for a while and then stop. They can make your scoot seem fine and then run terrible, or not at all. Swap out a new coil, wire, and cap. I use the orange ones because they go well with my aluminum hat and they seem to last longer. I think the red ones are a rip, don't waste your money. Also, as Alley said, check the connectors when you put on your new orange coil (they also go well with a lead hat, but they can cause neck problems). So not only should you put on a coil but closely inspect the two connectors on the wires running to it as well. Our good friend Mike Florek was nice enough to write up an article about changing out the el-cheapo Sino versions which got a couple responses from two weinies, You might as well read those too. I changed them on all of my scooters and it made a difference....thanks Mike! I'm going to move that article to the Archives where it might get a little more exposure, as it should. Rich
|
|
Clinician
Currently Offline
Posts: 42
Likes: 0
Joined: Dec 21, 2010 20:45:21 GMT -6
|
Post by blazef20 on Dec 24, 2010 6:55:28 GMT -6
ok, so i went out a couple hours later last night to see if it would start again and to my surprise it did. took a feww seconds but im pretty sure its because i use a pair of pliers to pinch the gas line while its not running. Yes i know, i have to get a fuel shutoff valve. As Bashan said, i have already changed my coil to the orange one. seems pretty good so im going to run with that for now. Im going to try changing my cdi back to the new one tonight. see what happens. well off to work.
|
|
|
|
Post by Alleyoop on Dec 25, 2010 19:25:34 GMT -6
Rich, You miss counted there were THREE weinies that responded to Mike's write up  Guys and Gals, we have to make an extra effort and try and help OUR CHIEF RICH out. He already has Bad Hands and Bad Knees and now he is looseing the ability to count to THREE ;D Alleyoop |
|
Clinician
Currently Offline
Posts: 42
Likes: 0
Joined: Dec 21, 2010 20:45:21 GMT -6
|
Post by blazef20 on Dec 25, 2010 20:49:32 GMT -6
At idle and low speeds its fine its when i give it the throttle it kinda bogs out and i can have the throttle all the way open and it still has no power sometimes it will crack and backfire. it does not get up to speed at all.if i keep feathering the throttle up i can get it to a certain speed(very low speed) then it dont matter like i said i can pull it all the way open and nothing
|
|
|
|
Post by Alleyoop on Dec 25, 2010 21:26:59 GMT -6
Blazef20,
If it backfires you are running way Lean and that is also why you have no power in the upper range of the throttle. Crank that Air/Fuel Mixture out Counter Clockwise at LEAST 3 turns and see if that helps. You may have to take the top of the Carb off and Raise the Needle. Most Carbs have a needle with FIVE notchs and the "C" clip is in the middle Notch. To Richen it you need to Raise the Needle so you move the CLIP down one notch at a time. To Lean it you need to Lower the Needle so you move the CLIP up one notch at a time.
Alleyoop
|
|
Clinician
Currently Offline
Posts: 42
Likes: 0
Joined: Dec 21, 2010 20:45:21 GMT -6
|
Post by blazef20 on Dec 25, 2010 22:24:42 GMT -6
cool cool ill check the mixture then if it dont help ill try that thanks alleyoop ill let yall know how it turns out
|
|
|
|
Post by Bashan on Dec 26, 2010 5:28:02 GMT -6
Rich, You miss counted there were THREE weinies that responded to Mike's write up |
|
Clinician
Currently Offline
Posts: 42
Likes: 0
Joined: Dec 21, 2010 20:45:21 GMT -6
|
Post by blazef20 on Dec 27, 2010 15:32:32 GMT -6
i checked the air fuel mix. and i dont see a c clip on my carb needle heres a pic of what is in mine 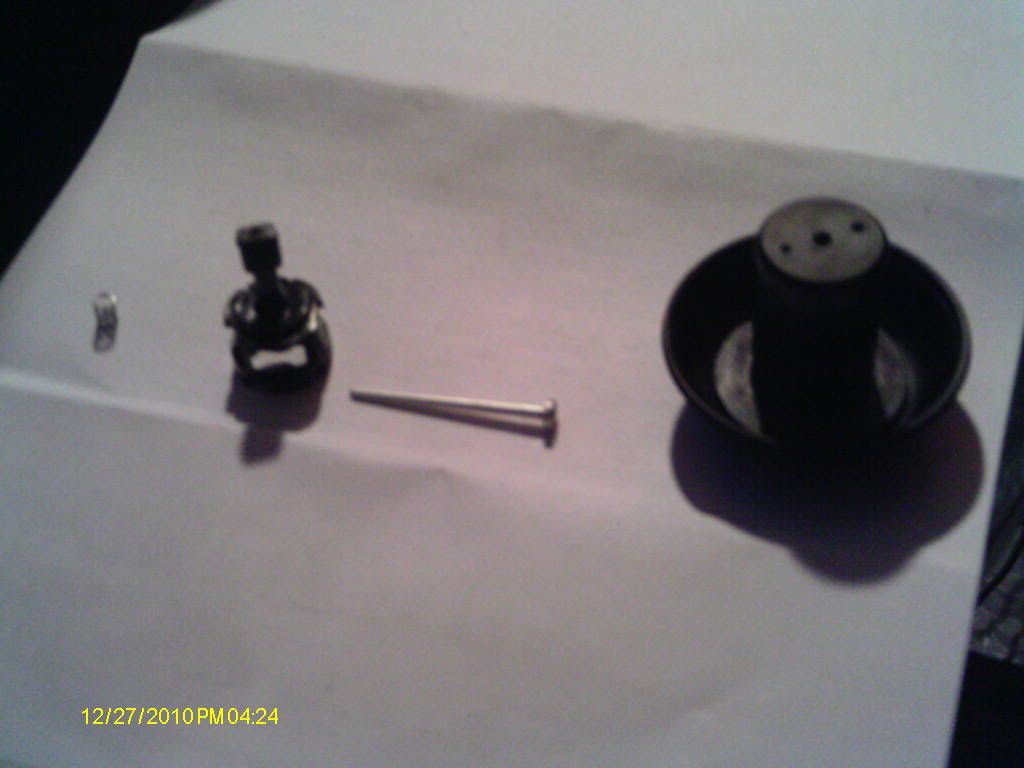 I also had a buddy stand behind me and he said there was flame coming out of the carb this cant b good what could it be? |
|
|
|
Post by Alleyoop on Dec 27, 2010 16:59:19 GMT -6
Flames coming out of the Carb is backfireing points more to TIMEING. Did you adjust the valves and adjusted them using the Cam Sprocket line up. The two little holes on the came sprocket lined up even with the top of the head and the big hole straight up like my picture below. You may have to rotate the Variator a few times to get it in that position but when you do then you can adjust BOTH valves, .004 the intake which is the top valve and .005 the Exhaust which is the bottom valve. What I do is take the CVT cover off and Turn the Variator Counter Clockwise and line the little holes in the Cam Sprocket even with the Top of the Head. If you go to far it will fill loose that means the Piston is Already on its way down. You want it TOP DEAD CENTER so just turn it easy and stop when they line up. When it is in that position you should be able to wiggle BOTH valves then adjust them. Alleyoop On yours to adjust the needle you will have to put a small washer to raise the needle up. Alleyoop  |
|
Clinician
Currently Offline
Posts: 42
Likes: 0
Joined: Dec 21, 2010 20:45:21 GMT -6
|
Post by blazef20 on Dec 27, 2010 17:55:04 GMT -6
im going to check the archives for info on the timing and valve adjustment thanks alley ill check in after figured out
|
|
Clinician
Currently Offline
Posts: 42
Likes: 0
Joined: Dec 21, 2010 20:45:21 GMT -6
|
Post by blazef20 on Dec 27, 2010 18:11:57 GMT -6
ok the valves seem pretty easy to do , i cant do crap right now, but the timing im having trouble with. i cant find anything in the archives , ill check again, but in the meantime any ideas
|
|
|
|
Post by Alleyoop on Dec 27, 2010 18:22:59 GMT -6
Blazef20, To make sure it is at least close to the correct timeing and it not WAY OFF. Take the Fan cover off so you can see the Timeing marks Here is a picture of mine. Now, when you get the CAM SPROCKET lined up like the picture the Timeing Mark should be close to the "T" Mark or right around the FIRST LINE BEFORE THE "T". Alleyoop  |
|


 ..BAD TO THE BONE..


