Post by glavey on Apr 17, 2015 17:10:04 GMT -6
I recently bought a (very) miniature laser engraver. I originally bought it from eBay, but the seller flaked and after two weeks he was no longer a registered user. I got my money back, went over to banggood.com, and bought this. At the time I bought it, it was on sale for $114. I opted to buy a shipping upgrade for $2 because I had already waited for 3 weeks for the other engraver and I was feeling quite impatient. At the same time I bought my mother an Easter present; a yellow silicone submarine tea infuser (she loves the Beatles).
It turns out that the upgrade on the shipping was rather pointless because both packages got to my house at exactly the same day. Oh well, it was only $2. The total shipping time was 21 days.
The package was the usual Chinese international parcel; a thin bag with the customs stickers on it with a 8x8x8 box in it. The engraver was rather well bubble-wrapped. Nothing was damaged.
The first thing I checked was how well, or rather if the laser module was attached (hot glued) to the former cd drive tray. As I expected, the mounting was loose. The laser module was coated with a paint that I knew hot glue would not stick well to, so I sanded off the back side of the module and proceeded to try and pry off the hot glue from the PCB on the drive tray.
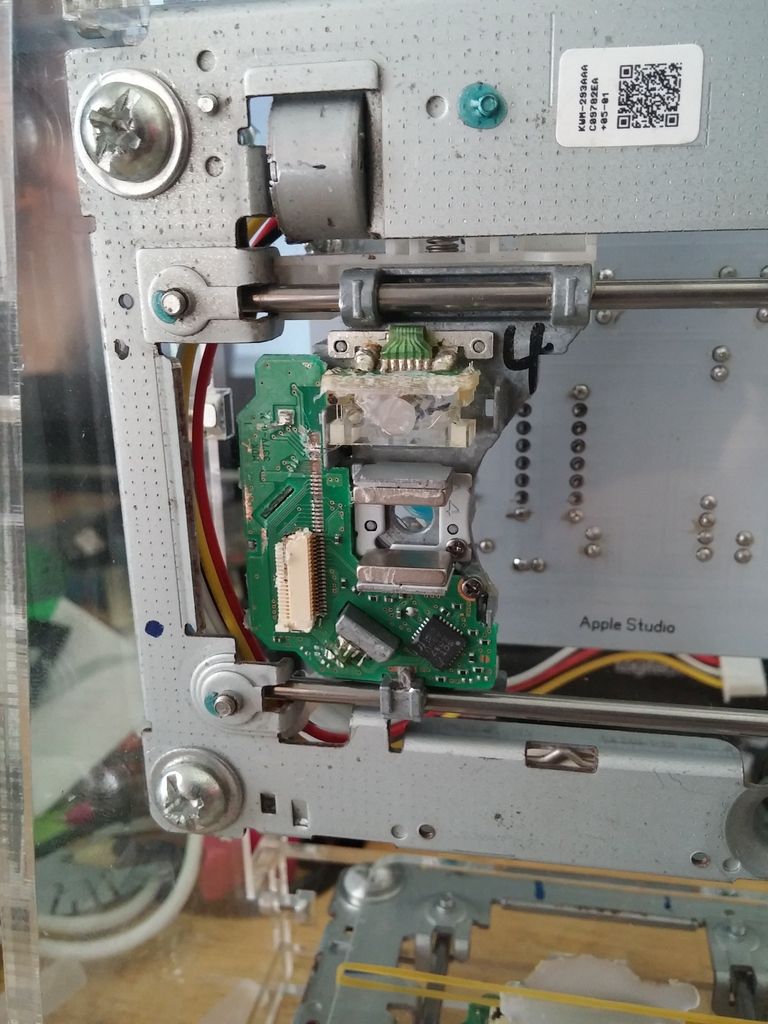
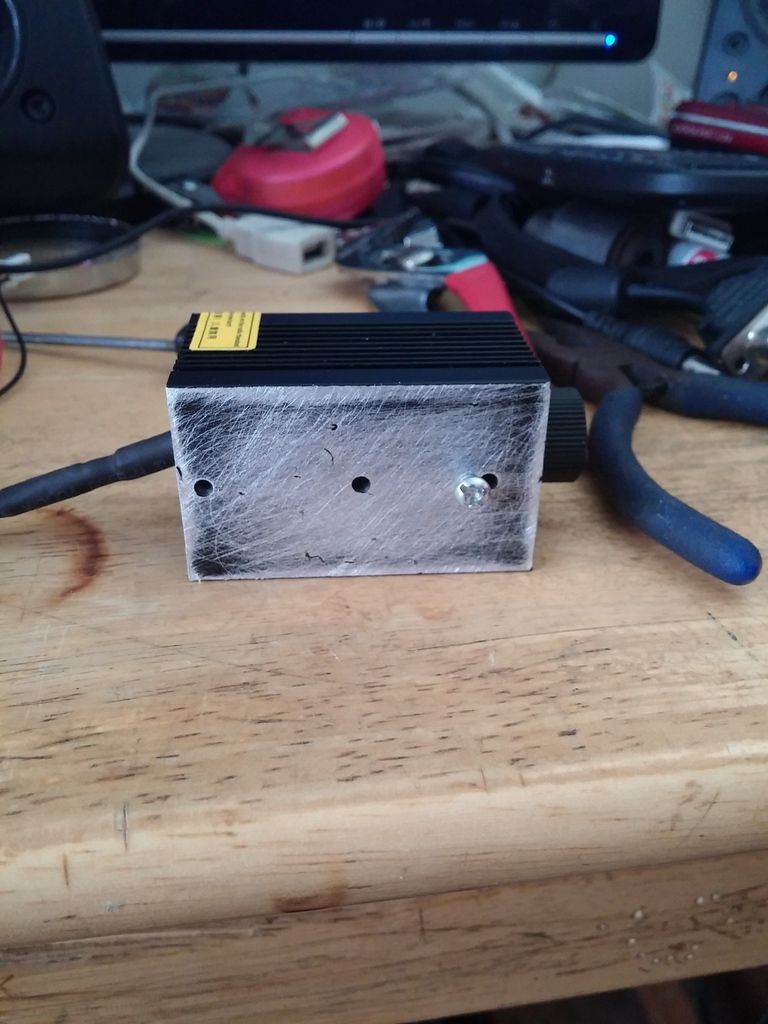
The screw in the back of the laser module helped hold the module in place against the magnets on the PCB while I re-glued it down. It only took one stick of glue to get the module really stuck in place. After I did that I saw online that someone had put a nut on the end of the screw, put the nut between the magnets and just used a piece of double-sided tape to hold their module in place. Doh! I was already done gluing so I just used what I had already done.

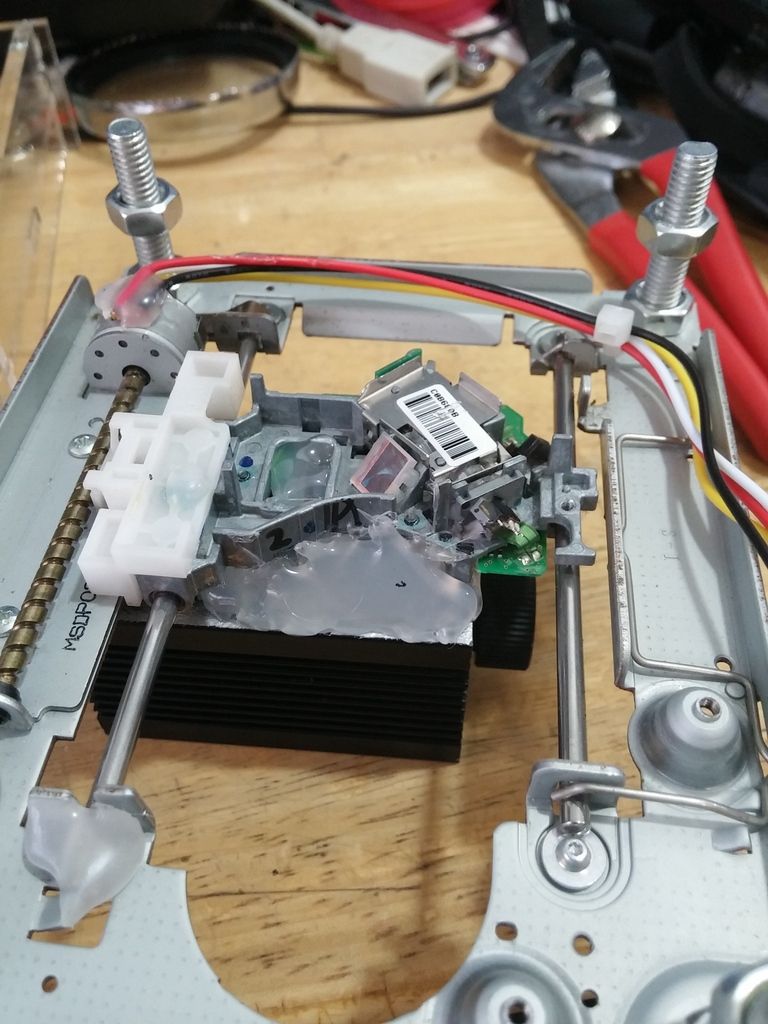
Yes, my desk is always that messy. The bottom tray had a piece of acrylic glued to it in the same way, but that was firmly attached, so I left it alone.

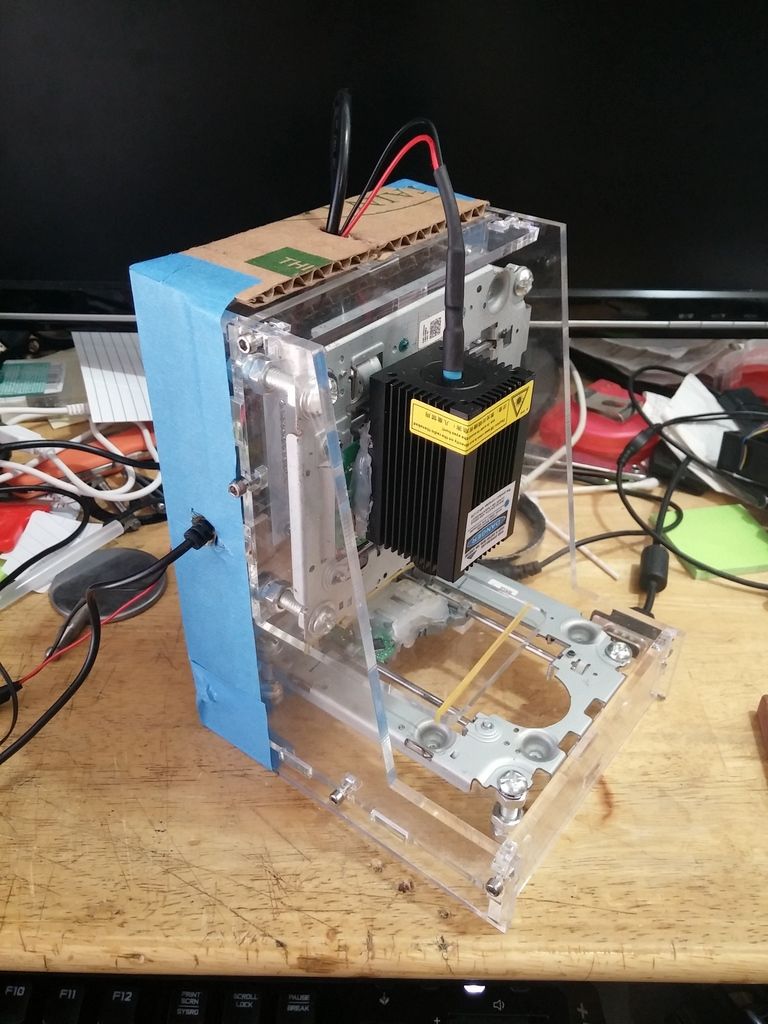
All together here it is, with the mandatory (and thankfully included) safety glasses.

Seriously, if you looked at the laser beam without those glasses, you would get some damage to your eyes, including partial loss of vision. This laser is rated at 300mW and is between 400nM and 450nM (blue to purplish). I don't have anyway to test its true power output, but after seeing it burn through a few mm of wood, I'm sure it is powerful enough to really frak your vision up. If you are wondering, the laser is listed as a class 3B device. From Wikipedia:
"A Class 3B laser is hazardous if the eye is exposed directly, but diffuse reflections such as those from paper or other matte surfaces are not harmful. The AEL for continuous lasers in the wavelength range from 315 nm to far infrared is 0.5 W. For pulsed lasers between 400 and 700 nm, the limit is 30 mJ. Other limits apply to other wavelengths and to ultrashort pulsed lasers. Protective eyewear is typically required where direct viewing of a class 3B laser beam may occur. Class-3B lasers must be equipped with a key switch and a safety interlock. Class 3B lasers are used inside CD and DVD writers, although the writer unit itself is class 1 because the laser light cannot leave the unit."
According to the part were it says "For pulsed lasers between 400 and 700 nm, the limit is 30 mJ." the laser module I have should be class 4. 1 milliwatt is equal to 1 millijoule/second, thus the laser I have is 10 times over the limit of class 3B.
The engraver came with a little piece of cardboard with a test image engraved onto it. I installed the software for the engraver (no software came with the engraver, you download it from a link on the product's webpage), focused the laser on the piece of cardboard, put on the safety glasses and engraved a second picture on the piece of cardboard.
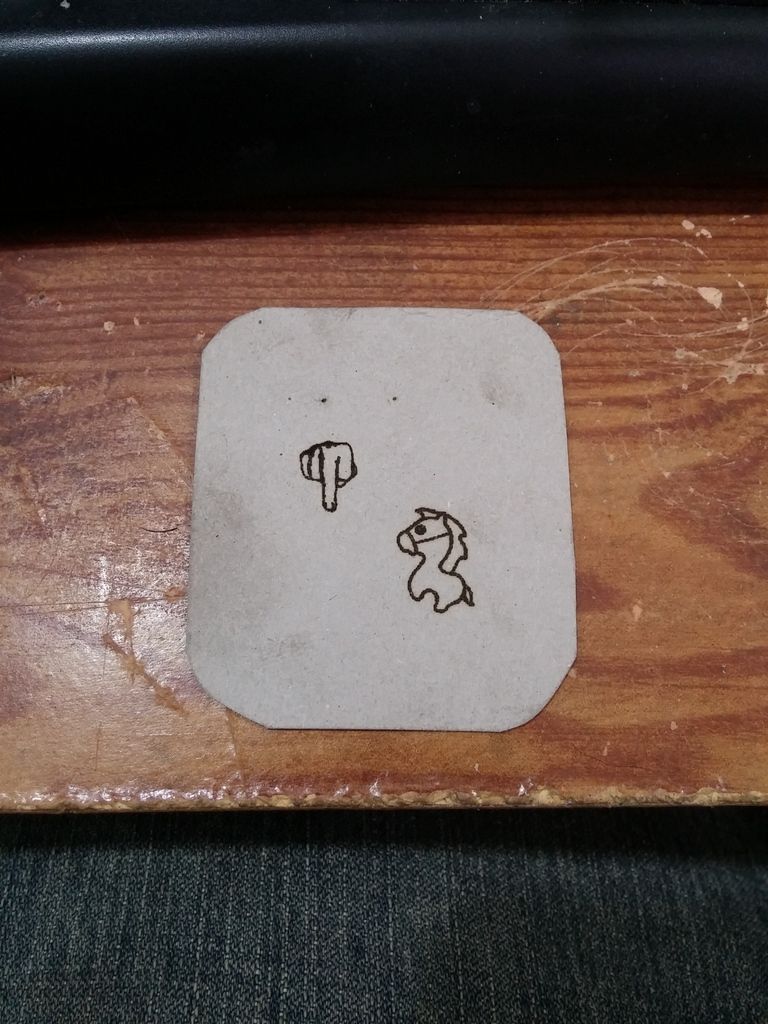
The software is closed-source which is not surprising. It is quite basic; you can move the X axis (the one with the laser glued to it) and the Y axis (the one with the piece of acrylic glued to it) back and forth about 5mm at at time. There isn't anything to tell either axis that is has reached its maximum travel distance (which is 38mm on both axes) so if you tell it to move further than that, it just pushes against the metal frame of the drive tray.
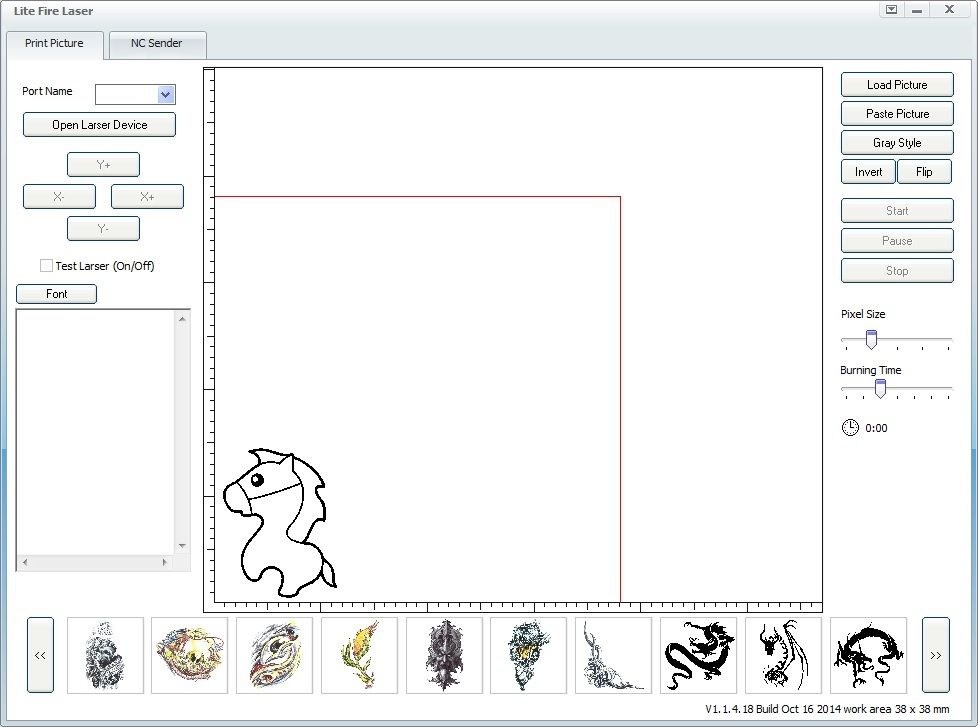
On the bottom you can select an image you want to engrave. The images are all in a folder called "logo" in the program's installation directory. You can delete all of the images that came with the program and add your own, which is what I immediately did.
On the right hand side of the program you can load an image from a different directory, paste an image you have in your clipboard, and choose from six different types of grayscaling (dithering, really) of your image if you don't want to just print the default threshold black-and-white image. You can also mirror and/or invert the image, useful if you are engraving a rubber stamp.
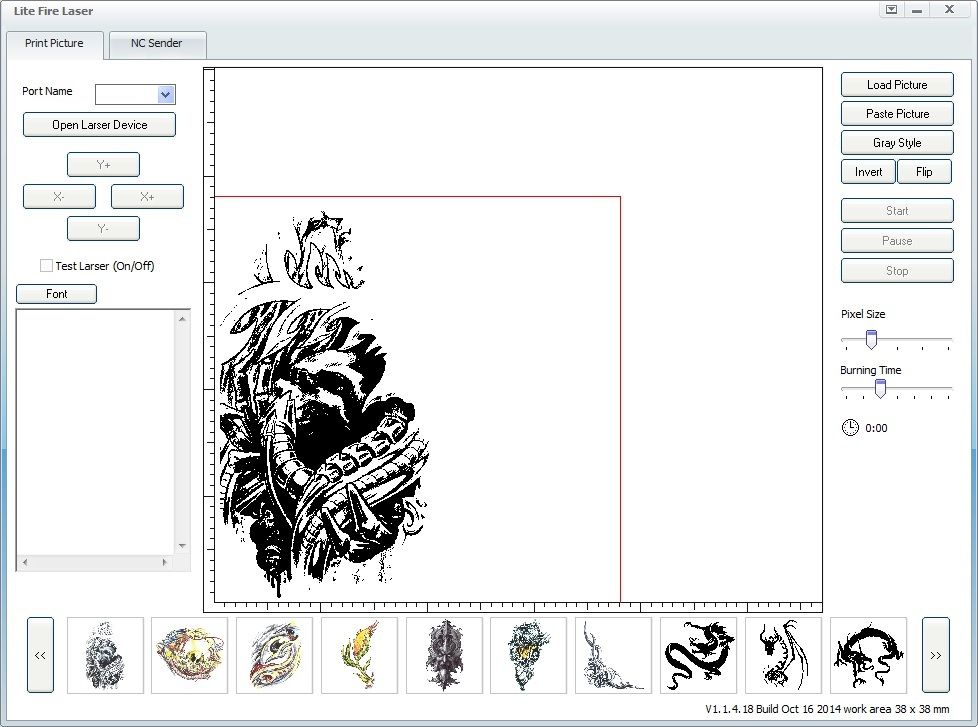
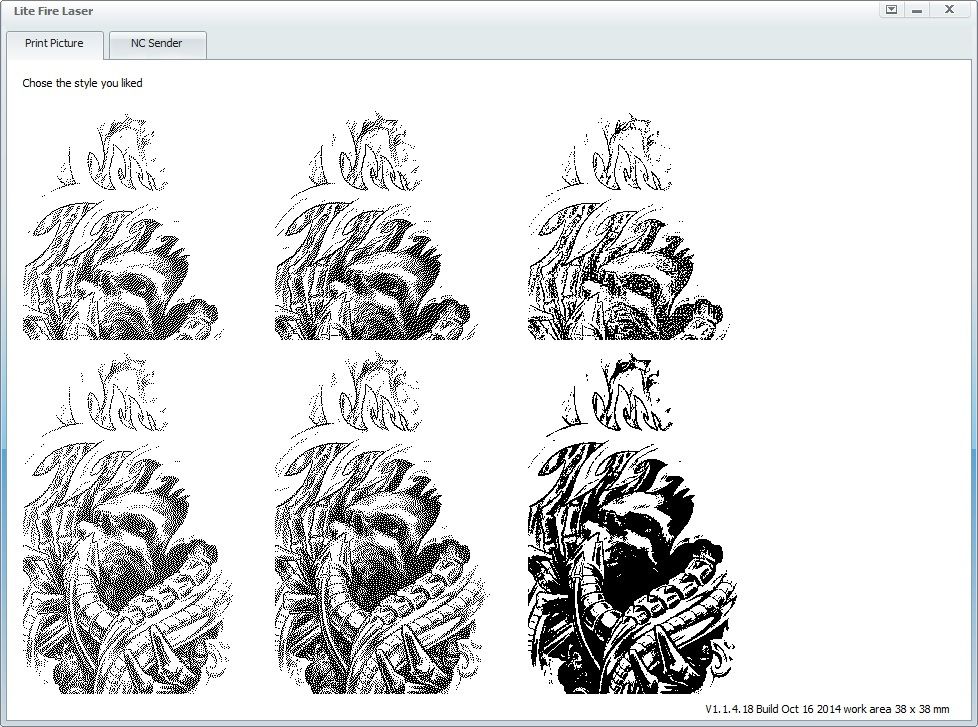
Where ever the laser is pointing when you click "start" is what the program will use as its origin point (0,0,0), so it is best to have it in the bottom left corner. Once the program has started, the engraver will move to the representative position of the nearest pixel and pulse the laser on and off once for every pixel going from left to right, bottom to top. You can adjust the length of the pulse by using the "Burning time" slider. It doesn't really adjust the pulse time that much, maybe from 1/10 second to 1/4 second.
I would like to show you the engraver in action, but that would require putting the safety glasses in front of the camera, which means no safety glasses for me. I'll see if I can find a video of it on youtube. While the engraver is in action, you will smell burning. Burning cardboard, paper, wood, leather, plastic, rubber, whatever you are engraving. There will also be smoke coming from the thing being burned. If you have a spare fan of any type or can provide any airflow over the item being engraved, do it. It will keep the smoke from discoloring the workpiece and from getting on the laser's lens.
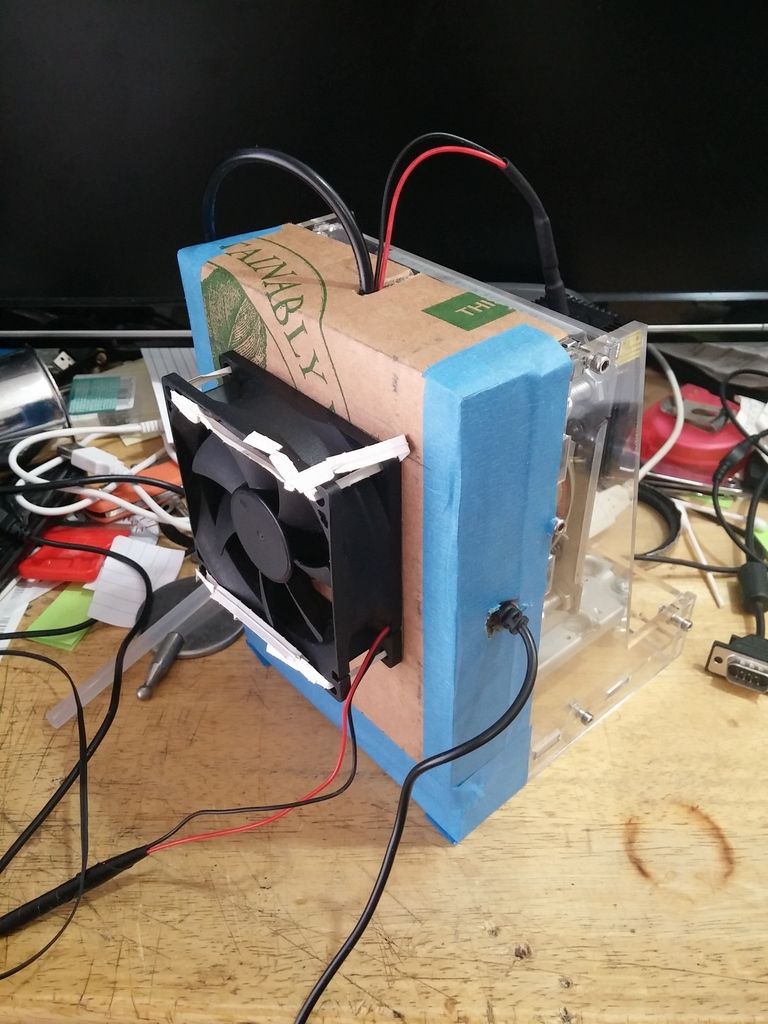
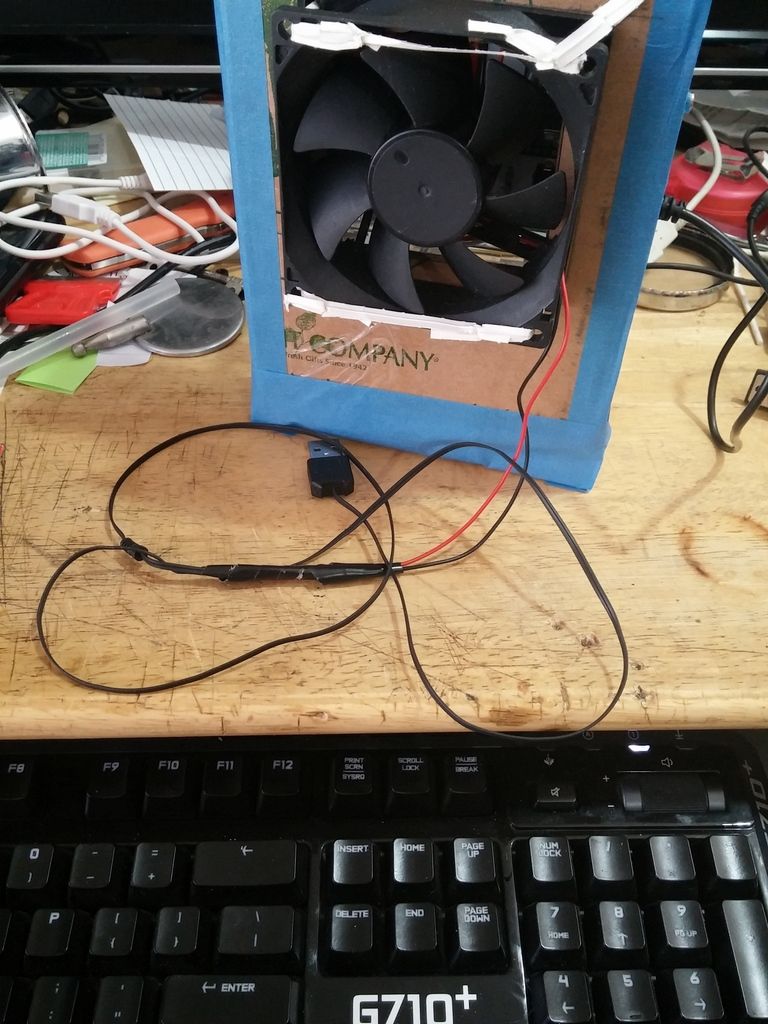
I fitted a computer case fan to the back of mine that blows air on the circuitry and then across the workpiece. It is a rather hacked-together modification, but it works. I am powering the fan from a usb cable I salvaged from a broken mouse. It spins at less than half its normal speed because the usb port only supplies 5 volts, normally case fans use 12 volts.
When the engraver is done, it will move back to the origin point. You can now inspect your (probably over-burned) workpiece. The burning time slider really doesn't allow you to pulse the laser fast enough to just barely burn the surface of what you are working on, at the fastest setting it burns what you want it to, plus all the adjacent pixels as well. If you want to have a good looking result you either need to lighten the image that you open with the program (that's what I did) or find a way to control the laser's power (that's what I want to do next).
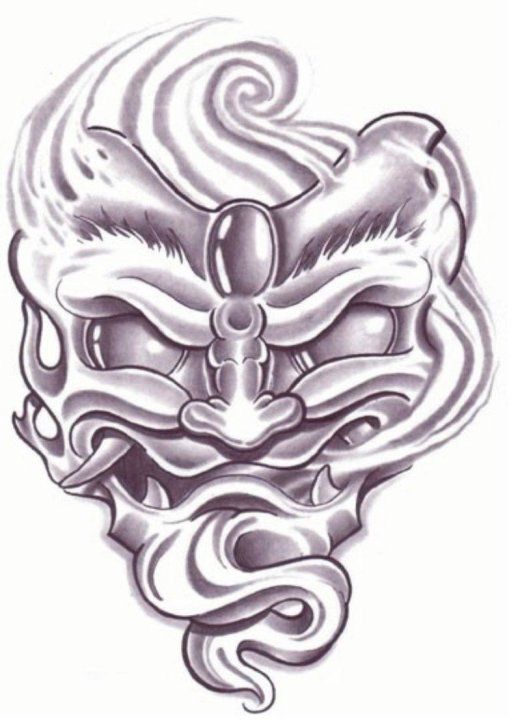
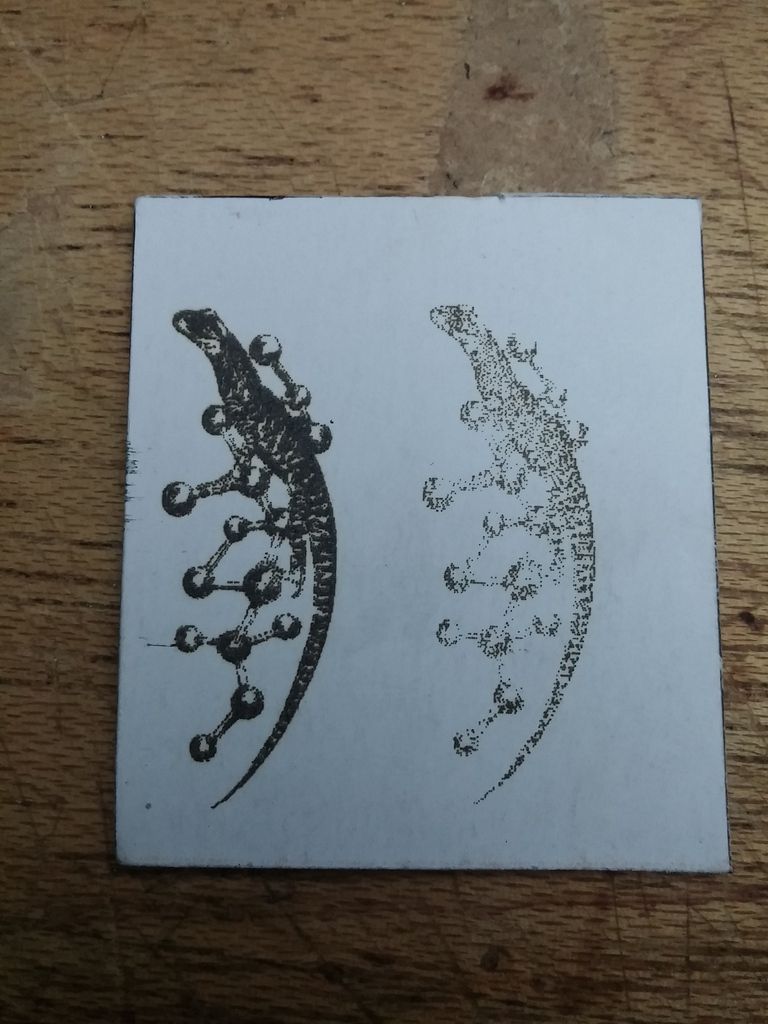
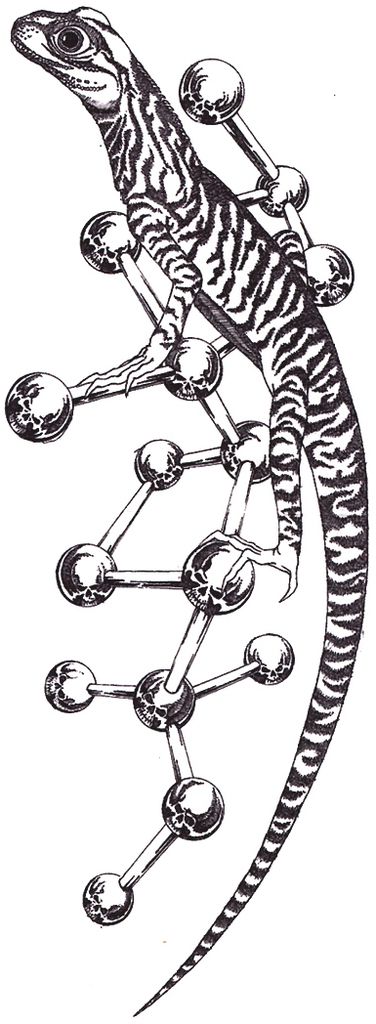
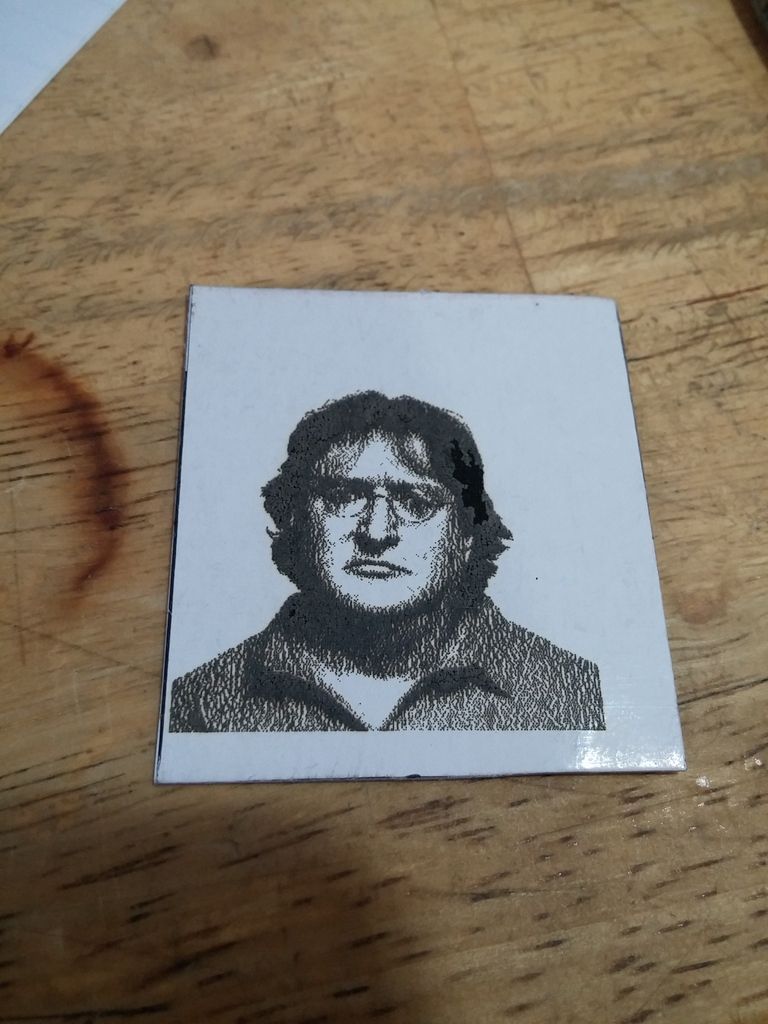
Here are a few of the test engravings I've done with their respective source pictures. As will probably be able to tell, I tend to like the flash/tattoo/skulls type stuff.
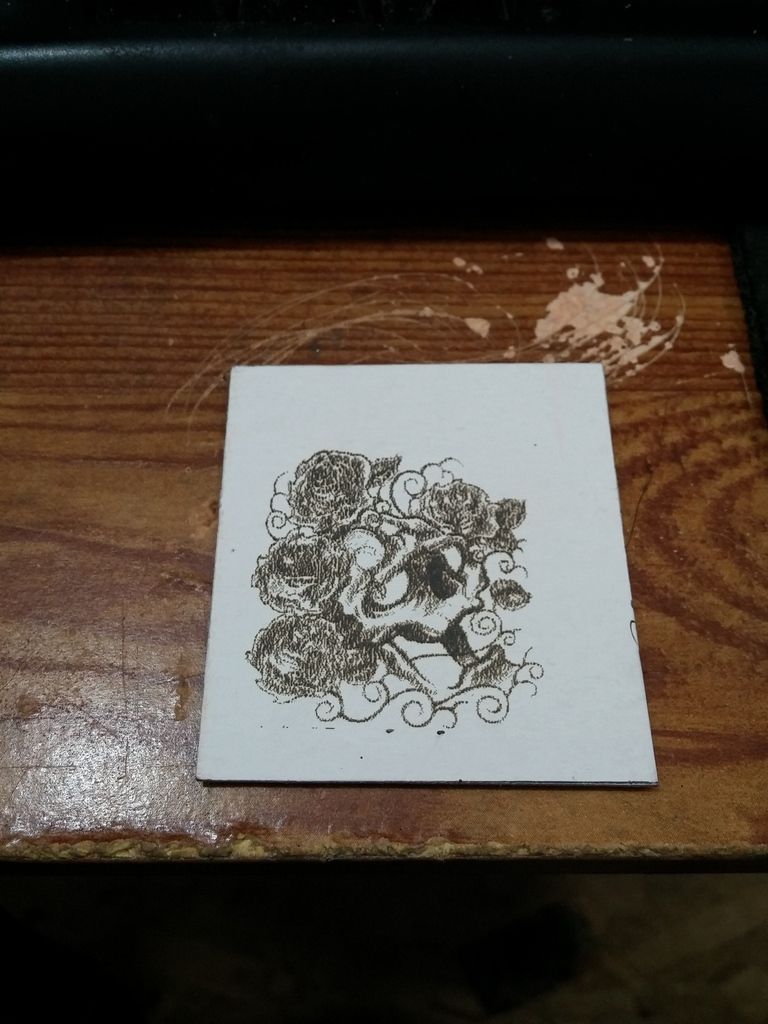

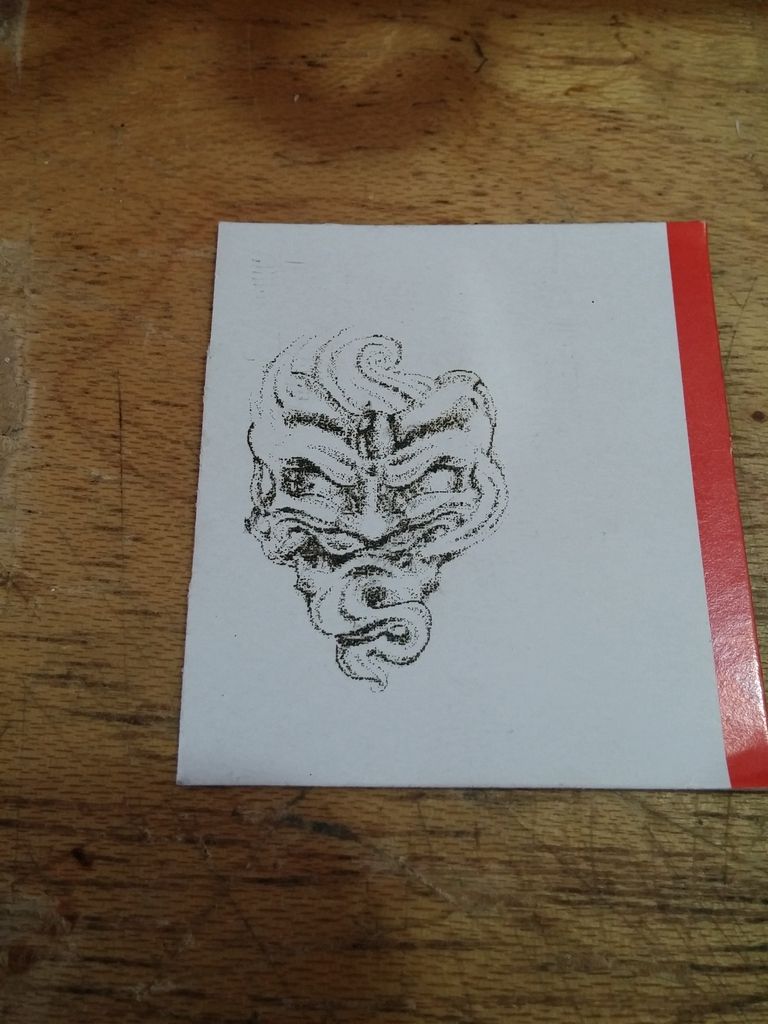
Here I was trying out two extremes of dark and light engraving, both look pretty bad:
If you know who this is, I like you.

The program also allows you to take an image, load it into a separate but include program and create a .nc file which will allow the laser to engrave continuously along a path, and not just pulse for every pixel. It is essentially a gcode file. Gcode is what many CNC machines, mills, lathes, engravers, and 3d printers use to guide the cutting or extruding of material.
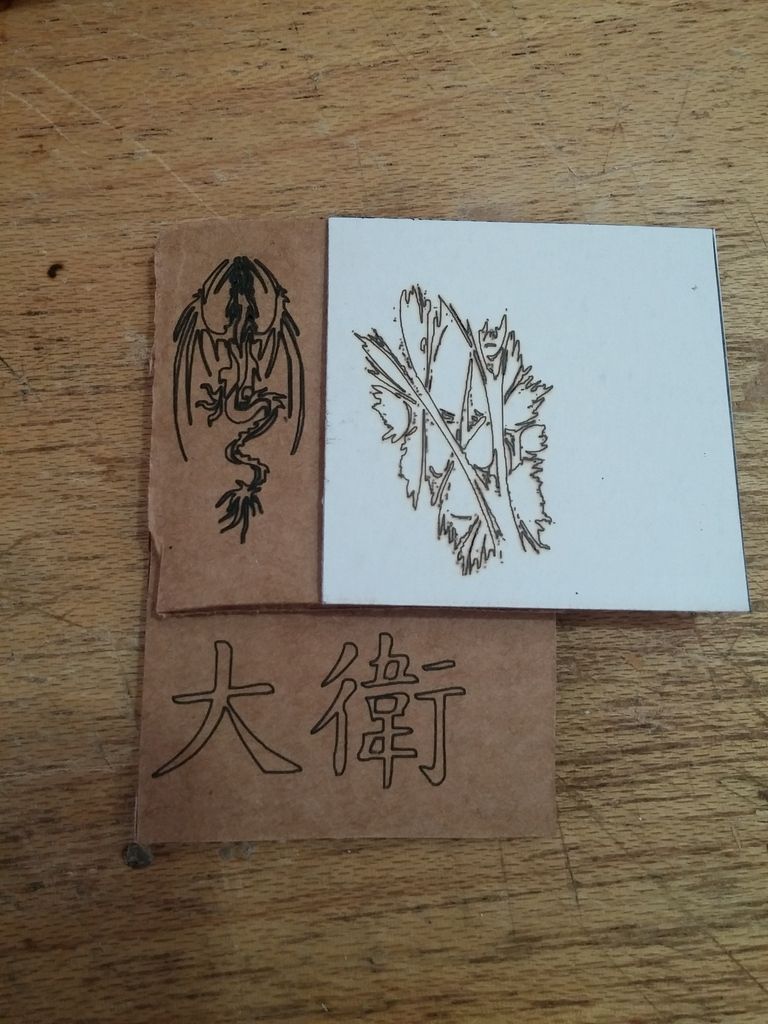

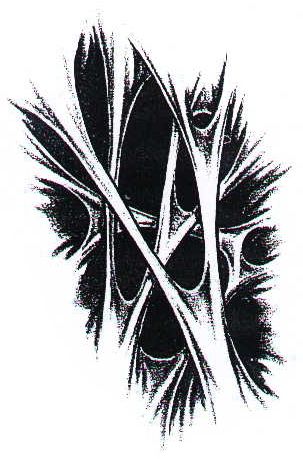
Those (I presume) Chinese characters are SUPPOSED to be my name, but for all I know, it could say shrimp spring roll.
The electronics that control the stepper motors in to drive trays are quite simple and relatively universal. The main processing on the engraver is done with a Chinese clone arduino pro mini, the steppers are controlled from two EasyDrivers, and the laser is switched with a ULN2003APC darlington transistor sink driver IC. With this circuitry, you could control a much larger engraver with bigger motors with very few modifications. The IC switching the laser can only switch 500mA, and the laser draws over 400mA, you would have to either put two chips in parallel or find a different IC to use a more powerful laser.
I traced and highlighted all of the PCB traces and pins (ok, I was bored).
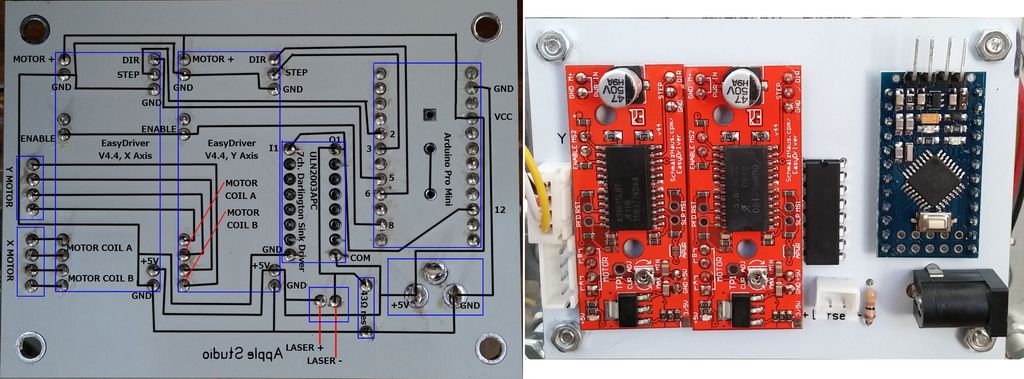
Although not specifically mentioned anywhere, the arduino is loaded with grbl v0.8, an open-source free software used to interpret gcode instructions into actual movement and action. This means you don't have to just use the software that came with the engraver, there is a slew of free and not-so-free programs that work with grbl. I've already tried a few and got all of them to work.
Now onto a little project I just finished involving this engraver. Mother's day is still a ways away, but I still wanted to make/do something for my mom, so I decided I would make her an engraved wood mother's day pendant.
I started by looking online for a suitable image. I found one, but it was watermarked. Luckily, with a little magic and perspiration I was able to get a useable image from it. I engraved a piece of cedar with the burning time slider at the halfway mark. Here are the results:
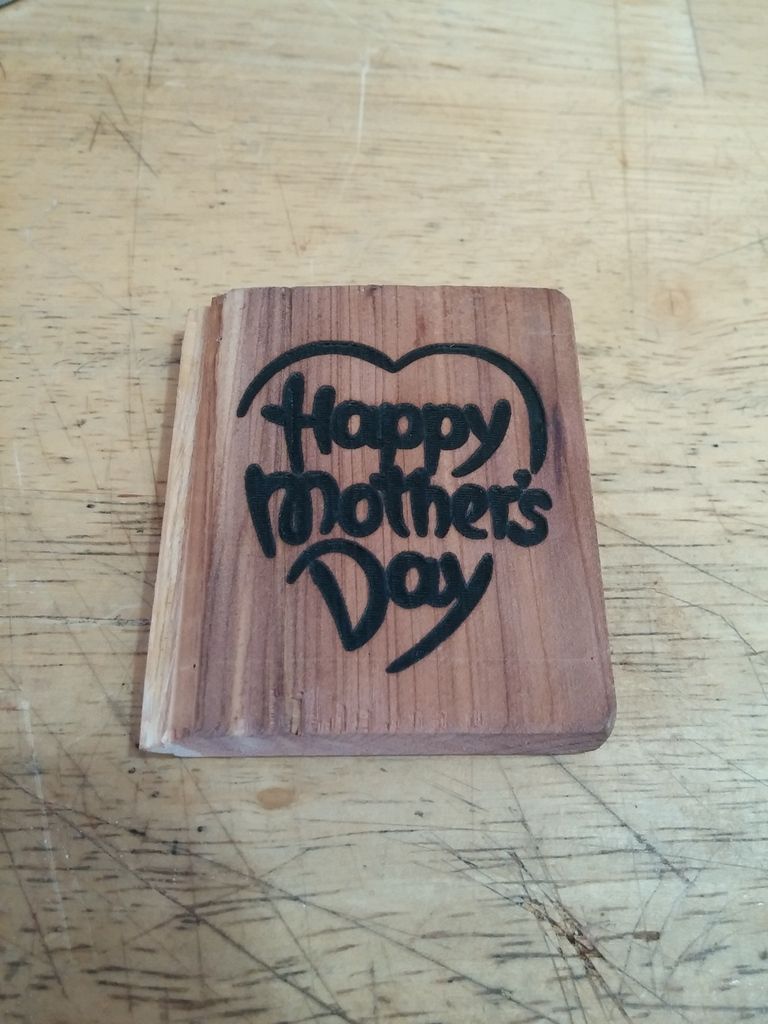
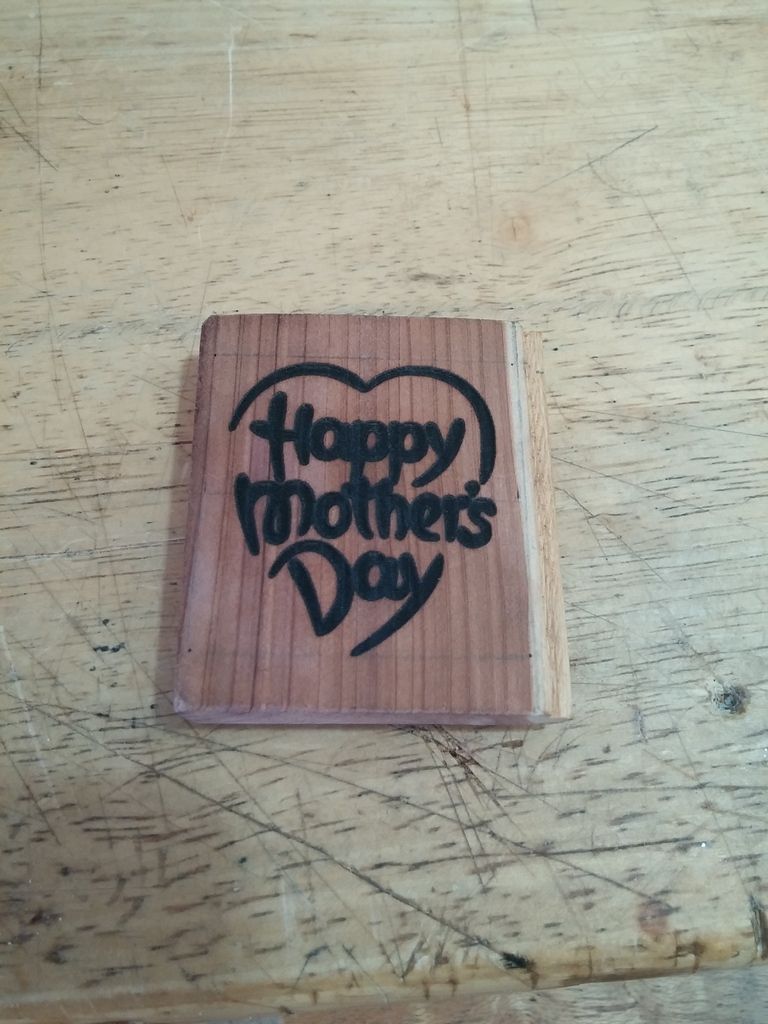
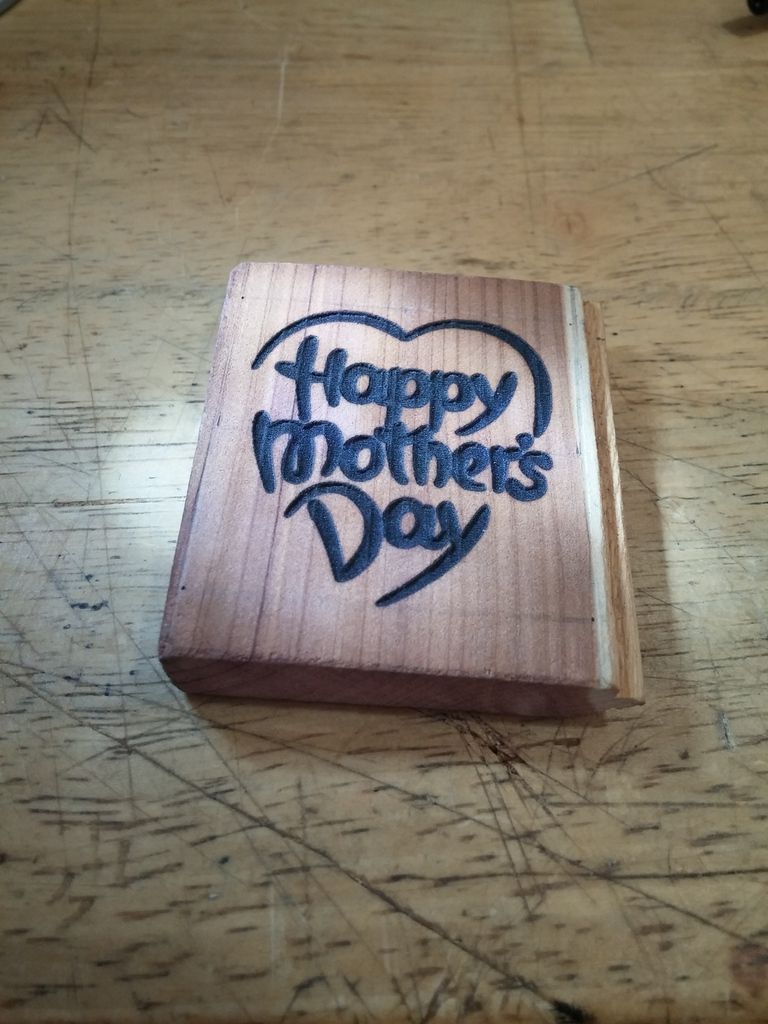
The engraver took out about 1.5mm - 2mm of wood. Impressive and a little scary. The image was quite high resolution so each side of the piece took 4 1/2 hours to engrave. Since the laser was being pulsed and not continuously on, the entire module barely got above ambient temperature.
Next I took the piece out to the garage and rounded the corners into a heart shape with filleted edges, then fished by hand-sanding it with 220 grit sandpaper and drilling a hole for a string or key chain to go through.
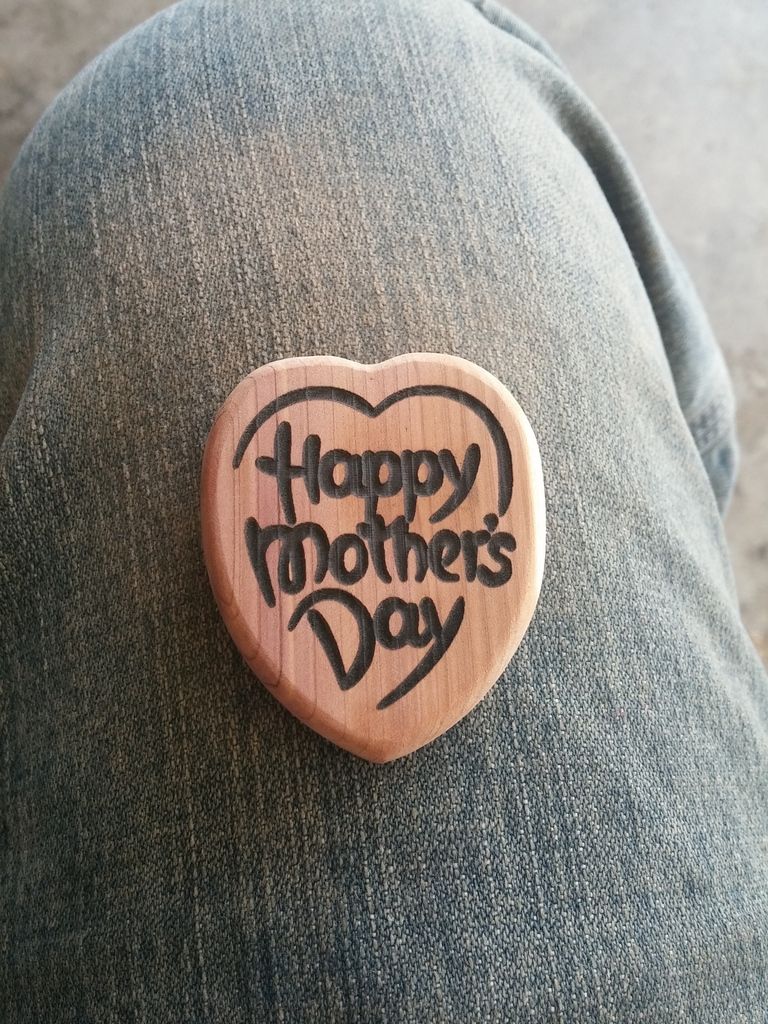
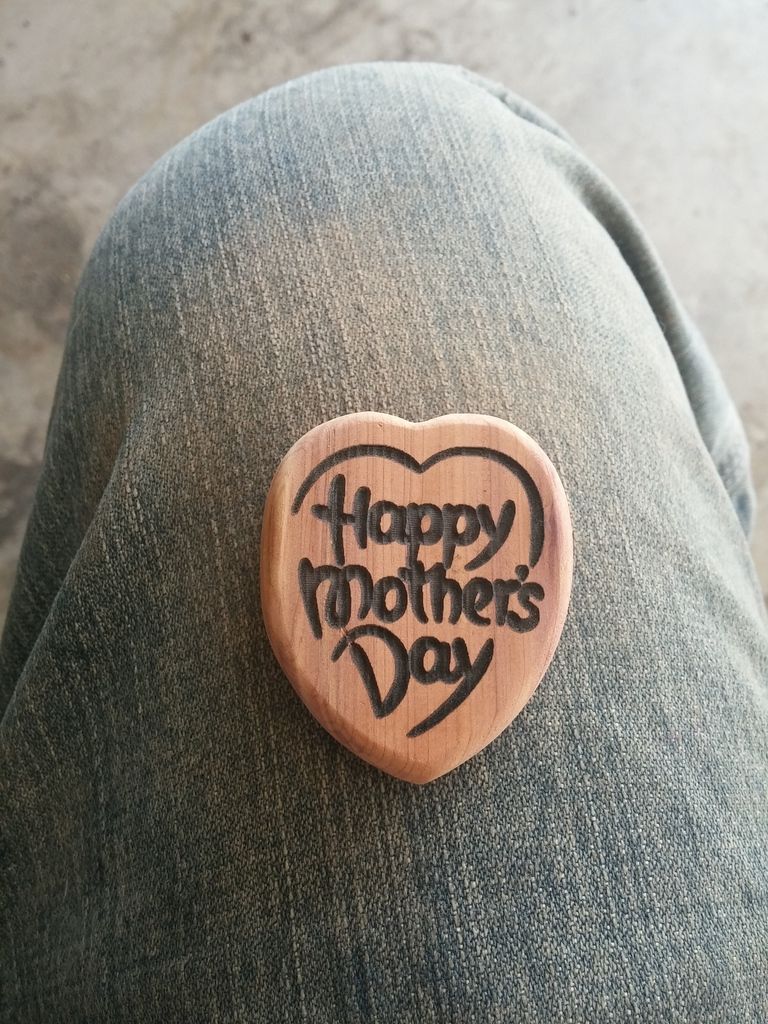
I'm terrible at keeping gifts from their intended recipients so I gave it to her today. Her reaction? She absolutely loved it.
All in all, I'm not at all disappointed with the engraver. It did need a little work before I even plugged it in the first time, but I expected that. The work area is very small, 38mm2, so don't expect to be able to do anything really extravagant with it. Also, note that this is a laser ENGRAVER not a laser CUTTER. It won't cut through wood, metal, thick leather, or thick cardboard. It will cut foam, rubber, paper, and light leather.
It turns out that the upgrade on the shipping was rather pointless because both packages got to my house at exactly the same day. Oh well, it was only $2. The total shipping time was 21 days.
The package was the usual Chinese international parcel; a thin bag with the customs stickers on it with a 8x8x8 box in it. The engraver was rather well bubble-wrapped. Nothing was damaged.
The first thing I checked was how well, or rather if the laser module was attached (hot glued) to the former cd drive tray. As I expected, the mounting was loose. The laser module was coated with a paint that I knew hot glue would not stick well to, so I sanded off the back side of the module and proceeded to try and pry off the hot glue from the PCB on the drive tray.


The screw in the back of the laser module helped hold the module in place against the magnets on the PCB while I re-glued it down. It only took one stick of glue to get the module really stuck in place. After I did that I saw online that someone had put a nut on the end of the screw, put the nut between the magnets and just used a piece of double-sided tape to hold their module in place. Doh! I was already done gluing so I just used what I had already done.


Yes, my desk is always that messy. The bottom tray had a piece of acrylic glued to it in the same way, but that was firmly attached, so I left it alone.

All together here it is, with the mandatory (and thankfully included) safety glasses.

Seriously, if you looked at the laser beam without those glasses, you would get some damage to your eyes, including partial loss of vision. This laser is rated at 300mW and is between 400nM and 450nM (blue to purplish). I don't have anyway to test its true power output, but after seeing it burn through a few mm of wood, I'm sure it is powerful enough to really frak your vision up. If you are wondering, the laser is listed as a class 3B device. From Wikipedia:
"A Class 3B laser is hazardous if the eye is exposed directly, but diffuse reflections such as those from paper or other matte surfaces are not harmful. The AEL for continuous lasers in the wavelength range from 315 nm to far infrared is 0.5 W. For pulsed lasers between 400 and 700 nm, the limit is 30 mJ. Other limits apply to other wavelengths and to ultrashort pulsed lasers. Protective eyewear is typically required where direct viewing of a class 3B laser beam may occur. Class-3B lasers must be equipped with a key switch and a safety interlock. Class 3B lasers are used inside CD and DVD writers, although the writer unit itself is class 1 because the laser light cannot leave the unit."
According to the part were it says "For pulsed lasers between 400 and 700 nm, the limit is 30 mJ." the laser module I have should be class 4. 1 milliwatt is equal to 1 millijoule/second, thus the laser I have is 10 times over the limit of class 3B.
The engraver came with a little piece of cardboard with a test image engraved onto it. I installed the software for the engraver (no software came with the engraver, you download it from a link on the product's webpage), focused the laser on the piece of cardboard, put on the safety glasses and engraved a second picture on the piece of cardboard.

The software is closed-source which is not surprising. It is quite basic; you can move the X axis (the one with the laser glued to it) and the Y axis (the one with the piece of acrylic glued to it) back and forth about 5mm at at time. There isn't anything to tell either axis that is has reached its maximum travel distance (which is 38mm on both axes) so if you tell it to move further than that, it just pushes against the metal frame of the drive tray.

On the bottom you can select an image you want to engrave. The images are all in a folder called "logo" in the program's installation directory. You can delete all of the images that came with the program and add your own, which is what I immediately did.
On the right hand side of the program you can load an image from a different directory, paste an image you have in your clipboard, and choose from six different types of grayscaling (dithering, really) of your image if you don't want to just print the default threshold black-and-white image. You can also mirror and/or invert the image, useful if you are engraving a rubber stamp.


Where ever the laser is pointing when you click "start" is what the program will use as its origin point (0,0,0), so it is best to have it in the bottom left corner. Once the program has started, the engraver will move to the representative position of the nearest pixel and pulse the laser on and off once for every pixel going from left to right, bottom to top. You can adjust the length of the pulse by using the "Burning time" slider. It doesn't really adjust the pulse time that much, maybe from 1/10 second to 1/4 second.
I would like to show you the engraver in action, but that would require putting the safety glasses in front of the camera, which means no safety glasses for me. I'll see if I can find a video of it on youtube. While the engraver is in action, you will smell burning. Burning cardboard, paper, wood, leather, plastic, rubber, whatever you are engraving. There will also be smoke coming from the thing being burned. If you have a spare fan of any type or can provide any airflow over the item being engraved, do it. It will keep the smoke from discoloring the workpiece and from getting on the laser's lens.
I fitted a computer case fan to the back of mine that blows air on the circuitry and then across the workpiece. It is a rather hacked-together modification, but it works. I am powering the fan from a usb cable I salvaged from a broken mouse. It spins at less than half its normal speed because the usb port only supplies 5 volts, normally case fans use 12 volts.


When the engraver is done, it will move back to the origin point. You can now inspect your (probably over-burned) workpiece. The burning time slider really doesn't allow you to pulse the laser fast enough to just barely burn the surface of what you are working on, at the fastest setting it burns what you want it to, plus all the adjacent pixels as well. If you want to have a good looking result you either need to lighten the image that you open with the program (that's what I did) or find a way to control the laser's power (that's what I want to do next).
Here are a few of the test engravings I've done with their respective source pictures. As will probably be able to tell, I tend to like the flash/tattoo/skulls type stuff.


Here I was trying out two extremes of dark and light engraving, both look pretty bad:


If you know who this is, I like you.


The program also allows you to take an image, load it into a separate but include program and create a .nc file which will allow the laser to engrave continuously along a path, and not just pulse for every pixel. It is essentially a gcode file. Gcode is what many CNC machines, mills, lathes, engravers, and 3d printers use to guide the cutting or extruding of material.


Those (I presume) Chinese characters are SUPPOSED to be my name, but for all I know, it could say shrimp spring roll.
The electronics that control the stepper motors in to drive trays are quite simple and relatively universal. The main processing on the engraver is done with a Chinese clone arduino pro mini, the steppers are controlled from two EasyDrivers, and the laser is switched with a ULN2003APC darlington transistor sink driver IC. With this circuitry, you could control a much larger engraver with bigger motors with very few modifications. The IC switching the laser can only switch 500mA, and the laser draws over 400mA, you would have to either put two chips in parallel or find a different IC to use a more powerful laser.
I traced and highlighted all of the PCB traces and pins (ok, I was bored).

Although not specifically mentioned anywhere, the arduino is loaded with grbl v0.8, an open-source free software used to interpret gcode instructions into actual movement and action. This means you don't have to just use the software that came with the engraver, there is a slew of free and not-so-free programs that work with grbl. I've already tried a few and got all of them to work.
Now onto a little project I just finished involving this engraver. Mother's day is still a ways away, but I still wanted to make/do something for my mom, so I decided I would make her an engraved wood mother's day pendant.
I started by looking online for a suitable image. I found one, but it was watermarked. Luckily, with a little magic and perspiration I was able to get a useable image from it. I engraved a piece of cedar with the burning time slider at the halfway mark. Here are the results:


The engraver took out about 1.5mm - 2mm of wood. Impressive and a little scary. The image was quite high resolution so each side of the piece took 4 1/2 hours to engrave. Since the laser was being pulsed and not continuously on, the entire module barely got above ambient temperature.
Next I took the piece out to the garage and rounded the corners into a heart shape with filleted edges, then fished by hand-sanding it with 220 grit sandpaper and drilling a hole for a string or key chain to go through.


I'm terrible at keeping gifts from their intended recipients so I gave it to her today. Her reaction? She absolutely loved it.
All in all, I'm not at all disappointed with the engraver. It did need a little work before I even plugged it in the first time, but I expected that. The work area is very small, 38mm2, so don't expect to be able to do anything really extravagant with it. Also, note that this is a laser ENGRAVER not a laser CUTTER. It won't cut through wood, metal, thick leather, or thick cardboard. It will cut foam, rubber, paper, and light leather.


