Scooter Doc
   
Currently Offline
Vstar 650 Classic
Posts: 675
Likes: 3
Joined: Apr 24, 2010 19:43:21 GMT -6
|
Tunnel Bag
by: damin69 - Jun 20, 2010 17:45:40 GMT -6
Post by damin69 on Jun 20, 2010 17:45:40 GMT -6
Ok Here are the pieces to the Tunnel bag. Bag 12 in McGuire soft tool bag. I picked up at Menards for $2.99 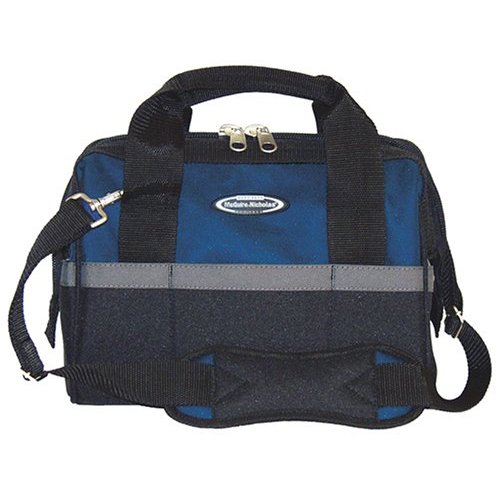 This is from Amazon same bag. www.amazon.com/McGuire-Nicholas-22312-Builders-Combination/dp/B00002N7XA/ref=sr_1_1?ie=UTF8&s=hi&qid=1277074412&sr=1-1Then I picked up 1/2" Grommet Kit. Local hardware store $9.99  At Amazon www.amazon.com/General-Tools-71264-12PC-Grommet/dp/B000T2SGLOThe straps I used. 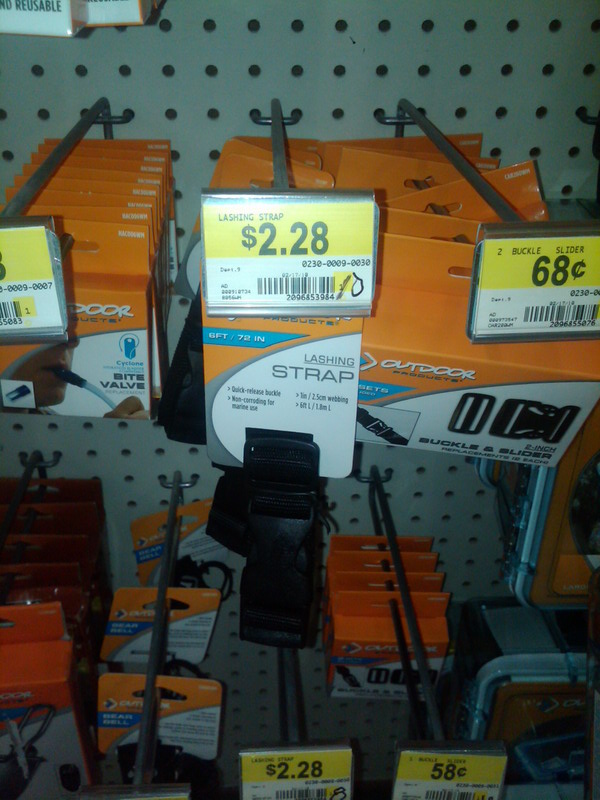 The extra buckles for the other end of the straps. 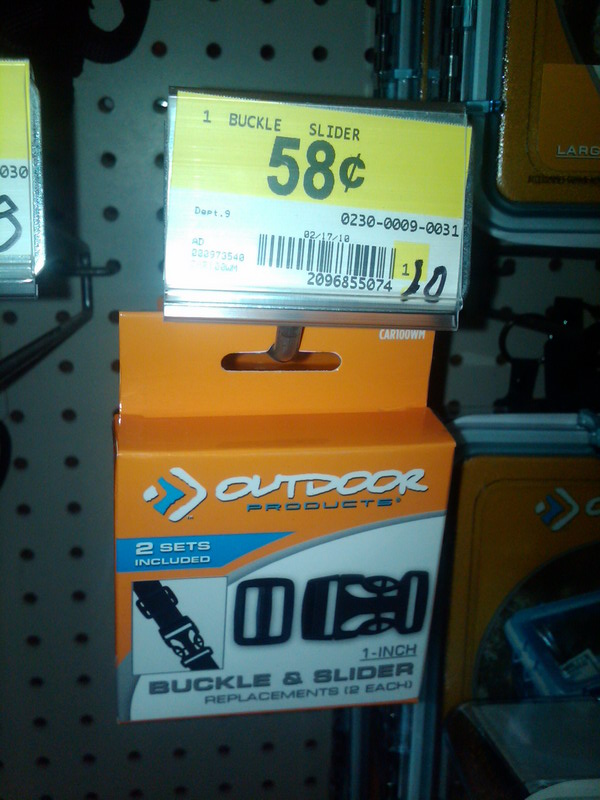 Heavy Duty D-Rings bought at Local hardware store about $4.50 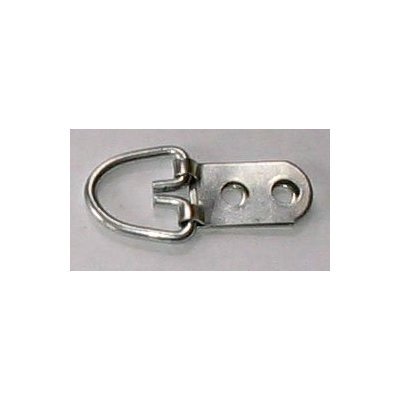 Link at Amazon www.amazon.com/EXTRA-Triangle-Picture-Hanger-screws/dp/B000OMMI9UFirst I started by installing 1/2" grommets in 4 corners of bag about 1" in from ends and about 1/2" up from bottom of bag. Then mounted one end of the buckle on piece about 4" strap looped through one half of the buckle and secured to the tunnel with Heavy Duty D-Ring. This leaves you the ability to snug up the bag on each end. (Also the use of the D-Rings was not just for mounting the bag they were installed for when I am not using bag I can use them to strap items down across the Tunnel.) This also make the bag very easy to remove for fueling. I then ran the remaining strap through the 1/2" grommets in the bag and put the other end of the buckles on the ends. This bag gives you lots of extra room which is needed on the YY250T as the 244cc takes up so much under the seat there is very little room for storage. About the only thing I have under the seat is extra battery and tools. 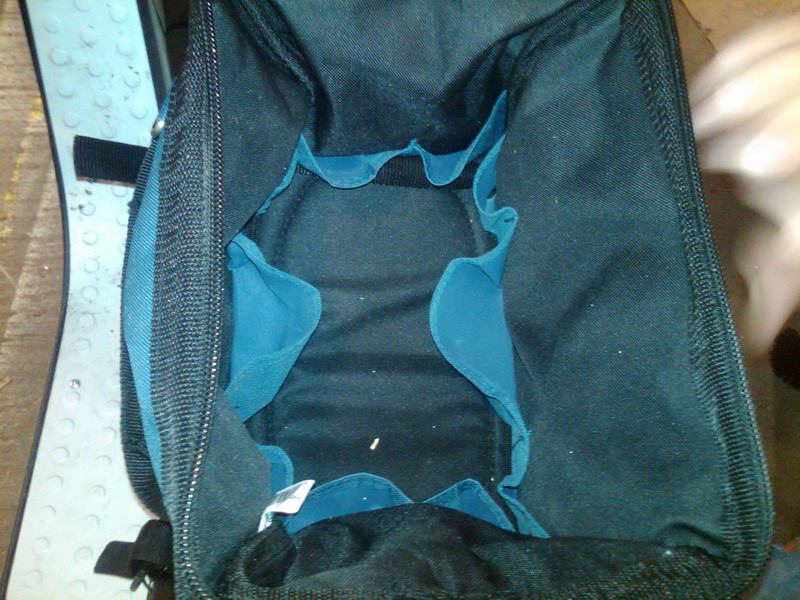 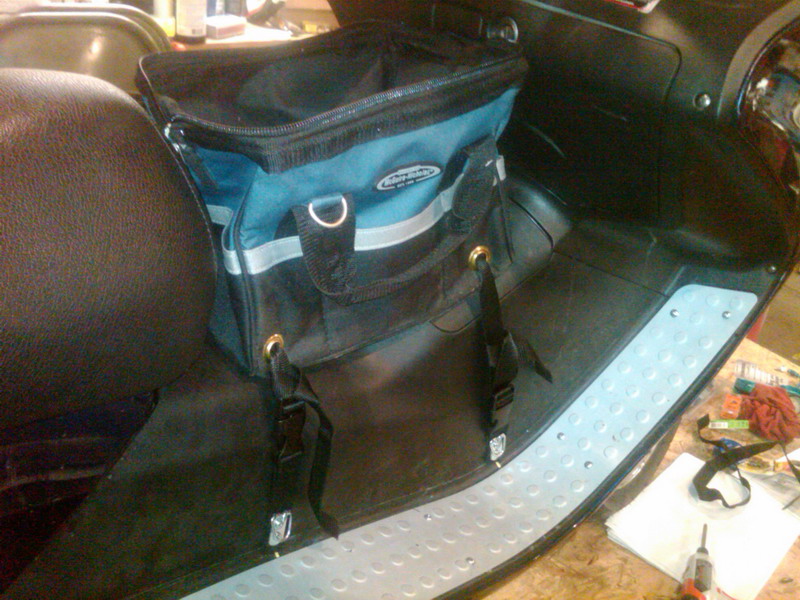 When I take some better Pictures I will post some clearer pics and zoom in on the way the buckles are mounted. |
|
|
|
Post by Bashan on Jun 21, 2010 7:34:57 GMT -6
Very nice......and thrifty! You could be a regular MacGyver. Do I hear patent? Rich
|
|

