Clinician

Currently Offline
Posts: 23
Likes: 0
Joined: Jan 27, 2011 10:34:45 GMT -6
|
Post by audionut74 on Feb 28, 2012 12:29:56 GMT -6
|
|
Clinician

Currently Offline
Posts: 23
Likes: 0
Joined: Jan 27, 2011 10:34:45 GMT -6
|
Post by audionut74 on Feb 11, 2012 13:50:35 GMT -6
One thing I've never understood about these chinese scoots! Why in the world would they manufacture a wheel with one side finished and the other looking like crap! Oh yes! Great lookin Scoot! very true! there is pretty much no choices that I have found for custom wheels for this size and type scoot . |
|
Clinician

Currently Offline
Posts: 23
Likes: 0
Joined: Jan 27, 2011 10:34:45 GMT -6
|
Post by audionut74 on Feb 9, 2012 14:51:39 GMT -6
Updated Photos
|
|
Clinician

Currently Offline
Posts: 23
Likes: 0
Joined: Jan 27, 2011 10:34:45 GMT -6
|
Post by audionut74 on Feb 3, 2011 12:47:53 GMT -6
Good step-by-step on the oil measurements, etc.  Not sure about the 30w fork oil selection, really depends on what OEM viscosity was. More than a grade or two heavier fluid would probably yield very harsh action. You can use stacked washers or varying lengths of PVC tube for infinitely adjustable spring preload spacers. Heck, my apx. 700 lb. Vulcan has PVC spacers in the 1" lowered front end with 35,000 mi. on them. the reason I went with 30w oil was the factory shock is so poorly designed as far any semblance of precision found in these Chinese scooter shock units its certainly not a WP or ohlins shock...lol if that was the case I would 100% agree with you but these shocks will give you a lot of wiggle room as far as oil viscosity goes and 30w seems to slow them down just enough to make them work much better " IMO" but by all means experiment with different oil weights as not all scooters will have the same results with the 30w oil but I think its a good start for my setup now for spacers you could easily use washers but I wanted any easy and quick way to significantly stiffen the front pre load of the front shock thats why I use a socket to accomplish this + its easy to find one at any tool store and it seems to work very will for this scooter |
|
Clinician

Currently Offline
Posts: 23
Likes: 0
Joined: Jan 27, 2011 10:34:45 GMT -6
|
Post by audionut74 on Feb 3, 2011 11:58:14 GMT -6
yeah, i agree...you made it so easy and simple...good post! hey,audionut,,is it not adviceable to take all apart to see if the inner pistons are still ok or has no scratch? and if the bushings and O-rings are still tight?...maybe that'll be a better idea huh?...but honestly what you did was great...now i'm thinking of changing my fork oil this weekend..thanks bud! true that would be advisable if your scoot has hi miles, but this was done on a brand new bike so seal checks were not needed although I am glad I redid the factory fork oil it had a bunch of very very small metal particles in the oil almost looked like glitter in the oil  if the seals were bad it mite just be easyer in a worst case you could just buy factory replacement complete shocks I bought one to use as a sample for painting it was like $40 for a complete new shock so its not that expensive as an option |
|
Clinician

Currently Offline
Posts: 23
Likes: 0
Joined: Jan 27, 2011 10:34:45 GMT -6
|
Post by audionut74 on Feb 2, 2011 23:40:02 GMT -6
|
|
Clinician

Currently Offline
Posts: 23
Likes: 0
Joined: Jan 27, 2011 10:34:45 GMT -6
|
Post by audionut74 on Feb 2, 2011 23:39:14 GMT -6
:)Here is a guide to modifying your front shocks on a typical Chinese 50/150cc scooter should work on many types or years of scooters (shock showed below is from a 2010 scooter) [glow=red,2,300] FYI you must remove your shocks before starting this mod[/glow] parts need are 1# you need a wench to remove the top cap of your shock depending on the type of cap your shock has will determine the need wrench will be IE "Allen or socket" 2# 2 clear cups 3# 2 sockets of same and proper size for shock cap (sizing is covered below) 4# I used 1 QT 30w synthetic fork oil (but you are welcome to experiment with different weight 30,25,20,15,5 oils) any brand will do feel free to PM me if you have any Questions about this mod               Hope this helps Brian |
|
Clinician

Currently Offline
Posts: 23
Likes: 0
Joined: Jan 27, 2011 10:34:45 GMT -6
|
Post by audionut74 on Feb 2, 2011 11:20:18 GMT -6
you will need to do some very minor custom wiring to make it work with the factory h4 socket its very very close to plug and play  here is what the kit looks like but it has 2 wires on the end of the bulb insted of the plug you see in the photo the 2 wires will have male spades on them they just plug into the factory harnes this kit is only a 2 wire kit were the factory is a 3 wire one for low and one for hi and a ground I used the hi conection so I can turn the lights on or off at will best part is they are under $40 a pair  I have the 35W 5K kit  |
|
Clinician

Currently Offline
Posts: 23
Likes: 0
Joined: Jan 27, 2011 10:34:45 GMT -6
|
Post by audionut74 on Feb 1, 2011 13:44:14 GMT -6
HI audionut74 are these pics above of the screw in bulbs or a build out socket kit. look real nice congrates!!!!!!!!!!!!!!!11 just your typical H4 type socket  |
|
Clinician

Currently Offline
Posts: 23
Likes: 0
Joined: Jan 27, 2011 10:34:45 GMT -6
|
Post by audionut74 on Feb 1, 2011 12:26:43 GMT -6
I have a DC system and I also dont have a 11 pole stator with h4 bulbs I am running a 35w HID kit and have had 0 problems so far just plug and play I set the system up with the use of a Hi beam feature (dont need them now ;D ) so when I turn the hi beams on the HID's come on and when I turn off the hi beams the HID's turn off    |
|
Clinician

Currently Offline
Posts: 23
Likes: 0
Joined: Jan 27, 2011 10:34:45 GMT -6
|
Post by audionut74 on Feb 1, 2011 11:27:34 GMT -6
|
|
Clinician

Currently Offline
Posts: 23
Likes: 0
Joined: Jan 27, 2011 10:34:45 GMT -6
|
Post by audionut74 on Jan 30, 2011 20:17:40 GMT -6
Thanks for all the great feed back guys...I have some more picks coming soon just need time to down load them.
I will be posting a how too on modifying the front shocks (for under $15 )so that they actually will preform like a oil filled fork shock should and not some vague uncontrolled spring that bottoms out on the smallest bumps.
|
|
Clinician

Currently Offline
Posts: 23
Likes: 0
Joined: Jan 27, 2011 10:34:45 GMT -6
|
Post by audionut74 on Jan 29, 2011 14:46:25 GMT -6
Just picked up this 2010 GMW V-150 150cc scooter.... gorillamotorworks.com/The R1 is not on there site yet this is how it Started when I brought it home 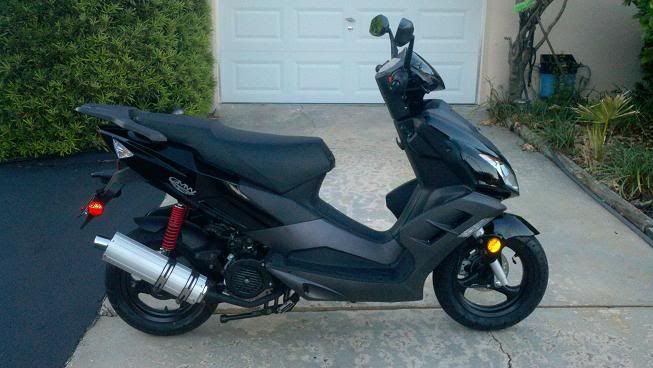 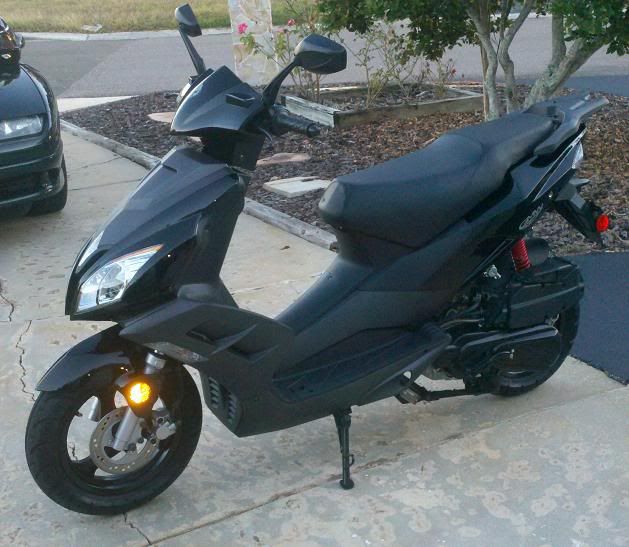 now the New look after a lot of time, custom painting, new parts and $$ I will post a list of parts soon to anyone intrusted? I think it came out sweet its pretty quick now also 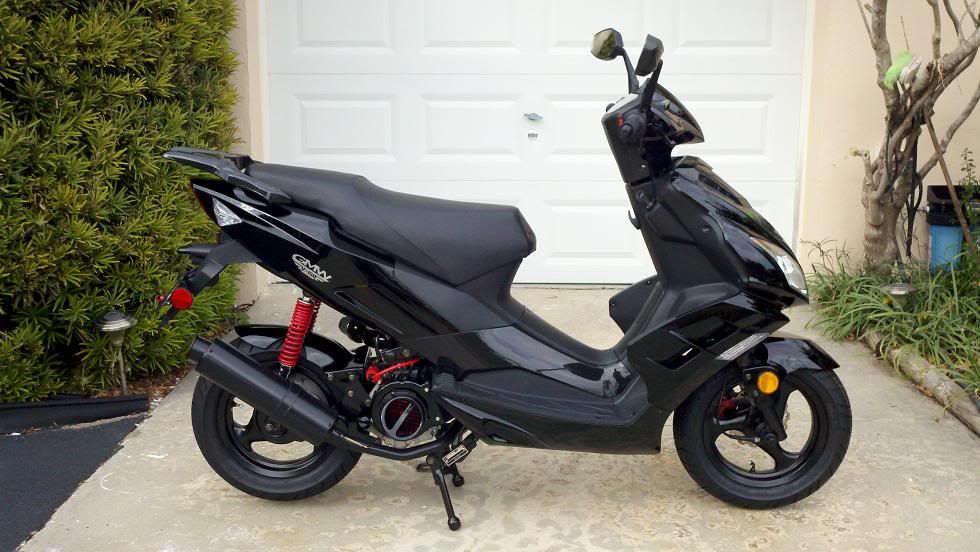 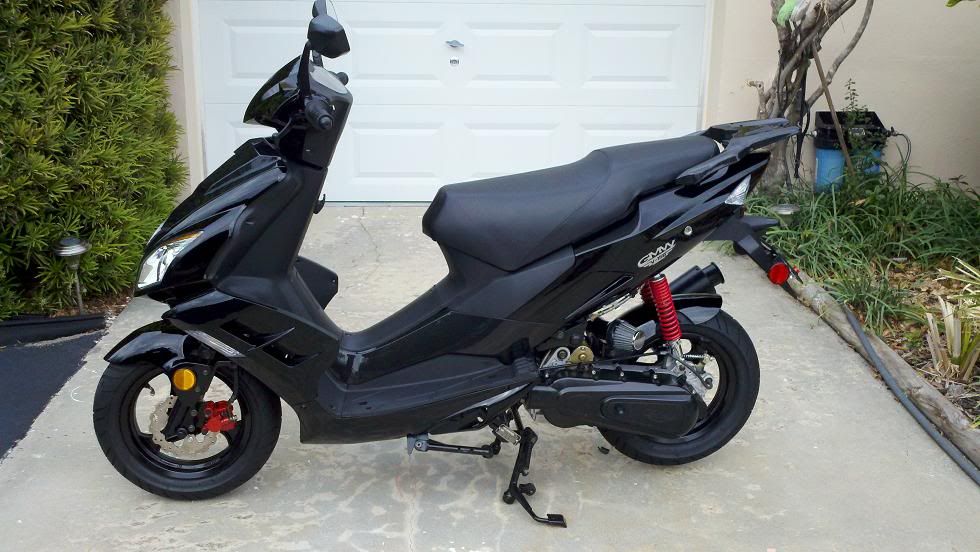 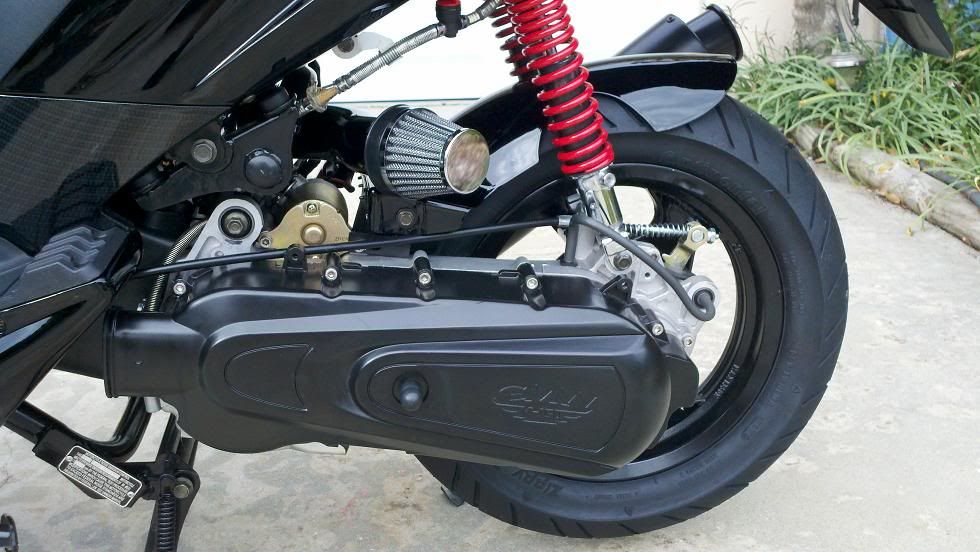 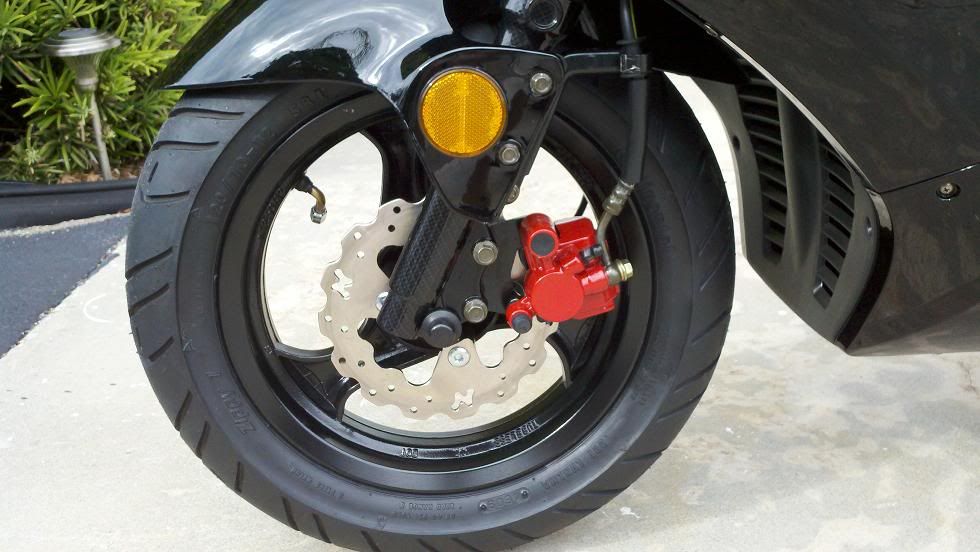 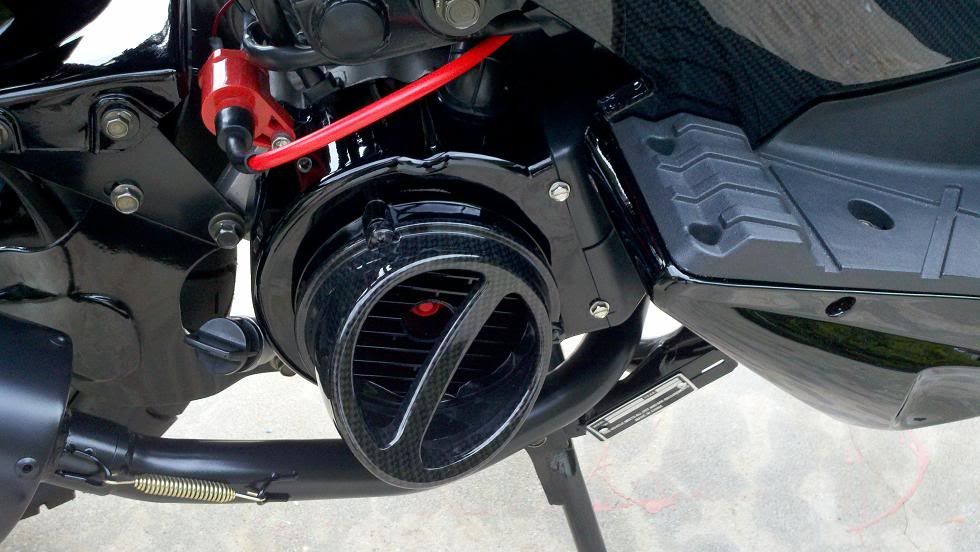 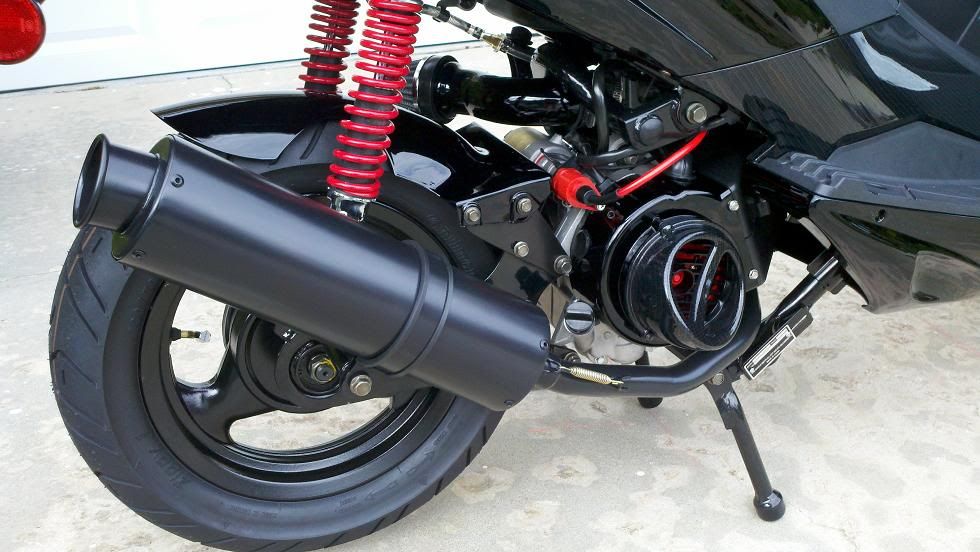 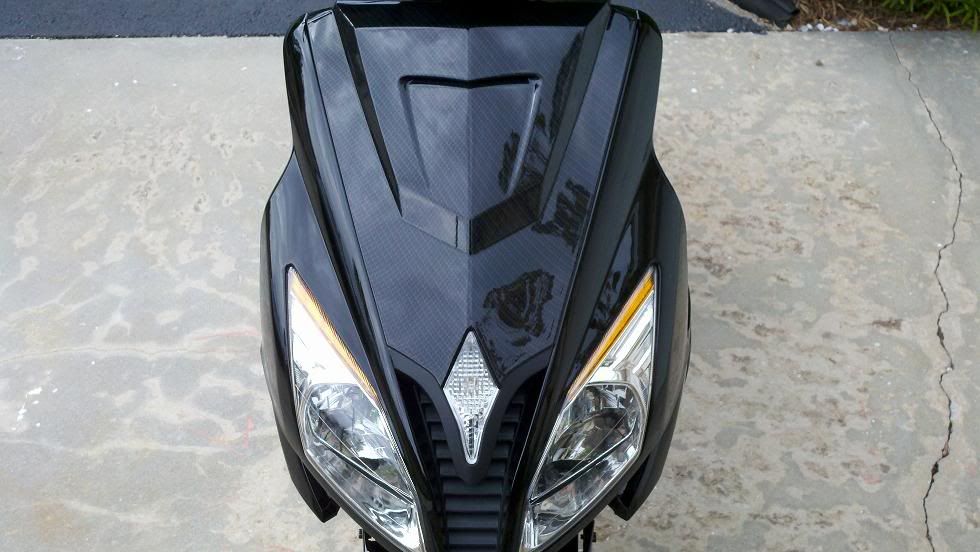 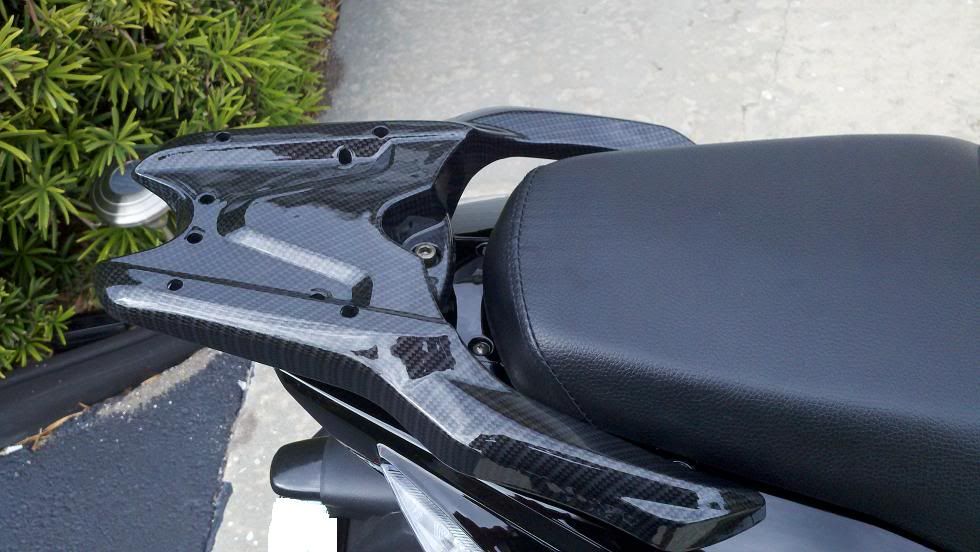 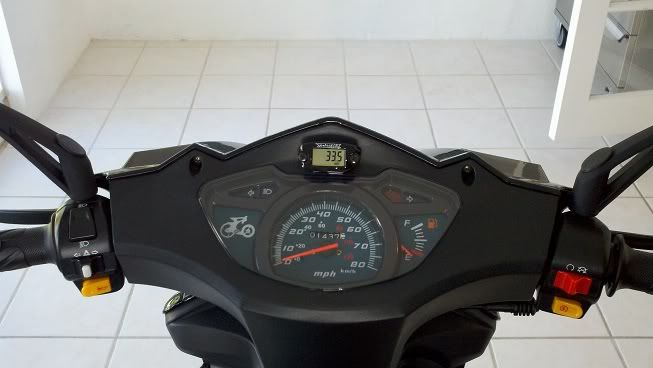 I also installed a trick new Dr.pulley H.I.T clutch and vairator and gates belt 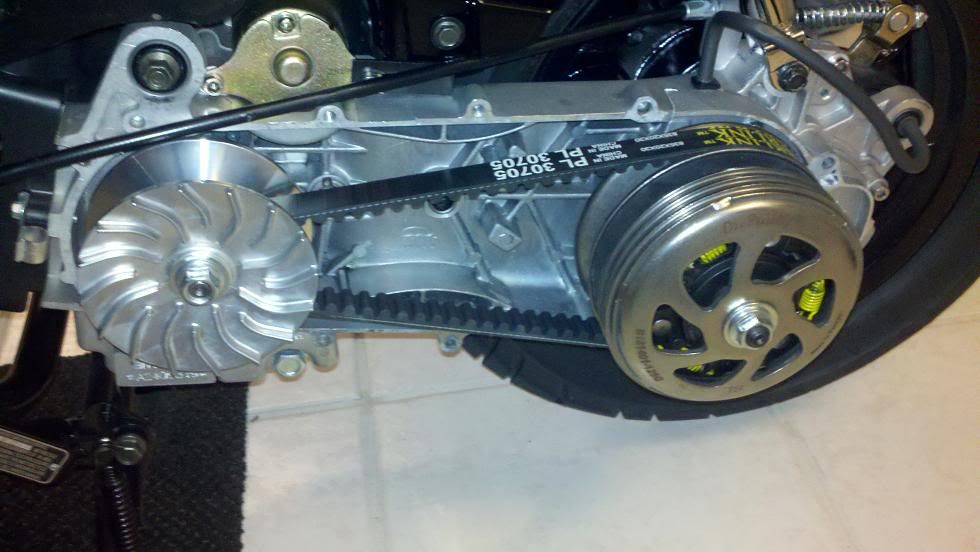 Parts List Parts ListMost aftermarket parts are from (Monstergy6.com) steven has been a big help on this project! All bulbs have been changed to led DDM 35w HID's (5k) have been installed.. Awesome light output ;D 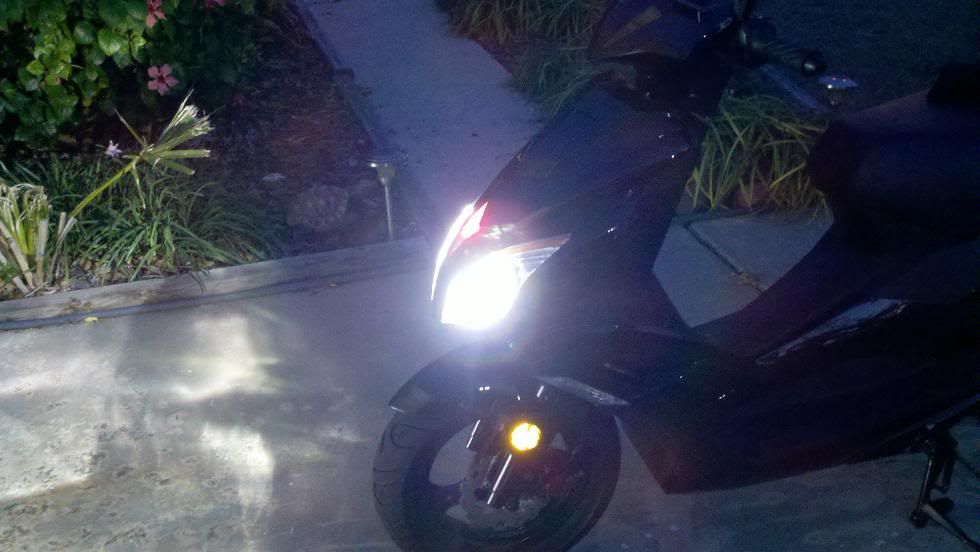 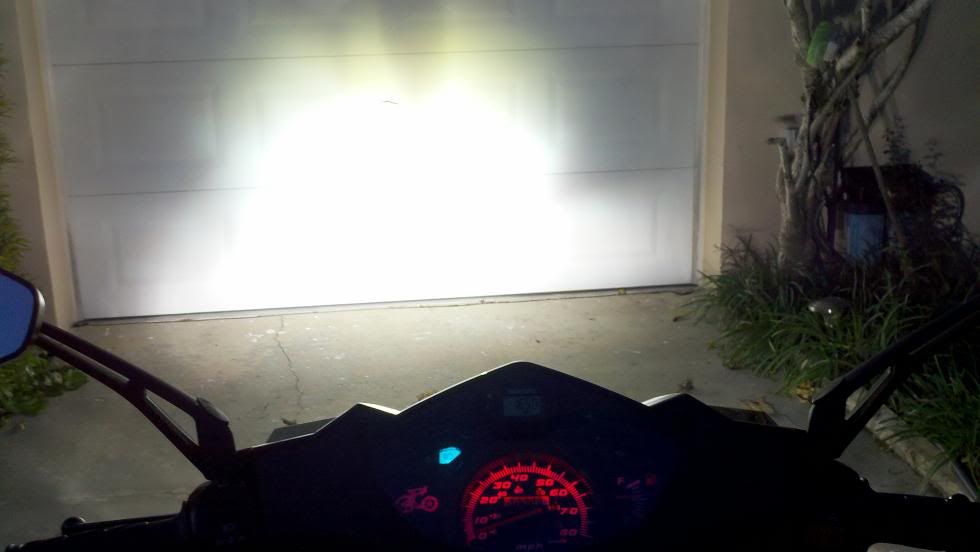 All cheep arse wiring connectors have been replaced with new ends and heatshrinked All smog or air systems have also been removed Velocita Performance 30mm Carburetor(125main jet) NCY Intake Manifold Teflon Coated Velocita Performance Coil Velocita No Rev CDI (DC) NGK Spark Plug Iridium Velocita Performance GY6 Stainless Steel Pipe with a special hitemp coating Conti Zippy 1 Performance Scooter Tire NCY Brake Rotor 180mm NCY Racing Pads and shoes Velocita Air Scoop Dr.Pulley Varitator Dr.Pulley H.I.T Clutch Gates Kevlar Belt Any ?'s regarding Paint work (Simulated Carbon Fiber) or coatings I have had done don't hesitate to pm me and I will get you in contact with my painter or coater My next mission with this scooter is to chop the rear mud guard and reupholster the seat with black Swede and add red stitching |
|

