Clinician

Currently Offline
Posts: 48  Likes: 9
Joined: Jun 25, 2014 7:04:08 GMT -6
|
Post by dannytroy on Jan 23, 2015 9:26:31 GMT -6
Just an update on the windshield fabrication. My first try was a complete failure. The .177 acrylic is just too thick to be uniformly heated with a heat gun. You might be able to do a 90 degree bend with a heatgun, but not a gentle curve over the entire surface. I pretty much ruined that first piece of acrylic. I checked a local paint and glass store and they had 1/4" in stock and wound up with a piece that was cheaper than buying online.
This time I used the kitchen oven (taking precautions, like good ventilation) and heated the acrylic to 250F for about 20 minutes. Once it becomes like a rubbery feel, it's time to take it out and place on the mold. You can pretty much lift the corners, like a piece of rubber sheet, and place on the mold.
I made a mold using sheet aluminum, and taped the original windshield (with Gorilla tape) to get the exact bend. I secured the mold to a piece of plywood, with nails preventing the mold from spreading.
BTW, I used the same type sheet aluminum in the oven, with a piece of parchment paper over it.
Hopefully it won't crack while cutting to shape, which has known to happen when cutting this stuff.
1/4" is thicker than needed, but I guess for a windshield better too thick than too thin.
If someone can tell me how to upload a photo, I'll post a photo of the windshield and mold.
|
|
Senior Clinician
  
Currently Offline
Posts: 225
Likes: 40
Joined: Sept 16, 2013 18:11:26 GMT -6
|
Post by jerryscript on Jan 23, 2015 13:39:05 GMT -6
Sorry to hear you had troubles with the first material, sucks having to spend more when you are DIYing it. Hope it goes better with the 1/4" material. Curious, how much does it deflect without cracking? Is the bend too much to force with the mounting bolts alone? My cheapo universal windshield is thin enough to wrap around my instrument cluster on my 50cc, and it has a more aggressive curve., but vibrations tore into the paint so I raised it just above the cluster since it only goes over the top most 1/4" of it. I mounted my trunk today, see what you mean about the holes, but I didn't have to re-drill, just started the two bolts at an angle and they cut in on their own. First time I've had a trunk on any of my bikes, scooters, or motorcycles, so I'm giving it a week to see if I like it. It's such a weak piece of crap I'm not very confident in it! I'm almost done with painting my helmet to match my scooter. Started out with my safety yellow Bilt helmet, which I used on my yellow 50cc for the past year and a half. I used 320 grit to rough up the surfaces, taped it all up, then applied duplicolor scratch filling primer, 2 good coats. Let it dry overnight, then wet sanded with 400 grit. My scooter is a multi-dimensional looking blue metallic flake with black fog. I found some metallic blue a couple of shades lighter, and applied 4 coats, then let it dry all day. I then fogged with metallic black by holding the can much further away and moving it fast like a woman applying hair spray. I fogged it two more times, till I got as close to the dark blue of my scooter as I could, then a very light fog of the metallic blue. Ended up with a decent dimensional effect. Today I'm applying 6 very light coats of clear. I'll let that set overnight, then wet sand with 2000 grit, and then hand polish with compound. Here it is after the fogging before clear coating: 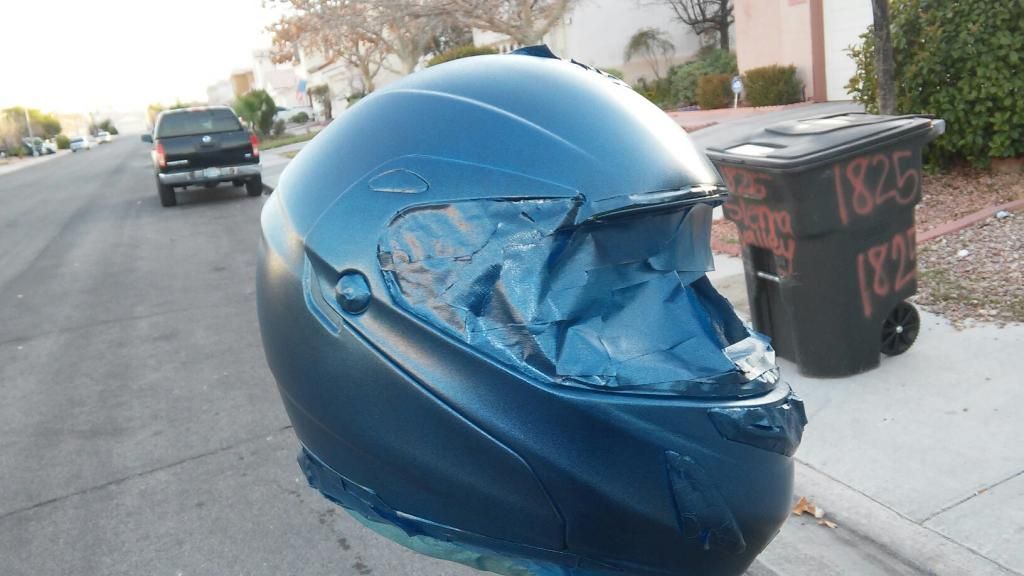 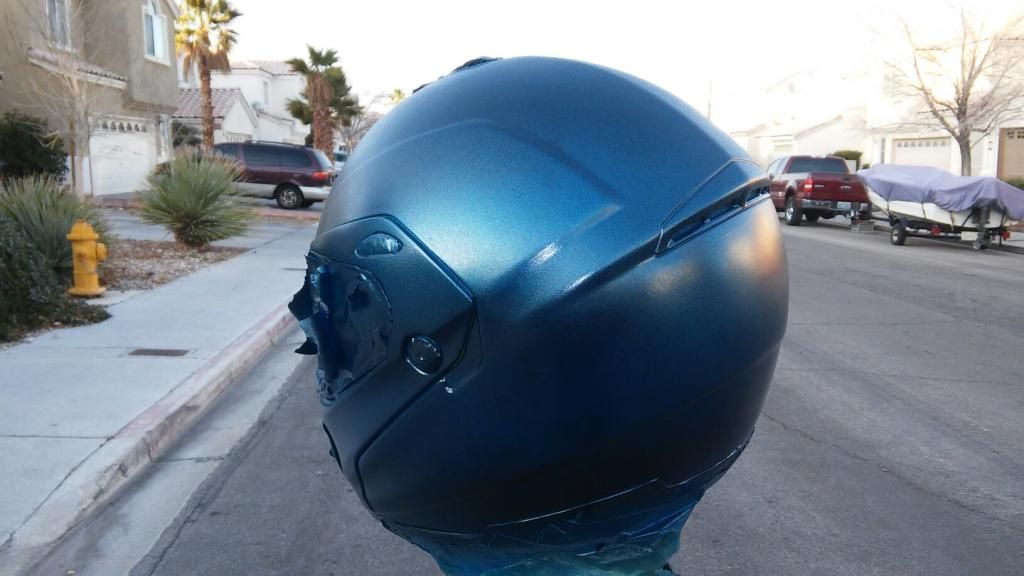 Here it is on the scooter, camera doesn't show but it's a shade lighter, but I'm happy. 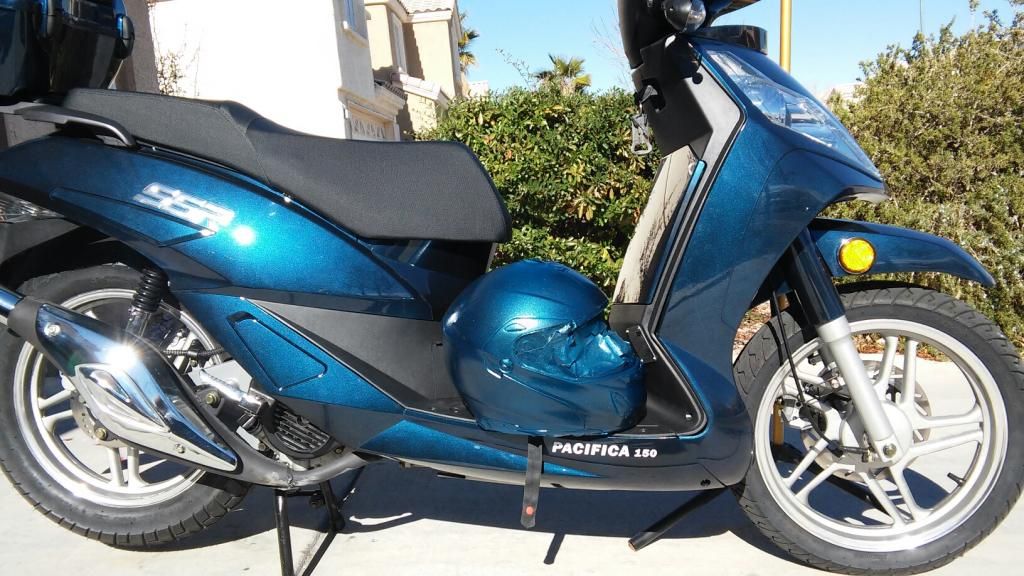 To post pics, open a free account at a photo hosting site such as Photobucket. Upload the pic you want to share, then select the IMG code they give (usually the bottom box in the share menu), and paste it in here. Looking forward to seeing it. |
|
Clinician

Currently Offline
Posts: 48  Likes: 9
Joined: Jun 25, 2014 7:04:08 GMT -6
|
Post by dannytroy on Jan 23, 2015 23:11:38 GMT -6
The 1/4" is thick enough that it has very little deflection when tightening the bolts. After starting to mount the windshield I noticed it's not exactly flush with the entire mounting surface. I may start all the bolts, hit it with some heat, tighten again, and continue until the windshield is flush at all 5 bolts. If you use 1/8" acrylic, I think that would be thin enough to bend when tightening, but then you wouldn't have a strong enough windshield. Ideally, go with 3/16" thickness, if you can find it. I'm going to try to finish mine tomorrow, weather permitting. I do the sanding and cutting outside, so if it isn't snowing I'll finish it.
My trunk is very solid. A lot better than my Roketa 54B. I'm hoping it stays quiet and doesn't crack. Time will tell. I'll be giving it a good workout on an upcoming trip to Key West (carrying it with motorcycle carrier on my RV).
The helmet looks great. It really is a nice match to the scoot's paint color. I guess I have it easier, since my helmet is black, and so is most of the scoot! You are proficient enough that you can paint the entire scooter when you get tired of the color.
Yes, I have a Photobucket account. I thought there might be a direct way to upload a photo. I'll post a photo of the windshield after I mount it, and include the mold photo.
|
|
Clinician

Currently Offline
Posts: 48  Likes: 9
Joined: Jun 25, 2014 7:04:08 GMT -6
|
Post by dannytroy on Jan 25, 2015 14:45:27 GMT -6
I wound up cracking another 1/4" piece and then decided to mount a this piece I had on hand, riveted to the original Pacifica windshield. Well, I cracked that one too, while cutting it to shape. I learned a few important lessons in working with acrylic. 1. Don't use a jigsaw to cut. If at all possible use something like Dremel with a fiber cutoff blade. 2. Don't use a drill to drill holes in the acrylic. Instead, use a Dremel with a carbide cutting blade. 3. Try and do it in a warm room, or on a warm day. The cold weather seems to make the material even more brittle, making it even easier to crack. 4. When removing the acrylic from the oven, don't grab it by the corners. You will wind up with distorted/mis-shaped acrylic at those corners. If at all possible slide the acrylic onto your mold. 5. Parchment paper works great and the acrylic slides off easily. Definitely no sticking. So after these disasters I had a brainstorm, and I remembered I had the old Roketa 54b windshield in the attic. I installed it with some trimming here and there and it works! Of course, I cracked it when tightening one of the 5 bolts. You can see the crack on the right of the photo showing the digital voltmeter, which was installed in the dash. I took it for a test ride and it seems to be solid. Took it up to 60mph on a highway and it showed no movement. I may buy another Roketa windshield and try to make that one perfect. They are thinner than the original Pacifica windshield, but seem to be strong enough for use on the Pacifica. 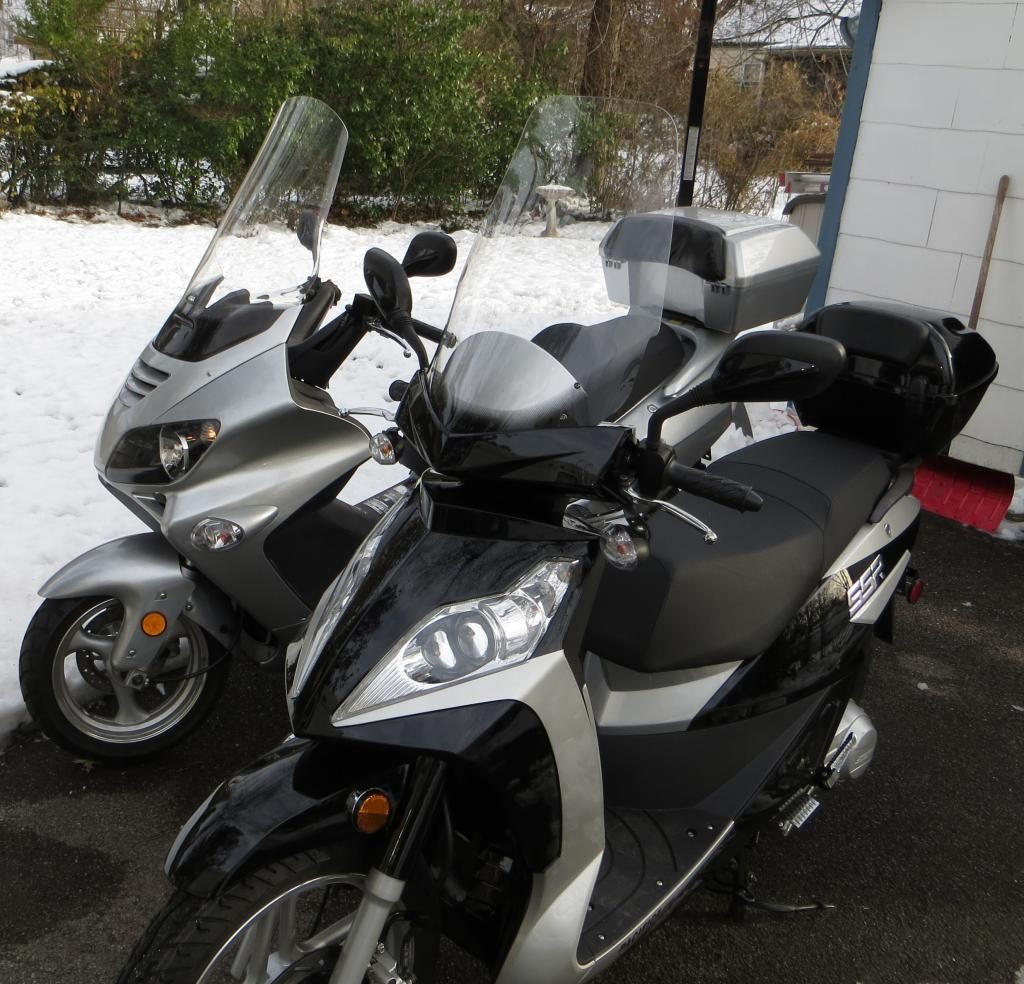 This photo shows the Roketa windshield mounted on the Pacifica. The Roketa now has a Givi windshield, which I like a lot.  This photo shows the original Pacifica windshield taped to the sheet aluminum mold i1357.photobucket.com/albums/q746/DanTheSaxman1/windshield_and_mold_zpsc0841ef5-1.jpgNice 1/4" thick windshield, which I later cracked while drilling i1357.photobucket.com/albums/q746/DanTheSaxman1/SSR_with_voltmeter_zpsd6ab952f-1.jpgDigital voltmeter mounted on dash. Shows when both high and low beams are on, voltage dips below 12 volts! |
|
Senior Clinician
  
Currently Offline
Posts: 225
Likes: 40
Joined: Sept 16, 2013 18:11:26 GMT -6
|
Post by jerryscript on Jan 25, 2015 17:39:49 GMT -6
Nice, that Rocketa windshield looks great! I'll have to keep that in mind, but so far I'm OK with the little windshield, haven't ridden in the rain yet, so time will tell.
Perfect mounting spot for your voltmeter. I'm looking for a couple of decent waterproof speakers to mount there. I have rear-view mirror speakers on the other one, and I miss having some music during my ride.
|
|
Clinician

Currently Offline
Posts: 48  Likes: 9
Joined: Jun 25, 2014 7:04:08 GMT -6
|
Post by dannytroy on Jan 25, 2015 22:10:20 GMT -6
I'm thinking about ordering another of the same windshield, only this time I would take precautions and hopefully not crack it. I stopped the crack by drilling a hole at the end of the crack, so it shouldn't spread. I'll decide whether to get another one after my trip to the Florida Keys.
There is a ton of room for speakers on the glovebox door itself. That's what they did on my Roketa 54b. Problem is you have to deal with the wires when you open the door.
|
|
|
|
Post by cyborg on Jan 25, 2015 22:23:02 GMT -6
When working with plastics ie windshields bodywork,,or any other plastic item,,,the phrase " Hotwire cutter" may want to pop into mind,,,, cheap on eBay,,, and if you get the one that's just a wand like a screwdriver you can pierce to make holes,,,,they are very handy,,there are many different styles like a scroll saw with a table and hand held jobs that look like a giant cheese wire and the wand style ( my favorite),,,,, easy peasy baby,,, and no cracks  look into them they are great |
|
Doc's Anything Goes
Currently Offline
 Say no to scooter abuse
Posts: 3,873
Likes: 156
Joined: Mar 31, 2010 19:07:16 GMT -6
|
Post by jct842 on Jan 25, 2015 23:10:35 GMT -6
One note, any plastic that cracks by drilling a hole probably is not going to hold up well on a machine that vibrates. I have drilled holes in real windshields and no problem, I have drilled into the cheap crap hardware stores sell for window replacement and even a tiny hole will crack out some times not at first but with in a few days. made a nice hinged aquarium cover and drilled 1/8" holes, two days later all the holes had cracked. Never again.
|
|
|
|
Post by Bashan on Jan 26, 2015 0:39:56 GMT -6
Had a small crack in a BMW 800 windshield at the bottom coming out from one of the screws. The whole damn windshield snapped off at 60 MPH at the crack and slammed into me. If my girlfriend hadn't been on the back I think I would have shot off of the bike. No more cracks buddy boy, no sir.
|
|
Clinician

Currently Offline
Posts: 48  Likes: 9
Joined: Jun 25, 2014 7:04:08 GMT -6
|
Post by dannytroy on Jan 26, 2015 9:50:30 GMT -6
Yes, I suppose I should bit the bullet and order another of the same windshield. You guys talked me into it.
As far as cutting with a wire cutter, I recently tried to make one using a transformer and a guitar string. Didn't work out, so I bought a cheap electric knife from Harbor Freight. Works great for cutting foam, but I never thought to use it on acrylic. Probably not made for that though, but probably work a try. That said, if I go with another Roketa windshield, there's not much trimming required, so the Dremel with cutoff wheel and a belt sander work quite well.
|
|
Senior Clinician
  
Currently Offline
Posts: 225
Likes: 40
Joined: Sept 16, 2013 18:11:26 GMT -6
|
Post by jerryscript on Jan 26, 2015 19:17:17 GMT -6
Dremel makes a plunge router and bit for cutting through acrylic/plastics. The plunge router attachment isn't necessary, but makes clean cuts easier.
|
|
Clinician

Currently Offline
Posts: 48  Likes: 9
Joined: Jun 25, 2014 7:04:08 GMT -6
|
Post by dannytroy on Jan 26, 2015 23:07:33 GMT -6
Dremel makes a plunge router and bit for cutting through acrylic/plastics. The plunge router attachment isn't necessary, but makes clean cuts easier. Thanks, that's one of the tools not in my arsenal. I'll check that out. |
|
Clinician

Currently Offline
Posts: 48  Likes: 9
Joined: Jun 25, 2014 7:04:08 GMT -6
|
Post by dannytroy on Feb 12, 2015 8:21:55 GMT -6
Got back from my trip to the Florida Keys with the Pacifica on the RV. Made it back in one piece! Unfortunately, the campground I stayed at was situated on the US1 highway, in the middle of nowhere. At one point I took the road north, telling my wife I'd be right back. At 50mph I realized I was about to go over the famous 7 mile bridge. I stopped just before the entrance to the bridge, and saw the benefit of the larger wheels. I needed to pull off the road quickly, and there was a ridge entering the gravel area off the road. I possibly would have had a problem with a scoot with 13" wheels making that quick exit, but the Pacifica handled it with no problem. So far the windshield is holding up, but I will probably upgrade with another of the same or something else a little more beefy. I'll wait till the warmer weather, when the plastic will be less brittle. Whatever I get, I'm sure it will need trimming, and I don't want to damage while doing the trimming. 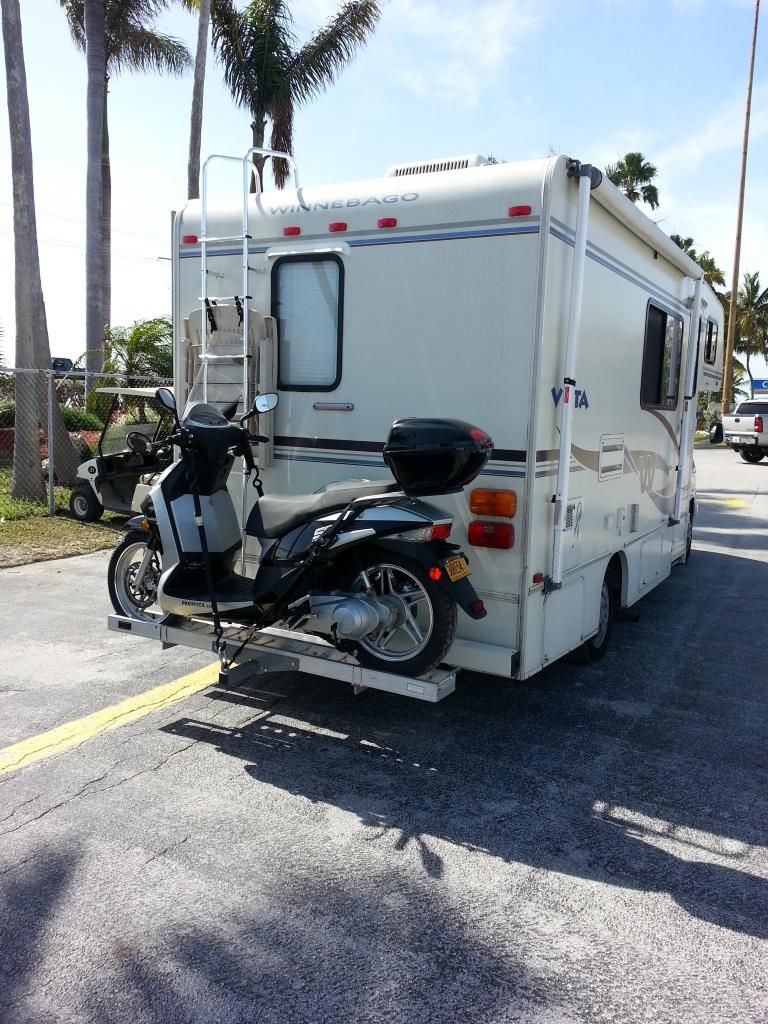 |
|
Senior Clinician
  
Currently Offline
Posts: 225
Likes: 40
Joined: Sept 16, 2013 18:11:26 GMT -6
|
Post by jerryscript on Feb 12, 2015 20:46:45 GMT -6
Good to hear you had fun on your trip. I agree, the 16" wheels make a huge difference in handling. They make it harder to turn in tight situations I could rip through on my 50cc, but they make everything else smoother and more stable. The owner of Scrappy Dog Scooters asked me to stop by this week so he could check it out, they already carry lots of parts for the BN157QMJ-3, and now he plans on stocking tires as well. Good to know there's another option when I'm ready for new rubber.
|
|
|
|
Post by Bashan on Feb 12, 2015 23:58:11 GMT -6
What's your tire size Jerry? I found 16" tires all over the place when I needed a rear for the SYM. It was a 140/70-16.
|
|

