|
|
Post by mxmatt on Apr 25, 2014 16:29:23 GMT -6
Wish me luck boys! I'm starting my first full tear down and rebuild of my scooter. I have previously removed the engine and rebuilt it once. Please feel free to offer any and all tips, tricks and advice you feel would be helpful to me. I plan to post pictures the whole way through. 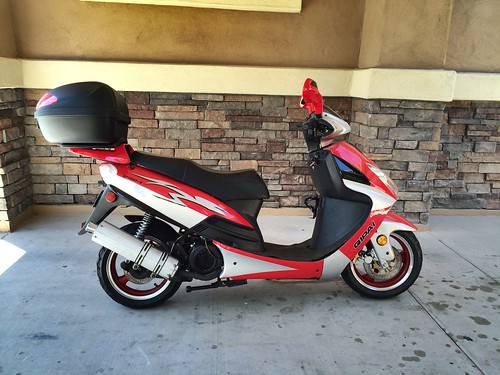 At start of second motor rebuild. 2033 miles At start of second motor rebuild. 2033 miles by mxmattaz, on Flickr Here's my scooter! 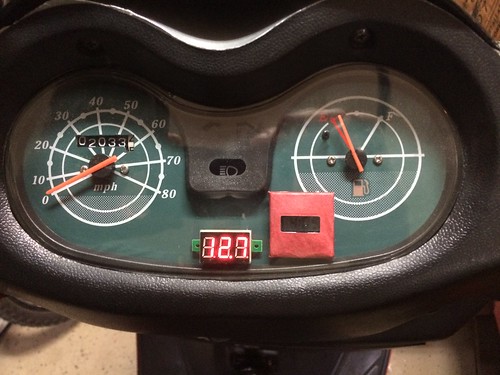 Untitled Untitled by mxmattaz, on Flickr 2033 Miles!  Storage removed. Storage removed. by mxmattaz, on Flickr Under seat storage bin removed. 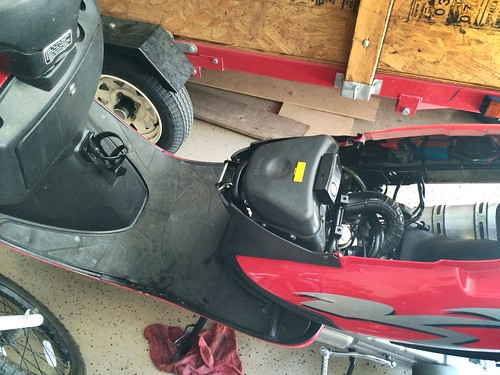 Seat removed Seat removed by mxmattaz, on Flickr Seat removed. 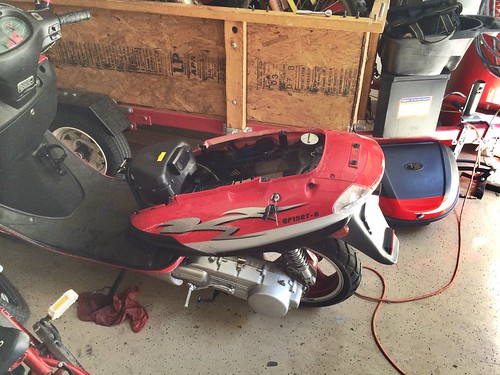 Rack and top box removed Rack and top box removed by mxmattaz, on Flickr Top Box removed. 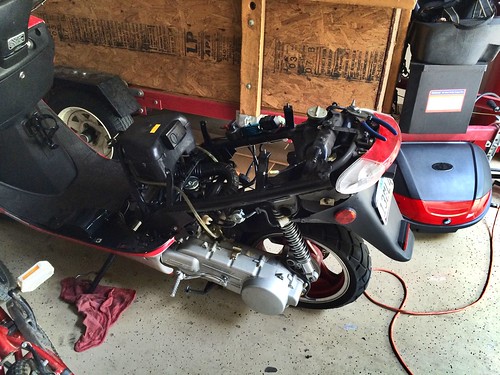 Side panels off Side panels off by mxmattaz, on Flickr Side Panels removed. 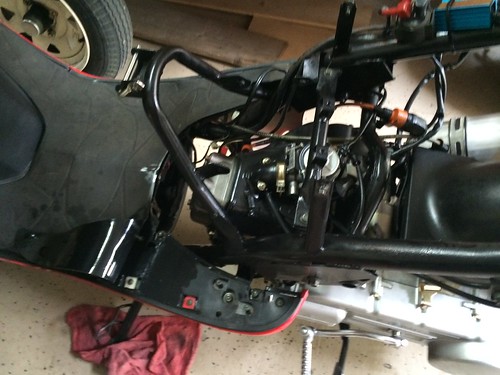 Untitled Untitled by mxmattaz, on Flickr Air box removed. 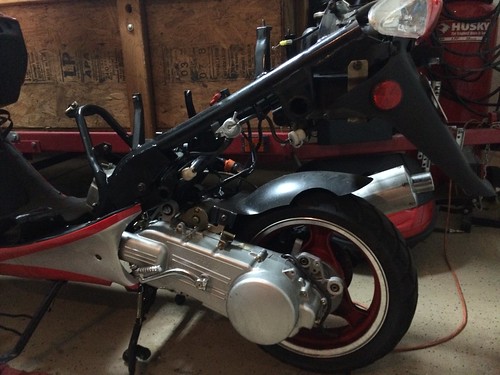 Untitled Untitled by mxmattaz, on Flickr Rear shocks removed. 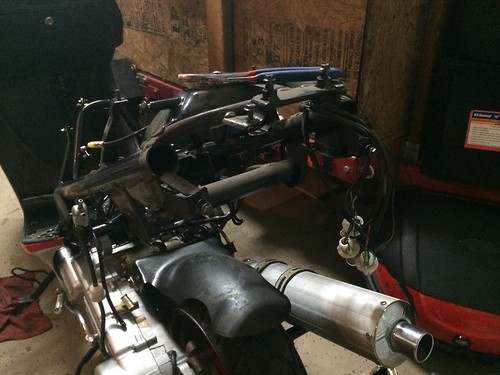 Untitled Untitled by mxmattaz, on Flickr Tail Light assemble, license plate mount/fender and fuel tank removed. That's it for Day 1. Spent a total of about 2 hours. |
|
Doc's Anything Goes
Currently Offline
Posts: 536
Likes: 20
Joined: Mar 27, 2013 21:20:02 GMT -6
|
Post by davec on Apr 26, 2014 0:06:30 GMT -6
1. Flickr sucks
2. 2nd rebuild and only 2033 miles?
3. Look fwd to your progress
|
|
|
|
Post by mxmatt on Apr 26, 2014 1:21:14 GMT -6
1. Flickr sucks Does Flickr always do this? I think I fixed it by making each photo public.2. 2nd rebuild and only 2033 miles? Yes. I must ride it like I stole it! LOL. 3. Look fwd to your progress Thanks. Look forward to your input and commentary!  |
|
|
|
Post by Bashan on Apr 26, 2014 7:14:17 GMT -6
I tried to fix your pix Matt but yes, you are correct, they were on a secure URL and needed to be public. I appreciate you taking the time to post the rebuild. It should be a hoot! Ever thought of going with the naked look? Your bike I mean you perv.  Rich Rich
|
|
|
|
Post by jvino on Apr 26, 2014 8:59:12 GMT -6
Thanks matt for posting my friend has a bike just like yours his has about 3500 miles but he has not had these problems like you. Like I said I am sorry that that you have to do that again. But wish you best of luck and hope it works out for you.
|
|
|
|
Post by mxmatt on Apr 26, 2014 21:11:03 GMT -6
I tried to fix your pix Matt but yes, you are correct, they were on a secure URL and needed to be public. I appreciate you taking the time to post the rebuild. It should be a hoot! Ever thought of going with the naked look? Your bike I mean you perv.  Rich Rich Thanks Rich. Is using flickr ok? It's easier for me since they auto upload from my iPhone. Also, is it best to edit my origional post by adding picks or creat a new post each day? Lastly, I have seen your naked body (scooter that is) and thought about that for mine. I doubt I'll do it though. I am kinda partial to the racer look. Maybe someday if it's hammered.  |
|
|
|
Post by Bashan on Apr 26, 2014 21:19:18 GMT -6
Do new posts and keep them about the length of that first post or a little shorter. Some folks have a difficult time loading a bunch of graphics in one post. Whatever you did to fix the pix in the original post is fine so use Flickr if that's best for you. It is working fine on the forum. Rich
|
|
|
|
Post by mxmatt on Apr 26, 2014 21:56:07 GMT -6
Day 2! 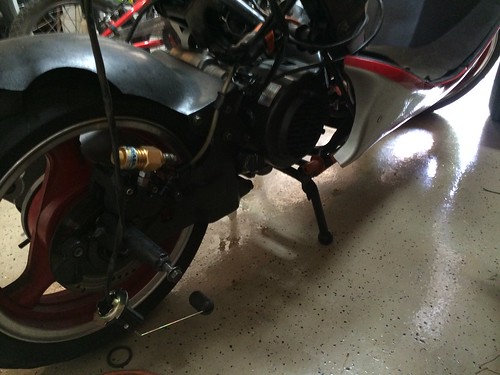 Untitled Untitled by mxmattaz, on Flickr Header and muffler removed. 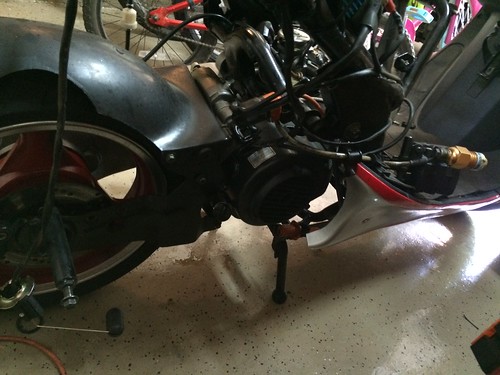 Untitled Untitled by mxmattaz, on Flickr Brake Caliper removed, swing arm detached. 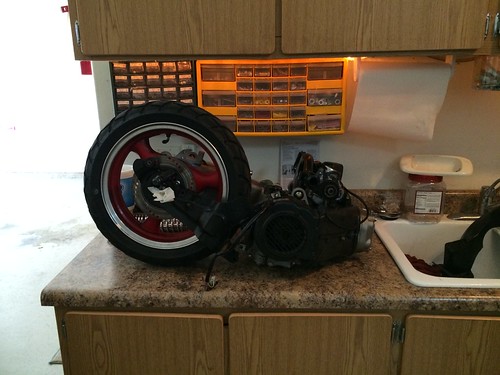 Untitled Untitled by mxmattaz, on Flickr Intact motor removed. Notice the nifty handle still attached for lugging this bad boy to my counter (Thanks Rich). 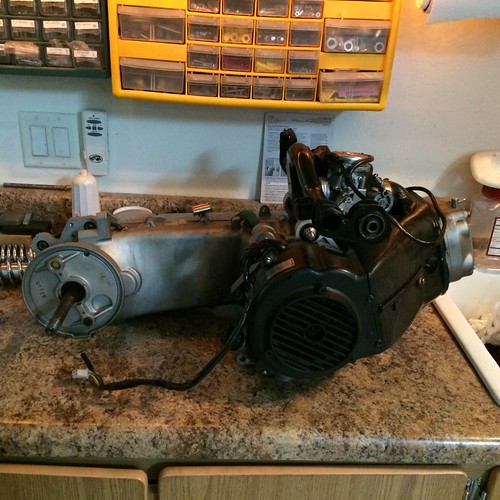 Untitled Untitled by mxmattaz, on Flickr Swing arm and rear wheel removed. 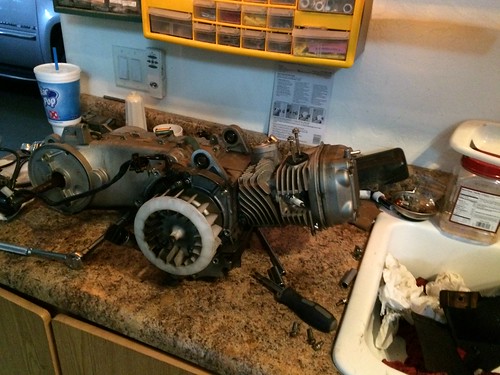 Untitled Untitled by mxmattaz, on Flickr Main support bracket, carburetor and cooling shroud removed. 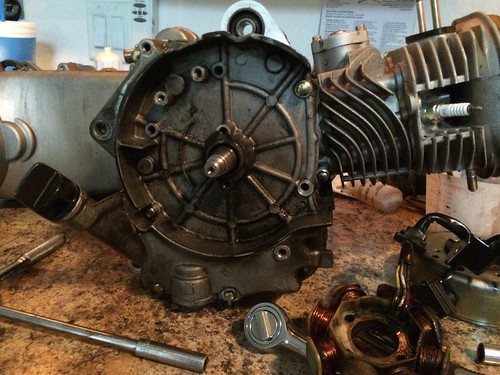 Untitled Untitled by mxmattaz, on Flickr Fan, Stator and pick up coil removed. Look at all that oil. Closer look at the source coming up. 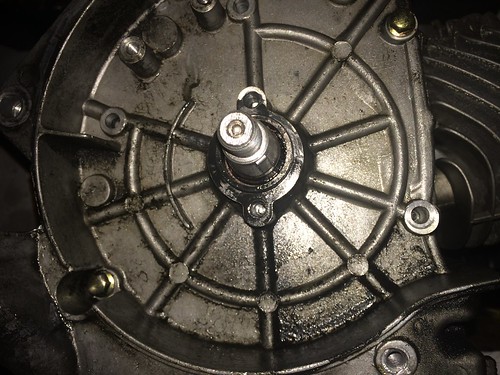 Untitled Untitled by mxmattaz, on Flickr That seal is toast. Fan was blowing the oil forward and it was getting all over everything. I spent a ton of my time today degreasing parts. 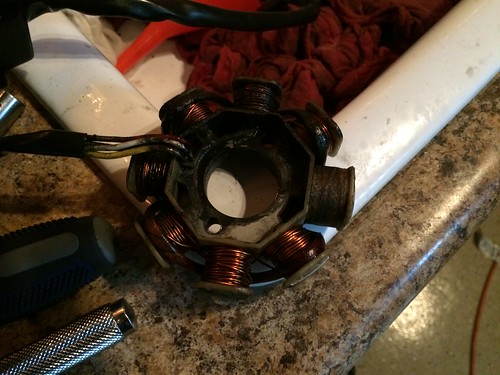 Untitled Untitled by mxmattaz, on Flickr This stator needs a bath!  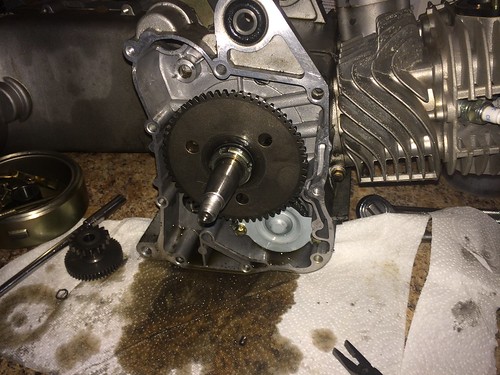 Untitled Untitled by mxmattaz, on Flickr Starter clutch and oil pump cover removed. 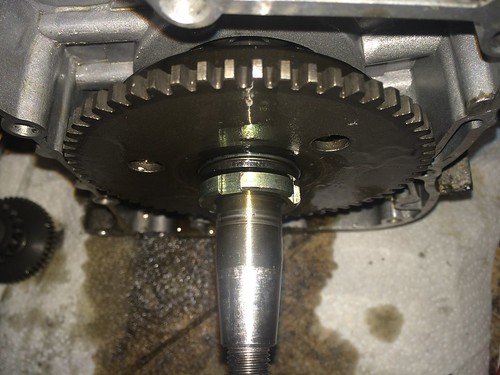 Untitled Untitled by mxmattaz, on Flickr Notice how loose the starter clutch nut was. I probably failed to tighten it enough when I replaced the crank in Feb 2014. 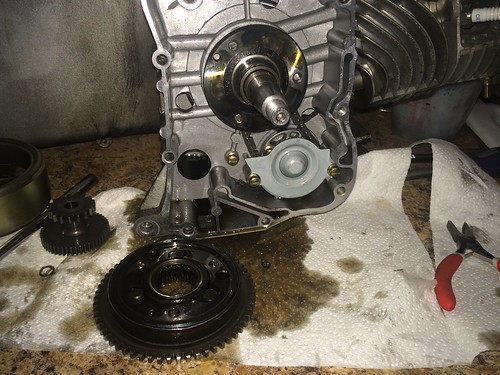 Untitled Untitled by mxmattaz, on Flickr Starter clutch destroyed. All three bolts are sheared and remaining parts show signs of extreme wear. 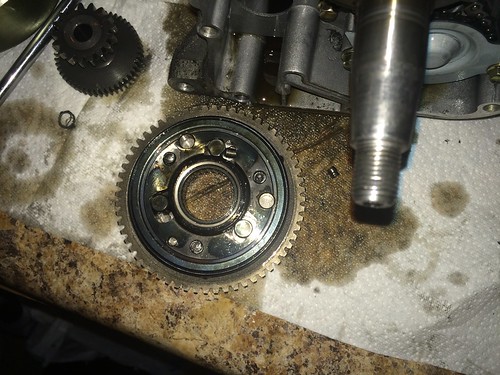 Untitled Untitled by mxmattaz, on Flickr Direct view of starter clutch. 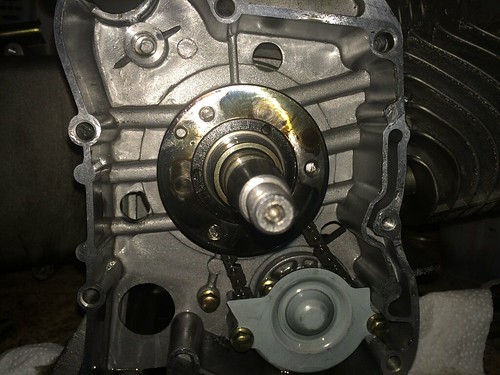 Untitled Untitled by mxmattaz, on Flickr Can't get the rest of the starter clutch off.  Done for Day 2. 5-6 hours labor today. |
|
|
|
Post by Bashan on Apr 26, 2014 22:13:44 GMT -6
Oh wow. Hmmmmmm. Yeah, I'm thinking gear puller. They're pretty inexpensive at Auto Weinie and they'll sometimes loan you one. That one might have to be pretty big to stretch that far but I think the claw would fit under there. A two arm would do it I would think. You might get a small spud bar behind there also and just tap it...that aluminum is kinda soft. You might try heating it with a small butane torch or even a charcoal lighter. When you heat something to remove it try to just get the heat source on the part you're removing so you don't expand everything together, that defeats the purpose but it can be tricky. Rich
|
|
|
|
Post by mxmatt on Apr 28, 2014 10:09:09 GMT -6
Day 3! Item number one is to get that broken starter clutch assembly off without causing damage to the engine.  Untitled Untitled by mxmattaz, on Flickr How's this for riggin' it? Actually ended up extending the center screw a little at a time and then tapping it horizontally with a rubber mallet to get the pull I needed. 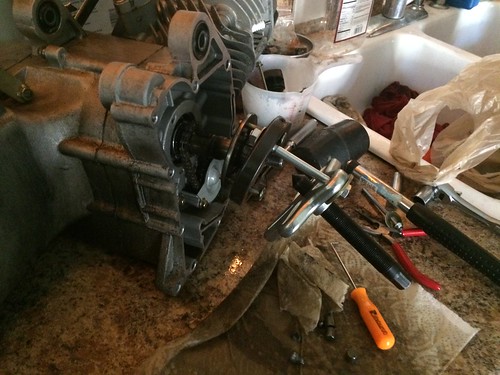 Untitled Untitled by mxmattaz, on Flickr Mission accomplished. 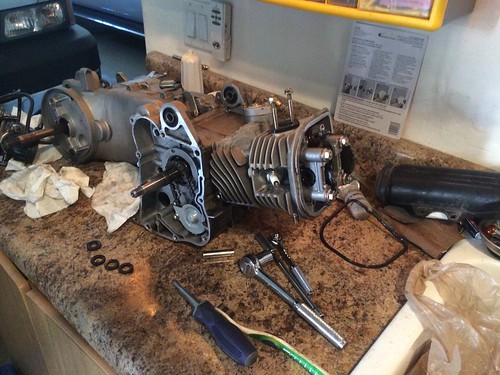 Untitled Untitled by mxmattaz, on Flickr Cam and Timing Chain cover removed. 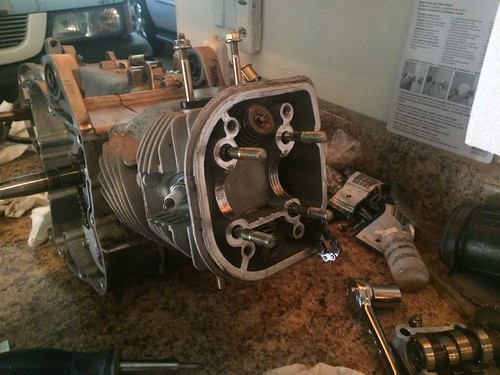 Untitled Untitled by mxmattaz, on Flickr Rocker arm assembly and cam removed. 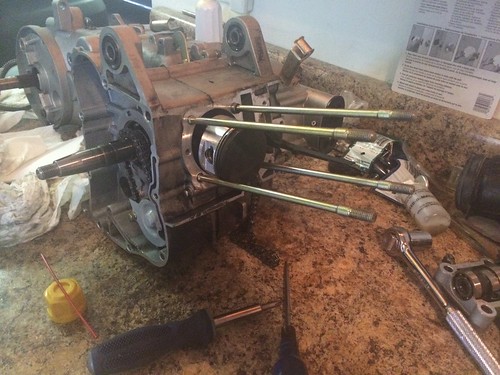 Untitled Untitled by mxmattaz, on Flickr Head and Piston sleeve removed. Everything looks very good since my crank, rod, piston and rings were replaced in February. 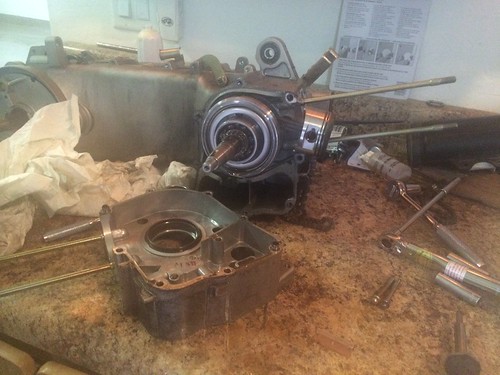 Untitled Untitled by mxmattaz, on Flickr Right side crank case removed. I found no areas where the clear RTV sealant failed leading me to believe that it was the combination of the failed starter clutch combining to ruin the oil seal that was the source of all my oil. 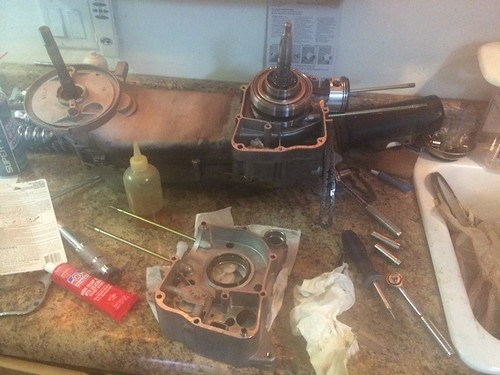 Untitled Untitled by mxmattaz, on Flickr Ready for new gasket and RED RTV sealant (Thanks Bashan!) Cleaned all surfaces with carb cleaner, applied sealant, then gasket, then sealant, hand tightened waited an hour and then torqued to specifications 10Nm. Chime in if you have suggestions. 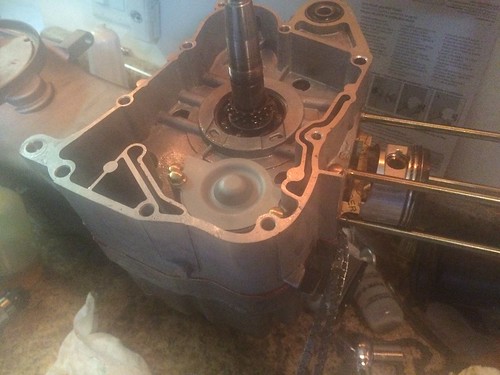 Untitled Untitled by mxmattaz, on Flickr Walla! I am waiting on the oil seals to be delivered so I had to find other work to do. Hopefully they arrive today. 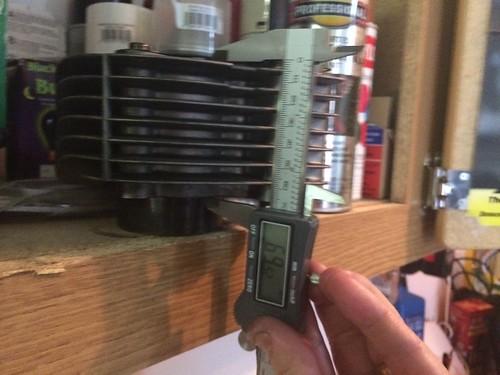 Untitled Untitled by mxmattaz, on Flickr Cylinder measure for a "1P57QMJ" 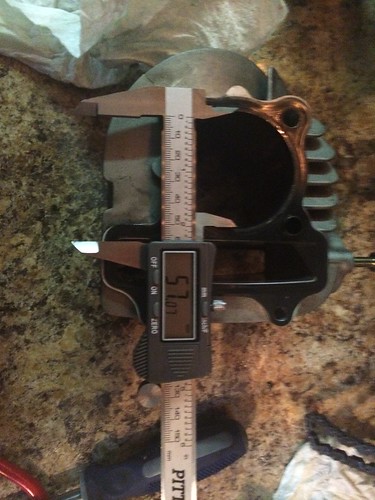 Untitled Untitled by mxmattaz, on Flickr 1P57QMJ 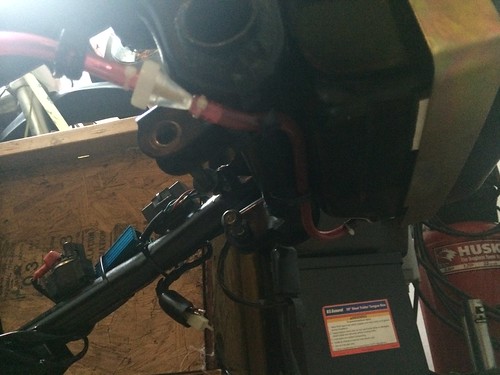 Untitled Untitled by mxmattaz, on Flickr I apologise for the picture quality. I smudged some oil on my phone and didn't realize it. Here is my new fuel line run with the Alleyoop recommended fuel filter installed. 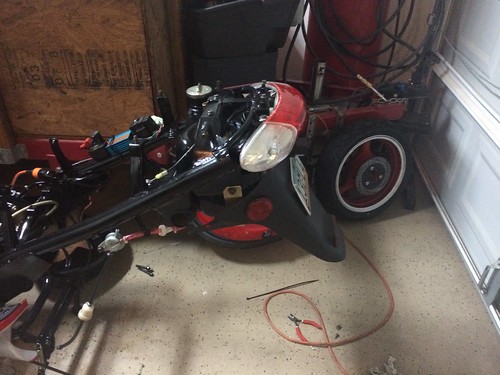 Untitled Untitled by mxmattaz, on Flickr Fuel tank, tail light assembly and rear fender attached. I went through all wiring, applied dielectric grease to all connections and used electric tape and small zip ties to weather proof wires and connections. I am also applying blue lactate to all bolts. I did a lot of excess oil removal and cleaning of the frame and ensured grounding locations were solid. 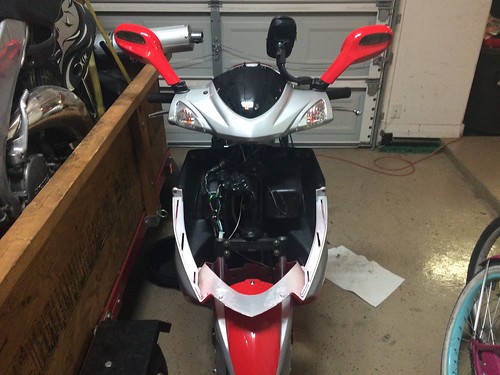 Untitled Untitled by mxmattaz, on Flickr Once I get the motor back together, I plan to rework the forks with Bel Ray 10w fork oil, lube the speedo cable, install an LED dasher, check the steering head bolts and lube the front axle bolt. Spent a good 8 hours today! Things may slow down as I have to actually work tomorrow. |
|
|
|
Post by mxmatt on Apr 28, 2014 10:24:13 GMT -6
Unfortunately I didn't have the forethought to do this, but I wish that I would have since I live in Arizona and summer temperatures can reach in the 110+ degrees. If you notice the two arrows are pointing to two locations where with a little precision, one could drill out those plugs and insert fittings for an oil cooler. It would require making a bypass to the crank case housing, but I have seen somewhere on the Interwebs where it has been done. Maybe next time. 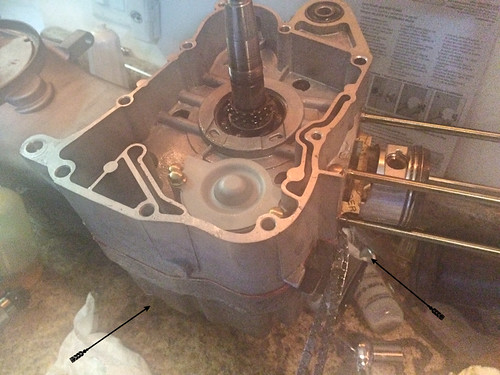 Fotor_20140428091630487 Fotor_20140428091630487 by mxmattaz, on Flickr |
|
|
|
Post by jvino on Apr 28, 2014 19:14:42 GMT -6
Looks good matt. I am surprised there is that much carbon build up on the piston for two months of riding.
|
|
|
|
Post by Bashan on Apr 28, 2014 20:43:11 GMT -6
MATT!? On the internets somewhere?!  It's right here buddy...on Scooter Doc! It's right here buddy...on Scooter Doc!
There..you all set now? Cul....well I...huh? You don't understand from that pic? Matt Matt Matt. OK...here's a link. You good now? Here's your lunch money, here's your Steve Canyon lunch box (Matty has always had a good appetite!), and here's your other lunch box. No wonder your bike tore up Matt! Pffffft.  Just kidding buddy, Rich Just kidding buddy, Rich
|
|
|
|
Post by mxmatt on Apr 28, 2014 23:55:50 GMT -6
Oh Great Bashan! Please pardon the shameful mistake. I vow never to attribute any worthy scooter related information or instructions to any other place than this noble and fine institution of learning. Where else could one obtain the designation of Doctor of Scooter but on ScooterDoc.com. I am now prepared to take a two fold requiem of lashings with a wet noodle. 
|
|
|
|
Post by mxmatt on Apr 29, 2014 0:19:53 GMT -6
Day 4! Starter clutch arrived in mail today. Installed it and now I am waiting for new oil seal kit to arrive. Hopefully tomorrow I can get to the rest of this motor and finish up the job soon. Can't wait to ride it. 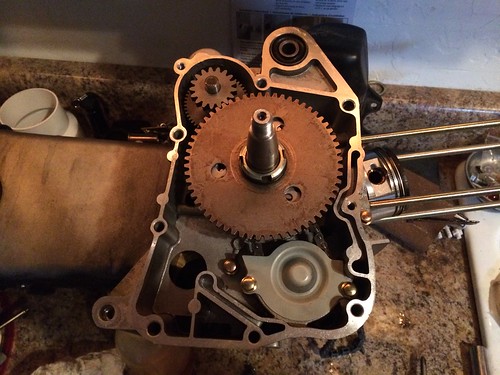 Untitled Untitled by mxmattaz, on Flickr Starter clutch installed. |
|

