|
|
Post by mxmatt on May 1, 2014 16:40:14 GMT -6
Thursday, Day 7! Started in on this bad boy around 8:00 AM. First item of business. Mount that motor in the frame. 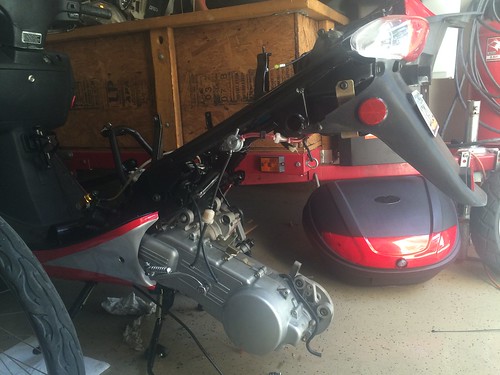 Untitled Untitled by mxmattaz, on Flickr Another angle. 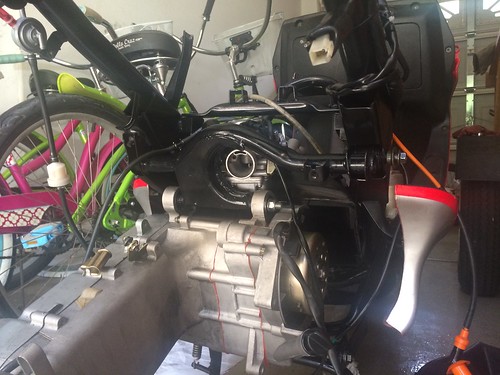 Untitled Untitled by mxmattaz, on Flickr Left rear shock attached. 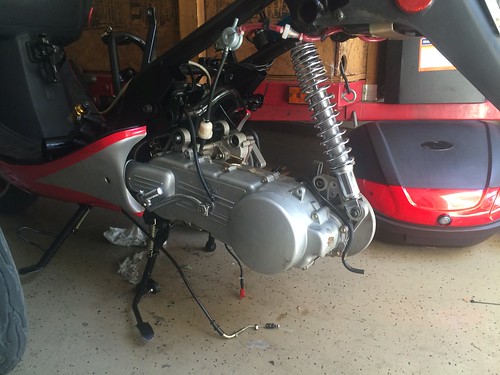 Untitled Untitled by mxmattaz, on Flickr Throttle cable, Starter, vacuum and fuel lines attached. 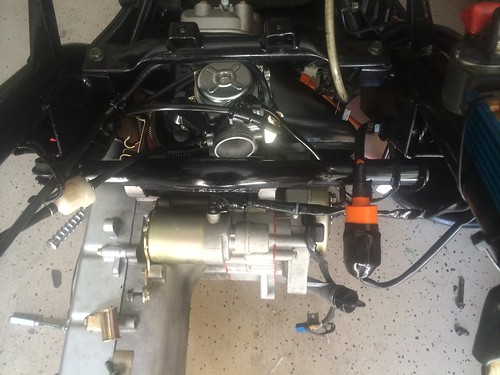 Untitled Untitled by mxmattaz, on Flickr Rear wheel mounted. 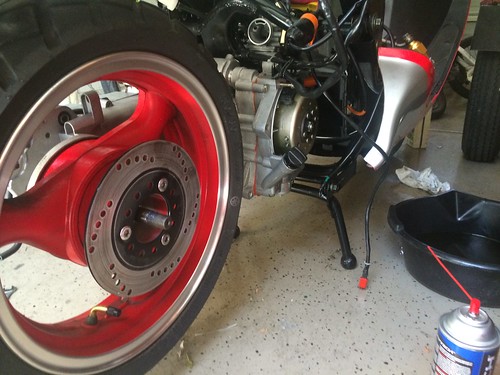 Untitled Untitled by mxmattaz, on Flickr Swing arm and right rear shock mounted. 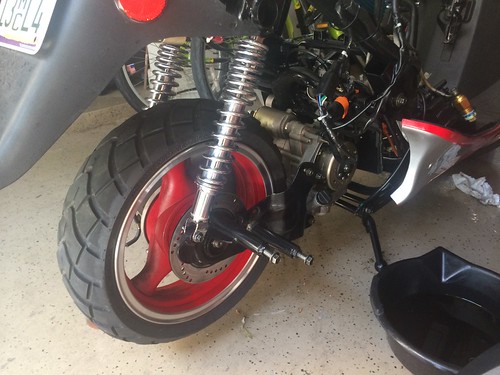 Untitled Untitled by mxmattaz, on Flickr And....I forgot to take pictures of the rest. Sorry boys. I used half a tube of blue Loctite on this project. It better not come apart. The most disappointing part about forgetting to take the rest of the pictures is that I replaced the fork oil. I still don't know how much oil is supposed to go in them. I basically eyeballed what I poured out and added a little extra for good measure. If you are inclined, I would do this. The oil was the original Chinese oil and it was black and smelled really bad. I replaced it with Bel Ray 10w Fork Oil I use on in my dirt bike. I am pleasantly pleased with the result. I may even ad a little more oil in the next week or so once I see how it performs. Next time I do it, I will take good photos and post them. 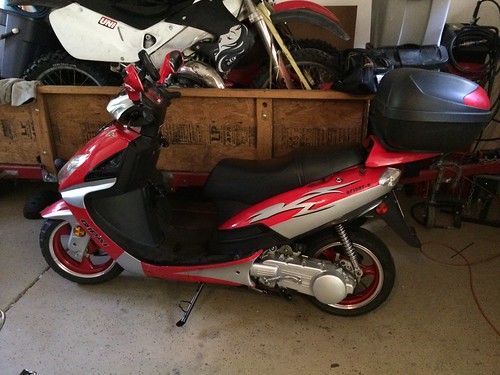 Untitled Untitled by mxmattaz, on Flickr Here is my new/rebuilt ride. I'll keep you updated on the performance once I get it up and running. |
|
|
|
Post by mxmatt on May 1, 2014 16:22:00 GMT -6
Wednesday, Day 6! Seals came around 4:30 PM. About freaking time. Popped that bad boy in. I got right after it with Red RTV, gasket, Red RTV, hand tightened, waited and hour and torqued that right side cover down. I forgot to take a pic before installing the stator and pickup coil. 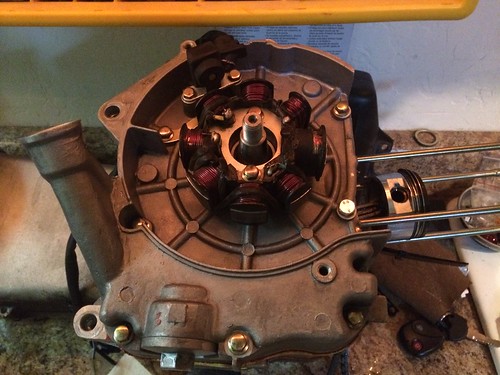 Untitled Untitled by mxmattaz, on Flickr Flywheel mounted. 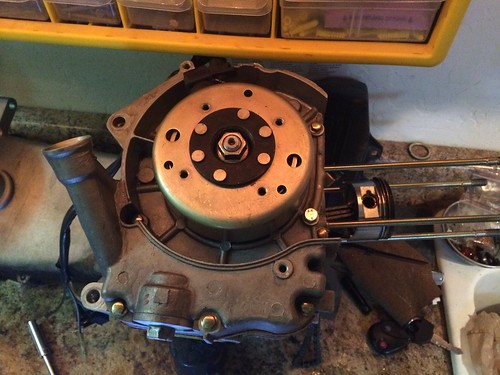 Untitled Untitled by mxmattaz, on Flickr Piston sleeve and head installed. I was getting lazy with the camera cause I just wanted to be done already. Check out those timing marks all lined up. 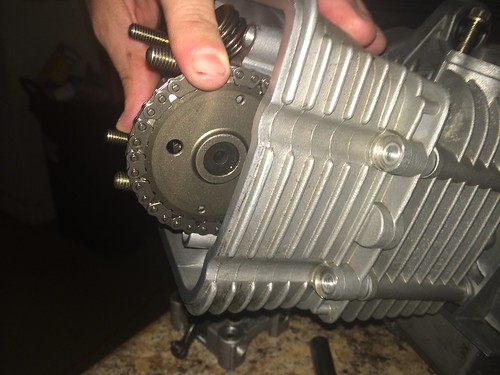 Untitled Untitled by mxmattaz, on Flickr Valve cover and cooling fan shroud installed. All torqued to specs. 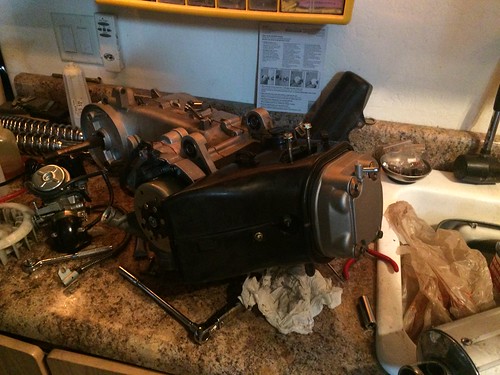 Untitled Untitled by mxmattaz, on Flickr Carburator cleaned and installed and engine mounting bracket, aka handle, attached. 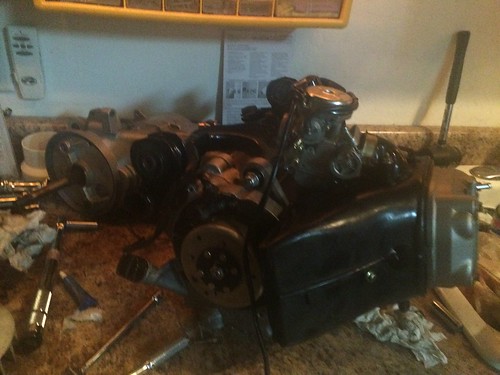 Untitled Untitled by mxmattaz, on Flickr Motor is ready for install. It was 11:30 PM and I was tired. I packed it in for the night after about after about 5 hours of monkying with it. 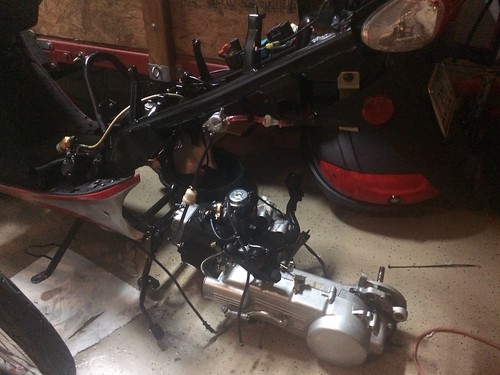 Untitled Untitled by mxmattaz, on Flickr |
|
|
|
Post by mxmatt on May 1, 2014 15:42:51 GMT -6
Day  Tuesday I had my swing arm muffler bracket welded back on. Paid a local guy $10 for his labor. I was still waiting on my oil seals to arrive. 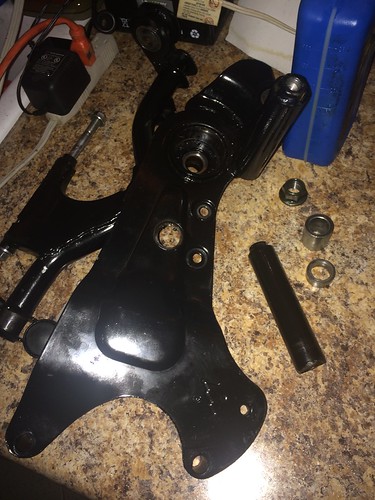 Untitled Untitled by mxmattaz, on Flickr Finished Product... 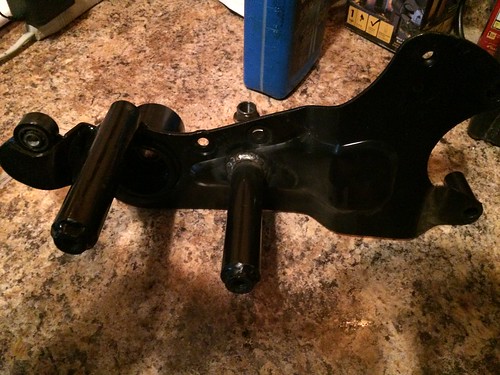 Untitled Untitled by mxmattaz, on Flickr |
|
|
|
Post by mxmatt on May 1, 2014 8:32:23 GMT -6
Just to follow up on what I found... I pulled the stator and removed the side cover and discovered a lot of small metal pieces in the bottom of the crankcase. At first I thought it might be fragments from a broken piston ring, but then I discovered that it was fragments from broken needles from the rod big end bearing. I pulled the cylinder off and then I could see the slop in the big end of the rod. Not worth fixing in my opinion and I plan to buy a new engine. Thanks for the help. Bingo! See reply #2 to this thread. If you have the cash to throw down for a new engine, go for it. Otherwise a new crank, bearing and rod assembly will run you about $45 and you get to have fun with the labor. |
|
|
|
Post by mxmatt on Apr 29, 2014 21:44:42 GMT -6
Lanternscooter and cyborg. Is the spring side and the smooth side the same side?
Also, I know that I should know this, but what is the torque spec for the starter clutch locking nut in Inch Pounds? I can never figure out Nm.
|
|
|
|
Post by mxmatt on Apr 29, 2014 21:42:36 GMT -6
Wow Matt! I hadn't seen this thread when we were PM'ing yesterday. Very nice! I can't wait to see you put the rest of this thing together. Assuming I have no major issues between now and then, I may do a tear down like this over the winter, just to make sure everything is in order. Oh, I thought that this thread is where you saw the pic of my actual scoot. Yeah! It is labor intensive, but it is also relaxing and educational. I'm grateful to the guys on here with the "know how." I couldn't have done it with out their assistance. CC: Bashan CCC: Alleyoop |
|
|
|
Post by mxmatt on Apr 29, 2014 10:55:12 GMT -6
Oil Seals: Which way do I install them? Which side faces the case and which side is exposed?
Starter Clutch Locking Nut: Torque recommendation (what if I don't have job specific tool?) and can/should I use Loctite?
|
|
|
|
Post by mxmatt on Apr 29, 2014 0:19:53 GMT -6
Day 4! Starter clutch arrived in mail today. Installed it and now I am waiting for new oil seal kit to arrive. Hopefully tomorrow I can get to the rest of this motor and finish up the job soon. Can't wait to ride it. 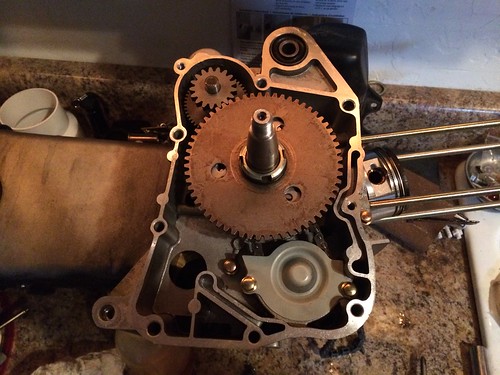 Untitled Untitled by mxmattaz, on Flickr Starter clutch installed. |
|
|
|
Post by mxmatt on Apr 28, 2014 23:55:50 GMT -6
Oh Great Bashan! Please pardon the shameful mistake. I vow never to attribute any worthy scooter related information or instructions to any other place than this noble and fine institution of learning. Where else could one obtain the designation of Doctor of Scooter but on ScooterDoc.com. I am now prepared to take a two fold requiem of lashings with a wet noodle. 
|
|
|
|
Post by mxmatt on Apr 28, 2014 21:27:09 GMT -6
I agree with Bashan about looking at the starter clutch first now that you say it spins freely and then binds. I just threw my starter clutch (see my thread about it). That bad boy made a lot of noise at idle. Clanking and nocking. But when RPMs were up it tended to quiet a bit. If you plan to tear into it, order your gasket kit now. With so few miles, the seals, piston and rings are probably barely worn in.
|
|
|
|
Post by mxmatt on Apr 28, 2014 13:12:12 GMT -6
And he's trying to get me to go for the naked look! Not that there is anything wrong with nudists, but I like a little faring covering my motor if you know what I mean. On a side note, that paint reminds me of the color the US Navy paints their ships. Kinda cool!  |
|
|
|
Post by mxmatt on Apr 28, 2014 13:09:32 GMT -6
It's frustrating. No one wants squeaky brakes. Have you tried what I suggested above? I think you'll get good results.
|
|
|
|
Post by mxmatt on Apr 28, 2014 10:53:27 GMT -6
Talk about over engineered!  |
|
|
|
Post by mxmatt on Apr 28, 2014 10:41:05 GMT -6
I'd try a little brake cleaner first to get any excess brake dust off the pads and drum. IF that doesn't work, I'd take a little sand paper to the pads and drum. Sometimes those drums can get really warm and it causes the pads to glaze.
|
|
|
|
Post by mxmatt on Apr 28, 2014 10:38:14 GMT -6
This sounds an awful lot like what happened to me in December 2013. I assumed it was the crank bearing at the time. I tore into the engine to find that it was the rod bearings. They are fine little dowels and if one of them gets an attitude, pretty soon they all follow his lead. When mine went I was doing the same thing you were. I was at WOT and it slowing just died and then had all kinds of starting issues. Depending on how mechanically inclined you are, either that bad boy needs to come apart or you need to buy a new engine. If it were me, I'd tear it apart and use it as a learning experience. Good luck and keep us posted. Oh, and Bashan and Alleyoop will be along shortly to give you the real answer.  |
|

