|
|
Post by mxmatt on Apr 28, 2014 10:31:11 GMT -6
I'm in agreement with Bashan. If that vent hose is attached to your CVT, then it cold be lubing your variator/belt and slipping causing no power. Does the engine over rev when you are at 25 MPH? On my scoot, that vent hose is attached to the underside of my air box. Check there to see if there is an open fitting. You may have knocked it loose when you were adjusting your carb.
|
|
|
|
Post by mxmatt on Apr 28, 2014 10:24:13 GMT -6
Unfortunately I didn't have the forethought to do this, but I wish that I would have since I live in Arizona and summer temperatures can reach in the 110+ degrees. If you notice the two arrows are pointing to two locations where with a little precision, one could drill out those plugs and insert fittings for an oil cooler. It would require making a bypass to the crank case housing, but I have seen somewhere on the Interwebs where it has been done. Maybe next time. 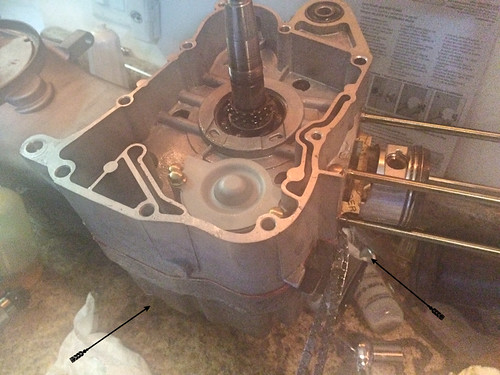 Fotor_20140428091630487 Fotor_20140428091630487 by mxmattaz, on Flickr |
|
|
|
Post by mxmatt on Apr 28, 2014 10:09:09 GMT -6
Day 3! Item number one is to get that broken starter clutch assembly off without causing damage to the engine.  Untitled Untitled by mxmattaz, on Flickr How's this for riggin' it? Actually ended up extending the center screw a little at a time and then tapping it horizontally with a rubber mallet to get the pull I needed. 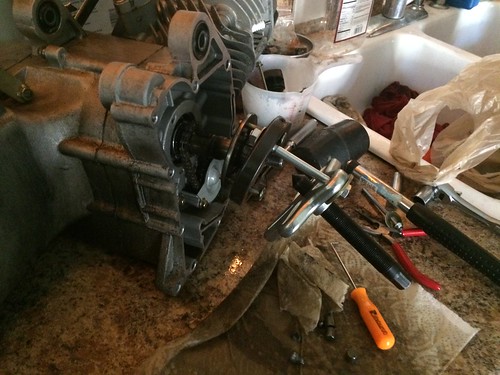 Untitled Untitled by mxmattaz, on Flickr Mission accomplished. 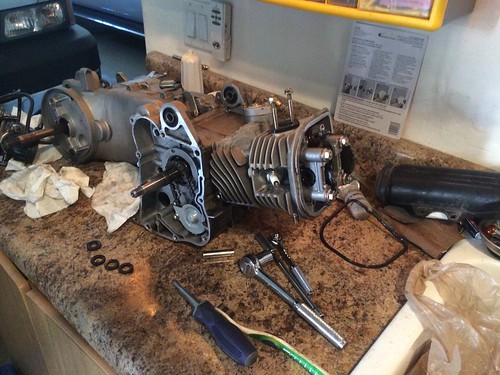 Untitled Untitled by mxmattaz, on Flickr Cam and Timing Chain cover removed. 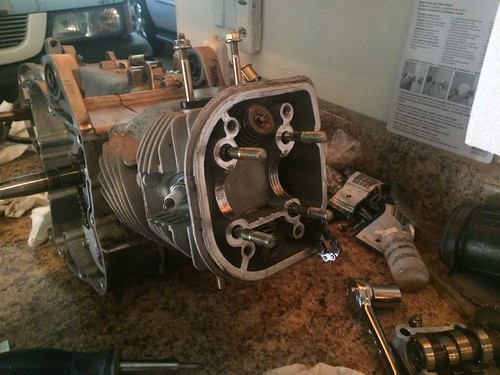 Untitled Untitled by mxmattaz, on Flickr Rocker arm assembly and cam removed. 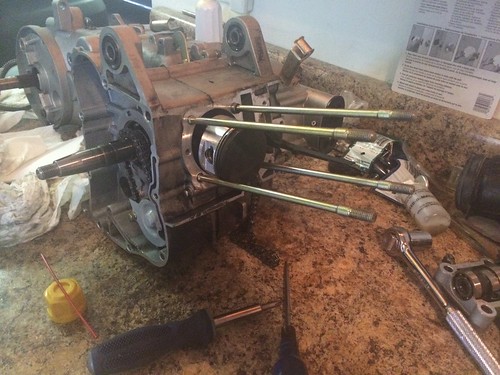 Untitled Untitled by mxmattaz, on Flickr Head and Piston sleeve removed. Everything looks very good since my crank, rod, piston and rings were replaced in February. 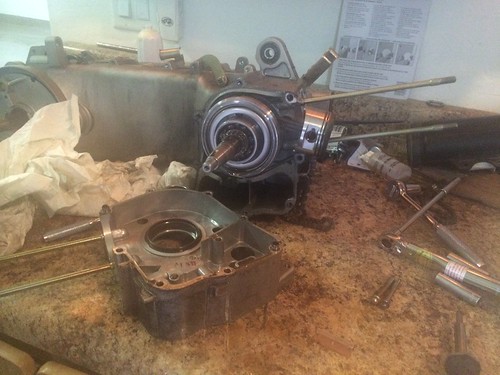 Untitled Untitled by mxmattaz, on Flickr Right side crank case removed. I found no areas where the clear RTV sealant failed leading me to believe that it was the combination of the failed starter clutch combining to ruin the oil seal that was the source of all my oil. 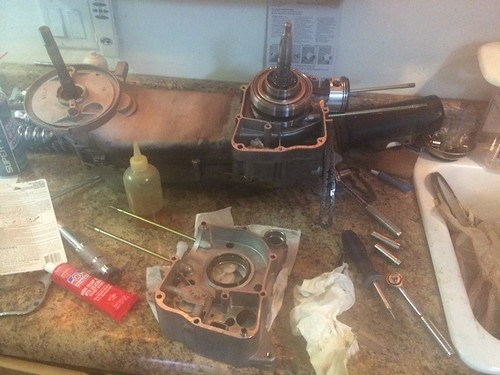 Untitled Untitled by mxmattaz, on Flickr Ready for new gasket and RED RTV sealant (Thanks Bashan!) Cleaned all surfaces with carb cleaner, applied sealant, then gasket, then sealant, hand tightened waited an hour and then torqued to specifications 10Nm. Chime in if you have suggestions. 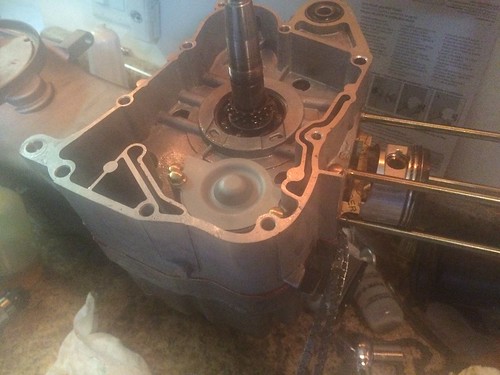 Untitled Untitled by mxmattaz, on Flickr Walla! I am waiting on the oil seals to be delivered so I had to find other work to do. Hopefully they arrive today. 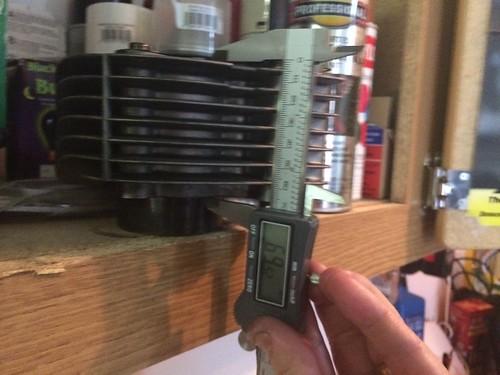 Untitled Untitled by mxmattaz, on Flickr Cylinder measure for a "1P57QMJ" 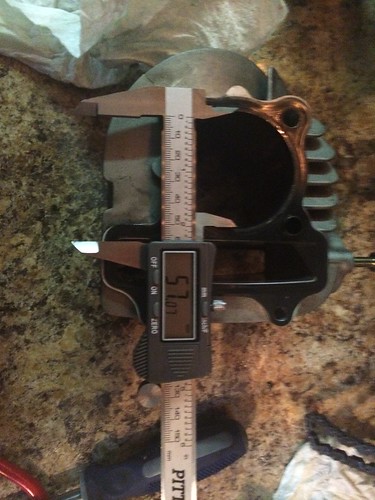 Untitled Untitled by mxmattaz, on Flickr 1P57QMJ 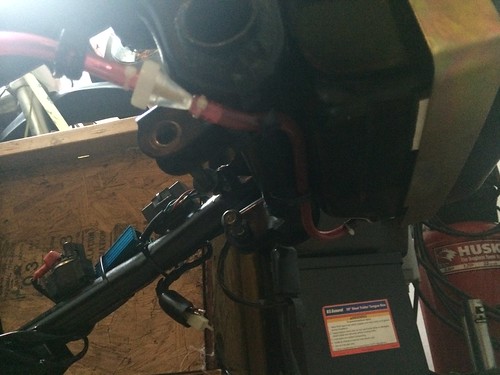 Untitled Untitled by mxmattaz, on Flickr I apologise for the picture quality. I smudged some oil on my phone and didn't realize it. Here is my new fuel line run with the Alleyoop recommended fuel filter installed. 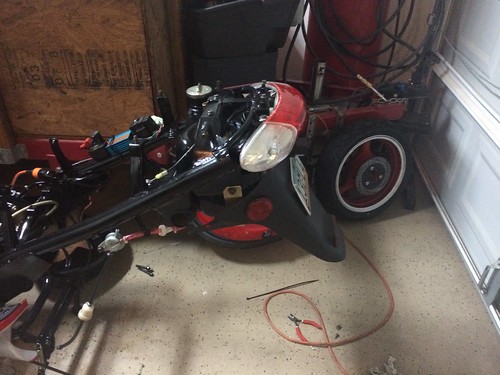 Untitled Untitled by mxmattaz, on Flickr Fuel tank, tail light assembly and rear fender attached. I went through all wiring, applied dielectric grease to all connections and used electric tape and small zip ties to weather proof wires and connections. I am also applying blue lactate to all bolts. I did a lot of excess oil removal and cleaning of the frame and ensured grounding locations were solid. 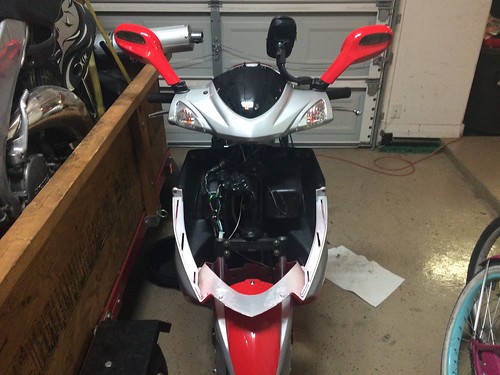 Untitled Untitled by mxmattaz, on Flickr Once I get the motor back together, I plan to rework the forks with Bel Ray 10w fork oil, lube the speedo cable, install an LED dasher, check the steering head bolts and lube the front axle bolt. Spent a good 8 hours today! Things may slow down as I have to actually work tomorrow. |
|
|
|
Post by mxmatt on Apr 26, 2014 21:56:07 GMT -6
Day 2! 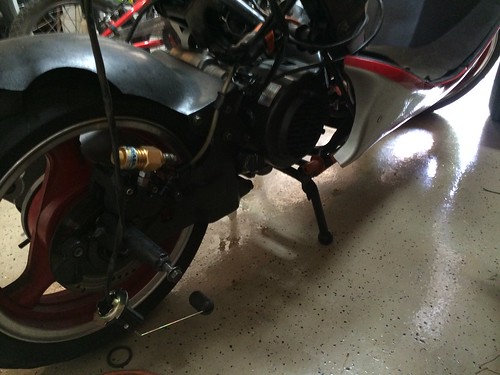 Untitled Untitled by mxmattaz, on Flickr Header and muffler removed. 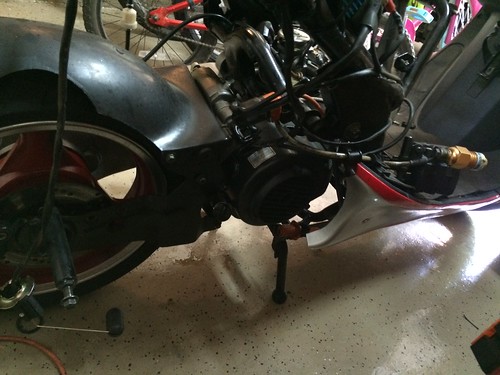 Untitled Untitled by mxmattaz, on Flickr Brake Caliper removed, swing arm detached. 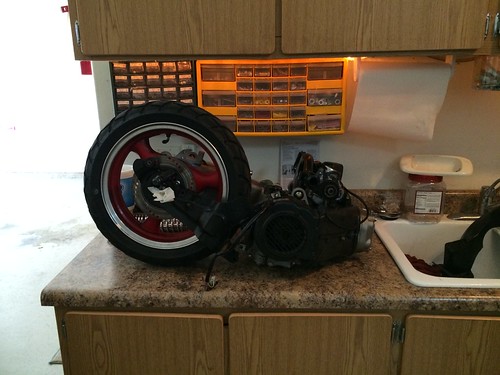 Untitled Untitled by mxmattaz, on Flickr Intact motor removed. Notice the nifty handle still attached for lugging this bad boy to my counter (Thanks Rich). 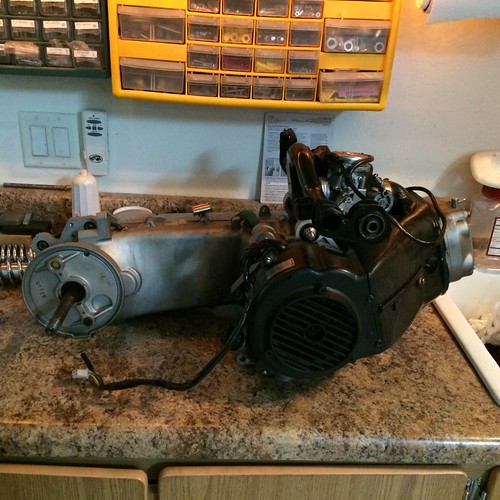 Untitled Untitled by mxmattaz, on Flickr Swing arm and rear wheel removed. 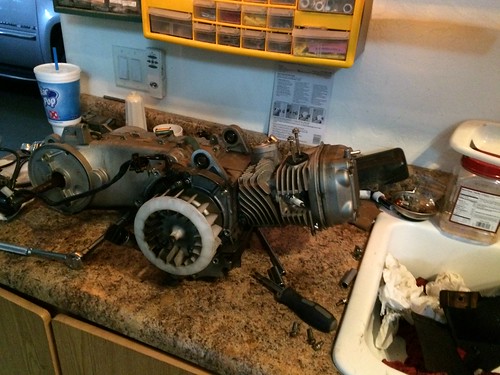 Untitled Untitled by mxmattaz, on Flickr Main support bracket, carburetor and cooling shroud removed. 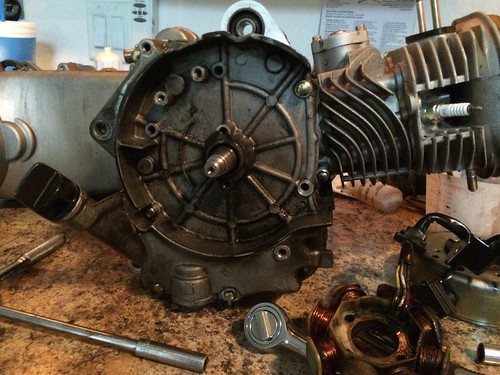 Untitled Untitled by mxmattaz, on Flickr Fan, Stator and pick up coil removed. Look at all that oil. Closer look at the source coming up. 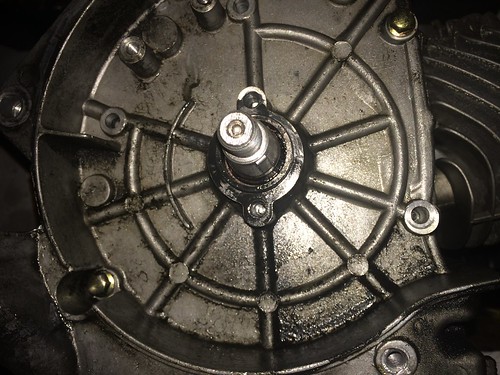 Untitled Untitled by mxmattaz, on Flickr That seal is toast. Fan was blowing the oil forward and it was getting all over everything. I spent a ton of my time today degreasing parts. 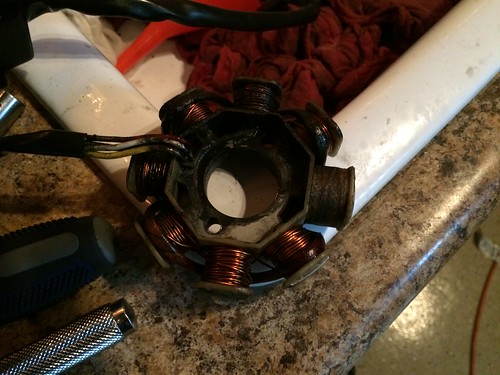 Untitled Untitled by mxmattaz, on Flickr This stator needs a bath!  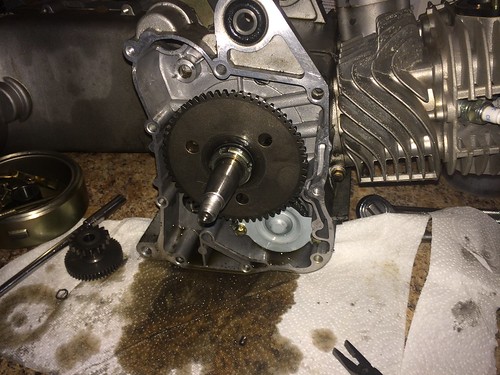 Untitled Untitled by mxmattaz, on Flickr Starter clutch and oil pump cover removed. 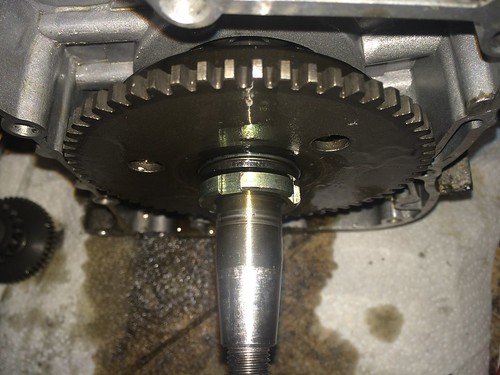 Untitled Untitled by mxmattaz, on Flickr Notice how loose the starter clutch nut was. I probably failed to tighten it enough when I replaced the crank in Feb 2014. 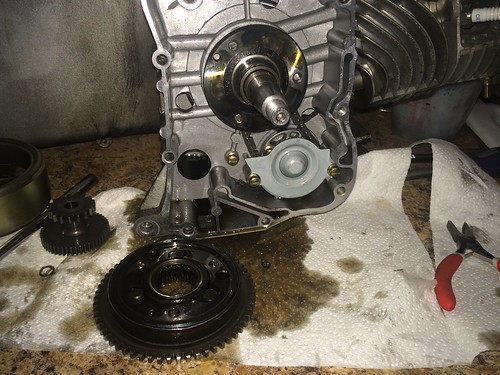 Untitled Untitled by mxmattaz, on Flickr Starter clutch destroyed. All three bolts are sheared and remaining parts show signs of extreme wear. 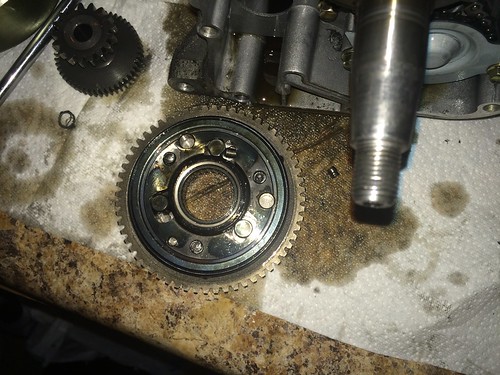 Untitled Untitled by mxmattaz, on Flickr Direct view of starter clutch. 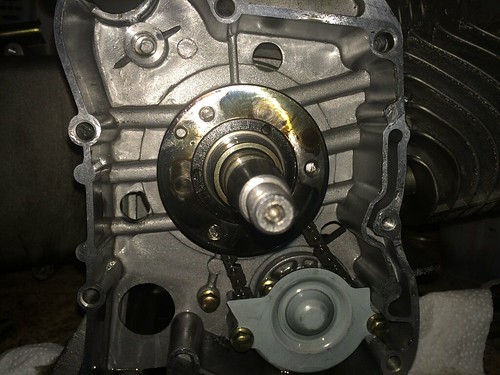 Untitled Untitled by mxmattaz, on Flickr Can't get the rest of the starter clutch off.  Done for Day 2. 5-6 hours labor today. |
|
|
|
Post by mxmatt on Apr 26, 2014 21:11:03 GMT -6
I tried to fix your pix Matt but yes, you are correct, they were on a secure URL and needed to be public. I appreciate you taking the time to post the rebuild. It should be a hoot! Ever thought of going with the naked look? Your bike I mean you perv.  Rich Rich Thanks Rich. Is using flickr ok? It's easier for me since they auto upload from my iPhone. Also, is it best to edit my origional post by adding picks or creat a new post each day? Lastly, I have seen your naked body (scooter that is) and thought about that for mine. I doubt I'll do it though. I am kinda partial to the racer look. Maybe someday if it's hammered.  |
|
|
|
Post by mxmatt on Apr 26, 2014 1:21:14 GMT -6
1. Flickr sucks Does Flickr always do this? I think I fixed it by making each photo public.2. 2nd rebuild and only 2033 miles? Yes. I must ride it like I stole it! LOL. 3. Look fwd to your progress Thanks. Look forward to your input and commentary!  |
|
|
|
Post by mxmatt on Apr 25, 2014 22:17:13 GMT -6
Keep us posted I would think your going to replace your engine fixed soon and all apart. It's a real stinker that you have to do it again. At least this time you will have to say your a perfesional after hours of putting it back together. Matt you seem to be in good spirts about it and hope you get it all right this time. Couple of difrent ways of going about it with red rvt sealant. I am hopping to hear you have your scooter running well soon. Are you replacing everything again crank piston rings? Or are you just replacing the seals on the engine? Jvino, thanks for being interested. Yes, I am going to do a full tear down rebuild of my whole scooter. I never did an origional PDI since it was purchased used and I didn't know about that then. I'm not happy about having to do it, but I'm looking forward to the experience. I'll create another thread to show my journey. I'm not replacing the crank, piston and rings since I just did that in February. |
|
|
|
Post by mxmatt on Apr 25, 2014 16:29:23 GMT -6
Wish me luck boys! I'm starting my first full tear down and rebuild of my scooter. I have previously removed the engine and rebuilt it once. Please feel free to offer any and all tips, tricks and advice you feel would be helpful to me. I plan to post pictures the whole way through. 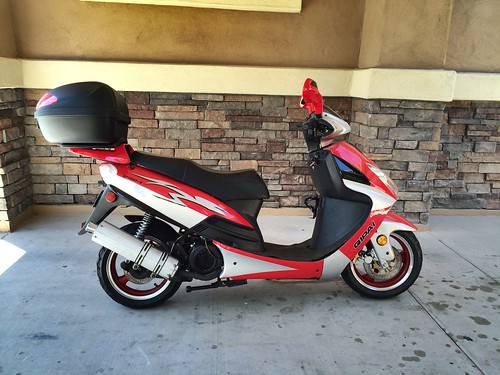 At start of second motor rebuild. 2033 miles At start of second motor rebuild. 2033 miles by mxmattaz, on Flickr Here's my scooter! 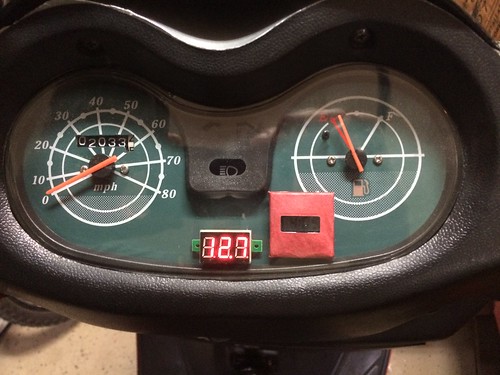 Untitled Untitled by mxmattaz, on Flickr 2033 Miles!  Storage removed. Storage removed. by mxmattaz, on Flickr Under seat storage bin removed. 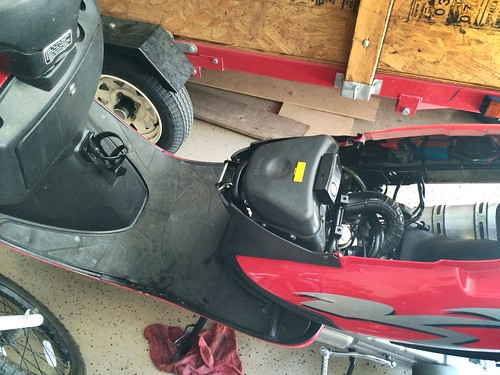 Seat removed Seat removed by mxmattaz, on Flickr Seat removed. 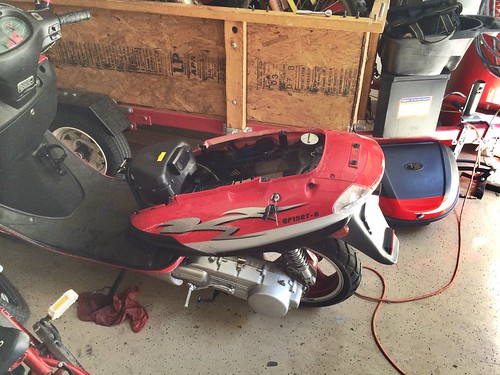 Rack and top box removed Rack and top box removed by mxmattaz, on Flickr Top Box removed. 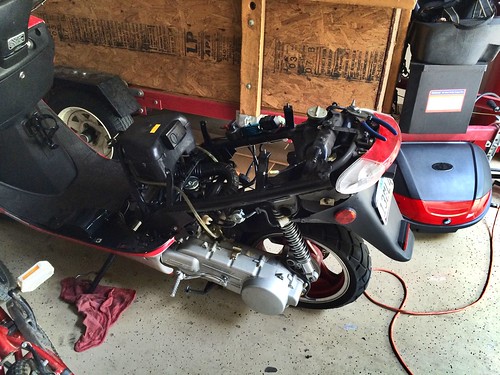 Side panels off Side panels off by mxmattaz, on Flickr Side Panels removed. 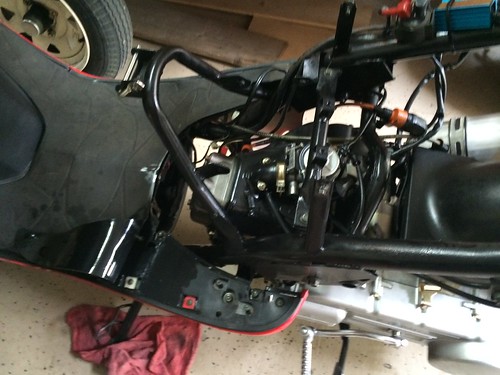 Untitled Untitled by mxmattaz, on Flickr Air box removed. 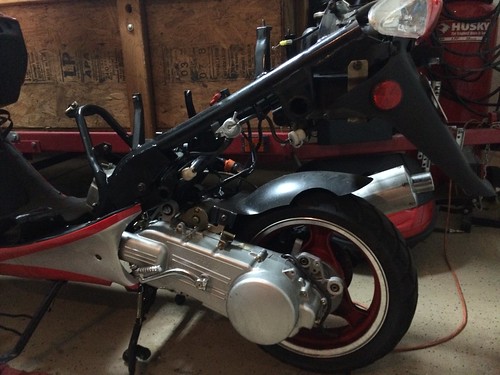 Untitled Untitled by mxmattaz, on Flickr Rear shocks removed. 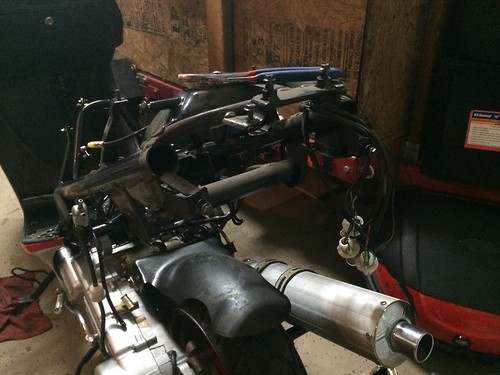 Untitled Untitled by mxmattaz, on Flickr Tail Light assemble, license plate mount/fender and fuel tank removed. That's it for Day 1. Spent a total of about 2 hours. |
|
|
|
Post by mxmatt on Apr 24, 2014 13:26:30 GMT -6
You have TWO crank oil seals 1 is behind the VARIATOR easy as pie to change 19.8*30*5. The other one is behind the plate you will be taking off to replace your starter clutch NO CRANKCASE SPLITTING IS REQUIRED. Alleyoop Not required unless you're the idiot who used clear RTV when replacing the crank and now have a bad oil leak.  |
|
|
|
Post by mxmatt on Apr 23, 2014 20:48:04 GMT -6
According to my information the original ENGINE CRANKSHAFT oil seal is 19.8*30*5. Yours might be different as it was changed. If the Oil seal is bad, then crankcase separation is required. A lot of work.
If the oil leak is coming from inside the drive cover, behind the variator, you have a crank seal leak which would be costly, in time, to fix.
I'd let those who know more than I do, confirm this, however, before taking any action. So wait for additional replies.
Thanks for the info. I'm aware of the labor intensive undertaking I'm headed for. Fortunately it's a case of "been there, done that" for me. I figure so long as I'm in there I might as well change them out since the bike is a 2008 and they are the origional seals. |
|
|
|
Post by mxmatt on Apr 23, 2014 9:45:33 GMT -6
Just ordered my new starter clutch and gasket kit on eBay. I figure since I am going in to replace the clutch, I may as well do a complete engine rebuild, AGAIN!  I have my "Red RTV" sealant (thanks Bashan), but I still need to order my crankcase oil seals. However, I am not sure what size to order or how many. Could one of you big boys give me some suggestions? My motor is a Lifan 1P57QMJ with a Scrappydog Scooters crankshaft installed in February 2014. There seems to be a few different sizes and diameters for the seals and I am trying to learn which size I need for my motor. Thanks in advance for your "know how." |
|
|
|
Post by mxmatt on Apr 22, 2014 23:28:47 GMT -6
Hey Alley, Can I get your take on replacing this peacock with a standard on/off valve? Pros/Cons, opinions, experiences, etc? WHY would you want a OFF/ON? If you can somehow mount it for easy access to remember to turn it ON and OR OFF but why when a PETCOCK is automatic? If you worried about vacuum line just get good vacuum lines. I have had the same hoses Vacuum fuel since 2009 that the trike came with NOT ONE SINGLE PROBLEM. Alleyoop Question answered. Thanks. |
|
|
|
Post by mxmatt on Apr 22, 2014 21:25:47 GMT -6
Welcome to the forum Mike! Very cool scoot you got there. Anymore luggage and you'll need a trailer!  |
|
|
|
Post by mxmatt on Apr 22, 2014 21:20:08 GMT -6
Hey Alley, Can I get your take on replacing this peacock with a standard on/off valve? Pros/Cons, opinions, experiences, etc? |
|
|
|
Post by mxmatt on Apr 22, 2014 12:58:52 GMT -6
Yes that will work just fine if you use the silcone RTV make sure you let it dry first before put it back on. Alleyoop Will do. On a side note, when I'm putting my engine case back together using RTV shoul I also let it dry on the gasket before ease bling and then torquing? |
|

