Doc's Anything Goes
Currently Offline
Posts: 1,226
Likes: 81
Joined: Apr 4, 2014 3:52:42 GMT -6
|
Post by richardv on Aug 11, 2014 20:16:15 GMT -6
Yes I remember the K-Mart tools. They used to be big (Big-K) around here until they hooked up with Sears. That is some nice mock up work. It should save you from a lot of waste.
|
|
Doc's Anything Goes
Currently Offline
Posts: 371  Likes: 18
Joined: Jun 13, 2014 16:48:23 GMT -6
|
Post by glavey on Aug 12, 2014 5:57:40 GMT -6
Thanks! I've still got to figure out the final placement and arrangement for the triangulations, but other than that, I've pretty much got it as I want it.
Since it was raining so much yesterday, I decided to take apart the old drill charger that doesn't work to see if I could fix it. Nope; open primary winding. New one on ebay costs $15; that'll have to wait until I have more funds.
|
|
Doc's Anything Goes
Currently Offline
Posts: 371  Likes: 18
Joined: Jun 13, 2014 16:48:23 GMT -6
|
Post by glavey on Aug 12, 2014 11:31:12 GMT -6
"Anything that can go wrong, will go wrong" I decided to make a few changes to the frame; I rotated the top bars that I call "back to seat", and added two more triangulation pieces: 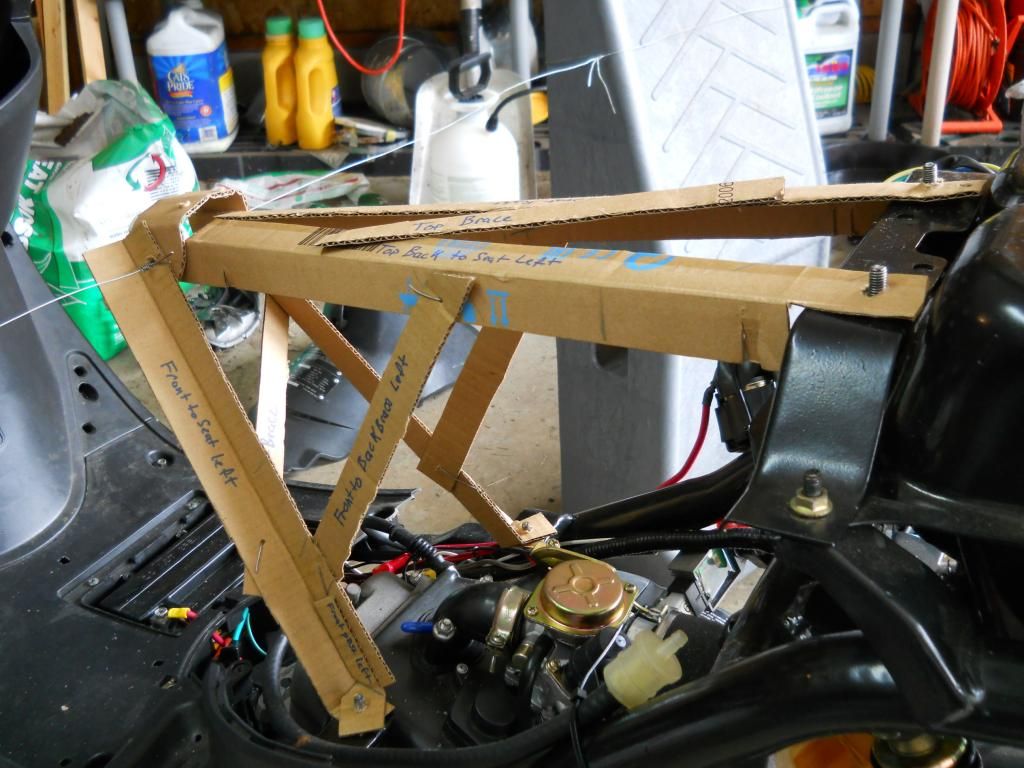 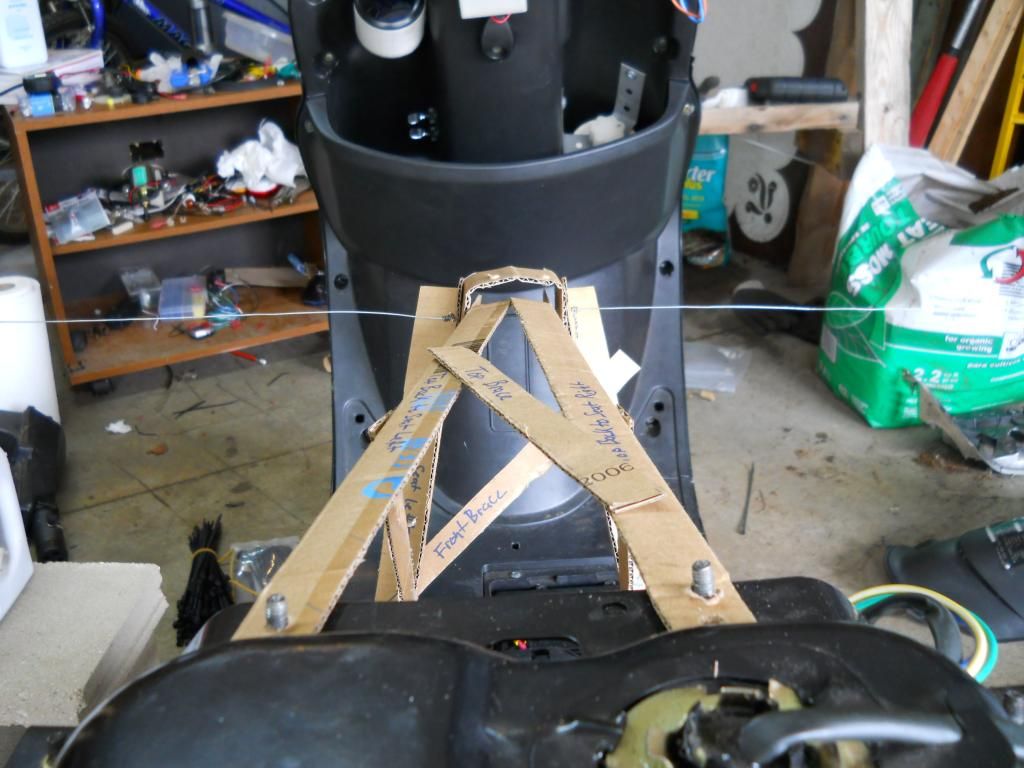 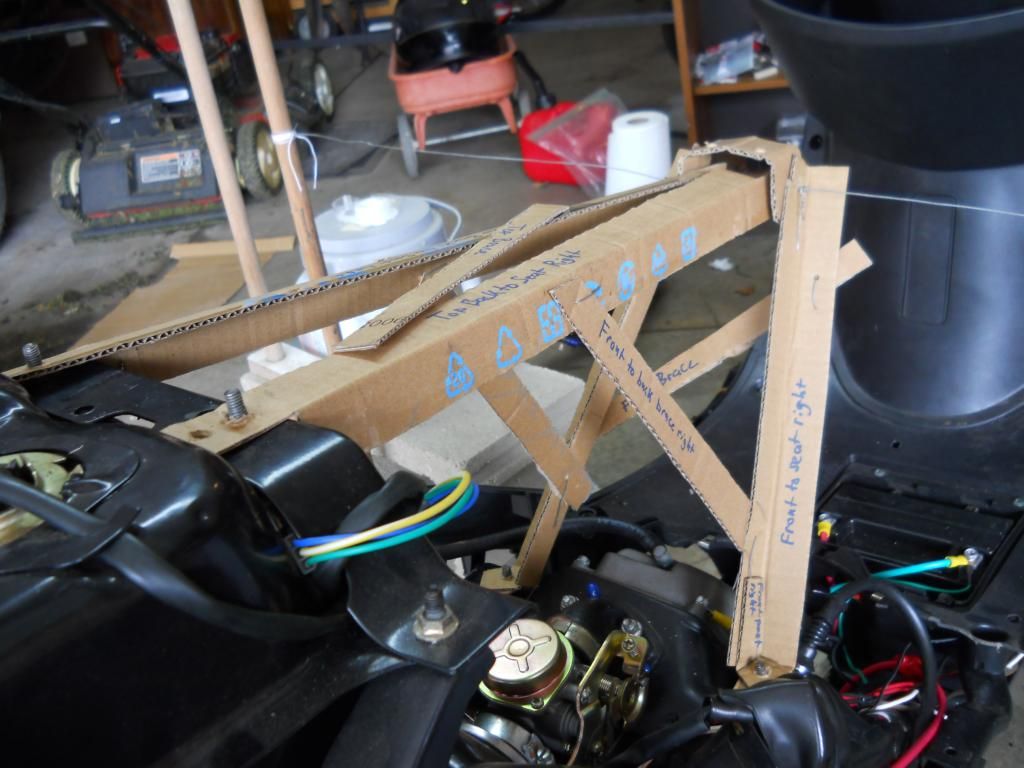 I do have quite a selection of paints to use, but nearly all of them are 70% empty. If worst comes to worst, I'll just use the undercoating; that's nearly full. 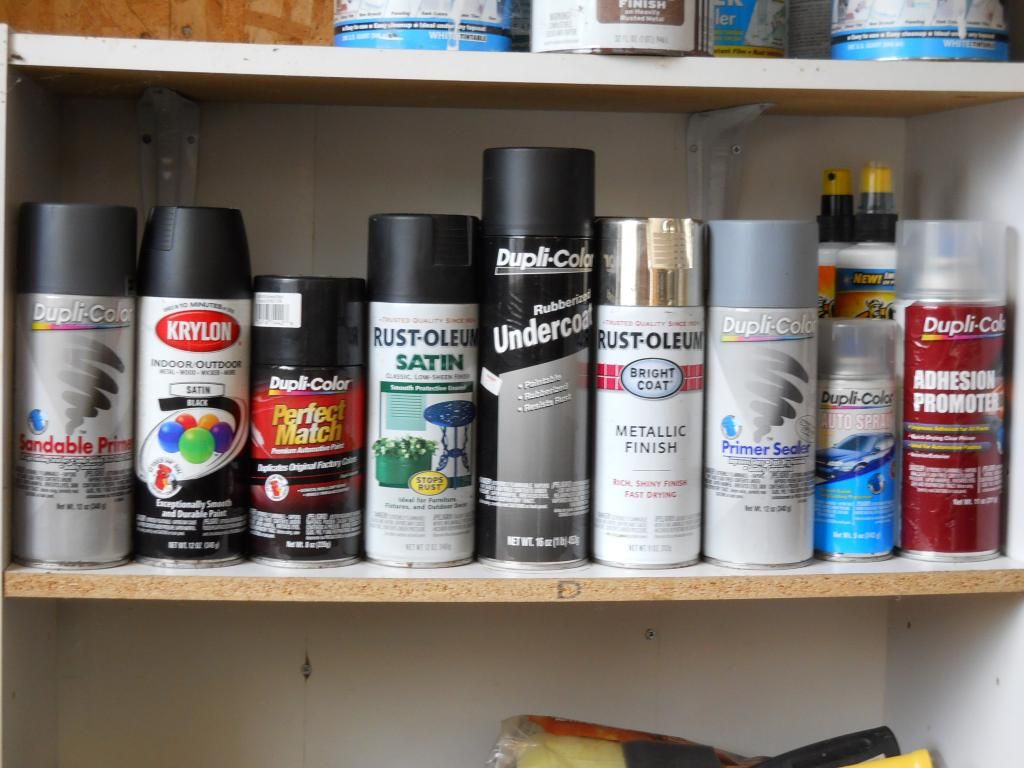 Safety first! I already have tinnitus and I don't care to make it any worse. 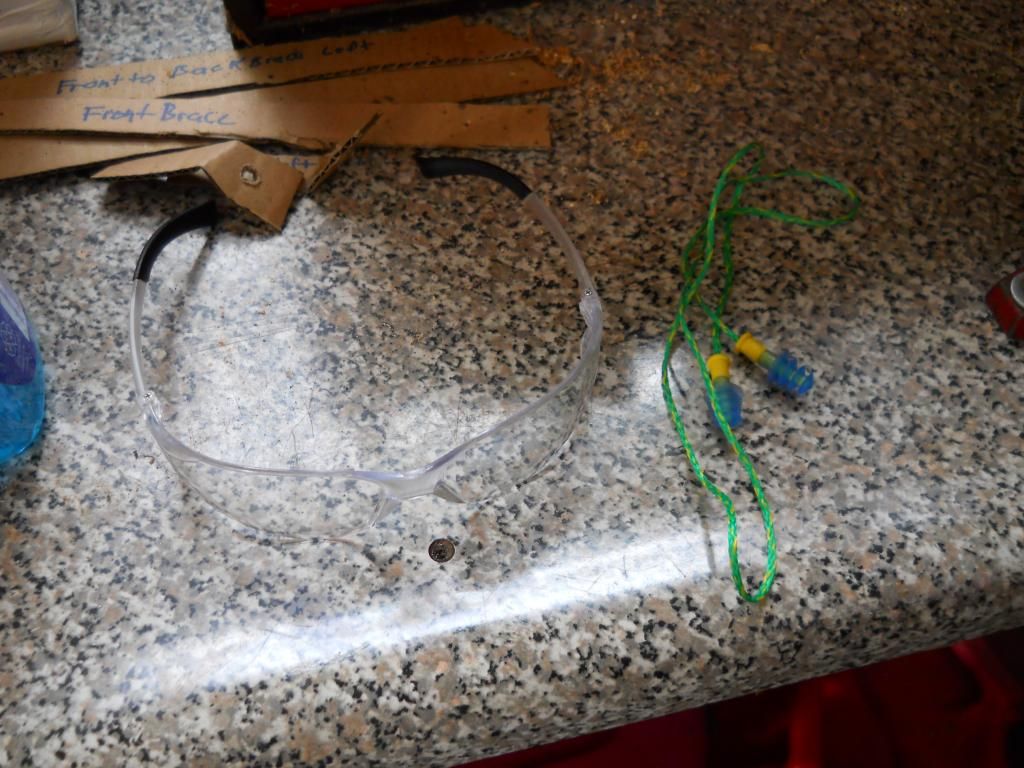 I used my jigsaw to cut the metal, which worked quite well. I got all but two small pieces roughly cut to size and then... CRACK! BANG! THUD!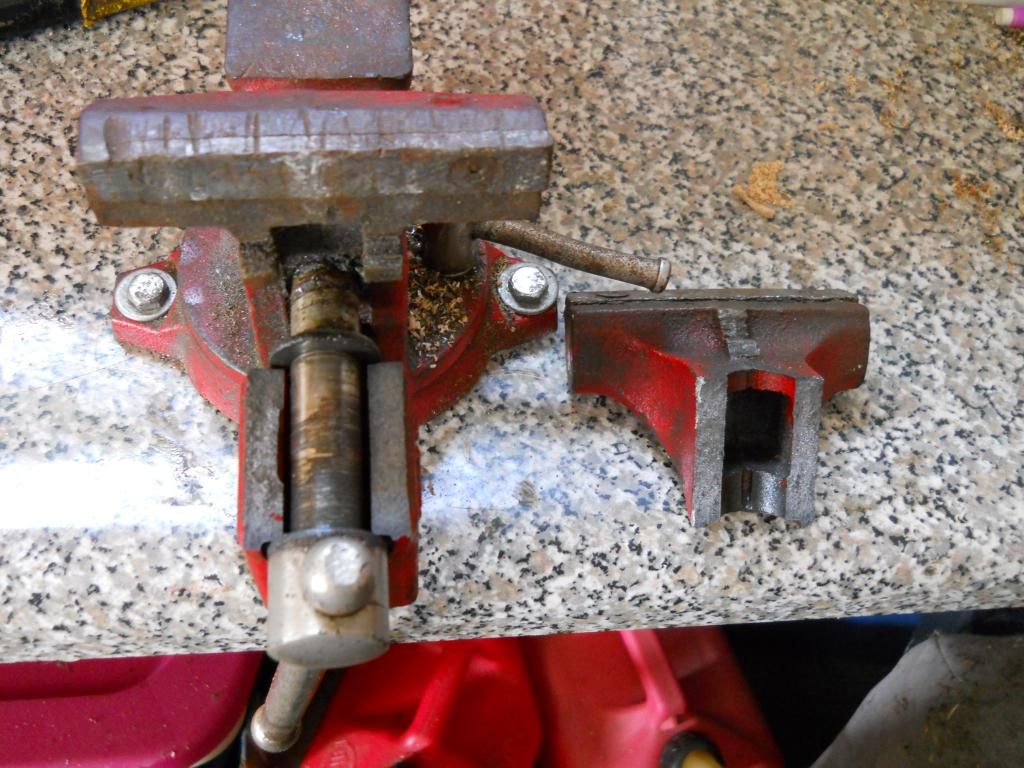 My bench vise is now an anvil and a paperweight: 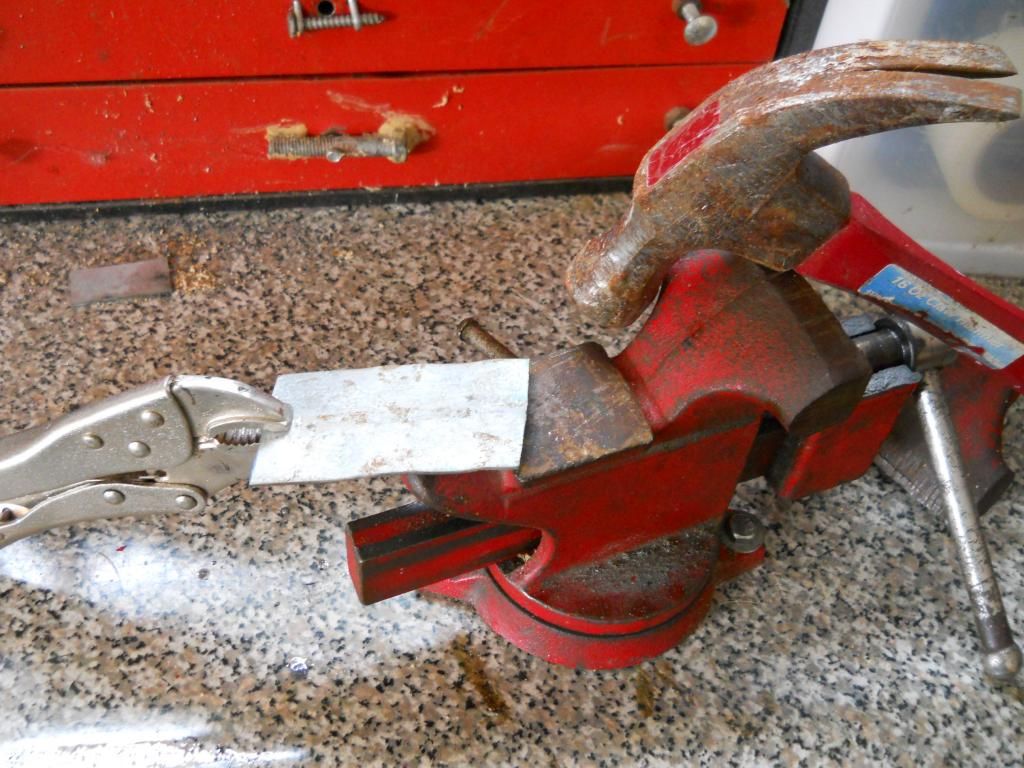 I'm pretty much stuck until I get a new one. I'm not foolhardy enough to hold a piece of metal in one hand and a jigsaw in the other. I'll see what home depot, lowes, harbor freight has... I'm not mad that the thing broke; it, like nearly all of my tools was inherited and is probably twice my age. |
|
Doc's Anything Goes
Currently Offline
 Say no to scooter abuse
Posts: 3,873
Likes: 156
Joined: Mar 31, 2010 19:07:16 GMT -6
|
Post by jct842 on Aug 12, 2014 15:20:10 GMT -6
That primary in your charger, it will be the outside winding. especially if it is a wall wort, what the manufacturers have done is put a fusable link at the start of the winding just under the paper insulation. You very carefully peal way the insulation and watch for the break. It doesn't work on all but a lot can be repaired by jumping the burned wire. Then you have no fuse protection and need to watch when using it.
|
|
Doc's Anything Goes
Currently Offline
Posts: 371  Likes: 18
Joined: Jun 13, 2014 16:48:23 GMT -6
|
Post by glavey on Aug 12, 2014 16:28:27 GMT -6
That primary in your charger, it will be the outside winding. especially if it is a wall wort, what the manufacturers have done is put a fusable link at the start of the winding just under the paper insulation. You very carefully peal way the insulation and watch for the break. It doesn't work on all but a lot can be repaired by jumping the burned wire. Then you have no fuse protection and need to watch when using it. I don't see any fusible link: 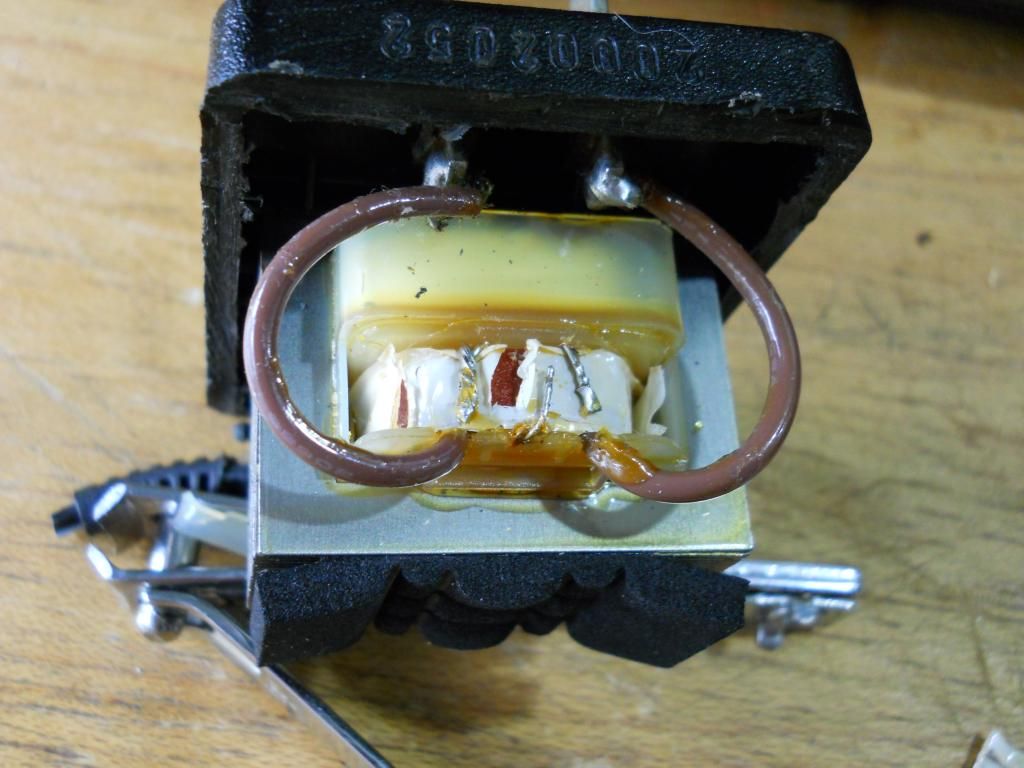 But I do see something I assume is a thermal protection device: 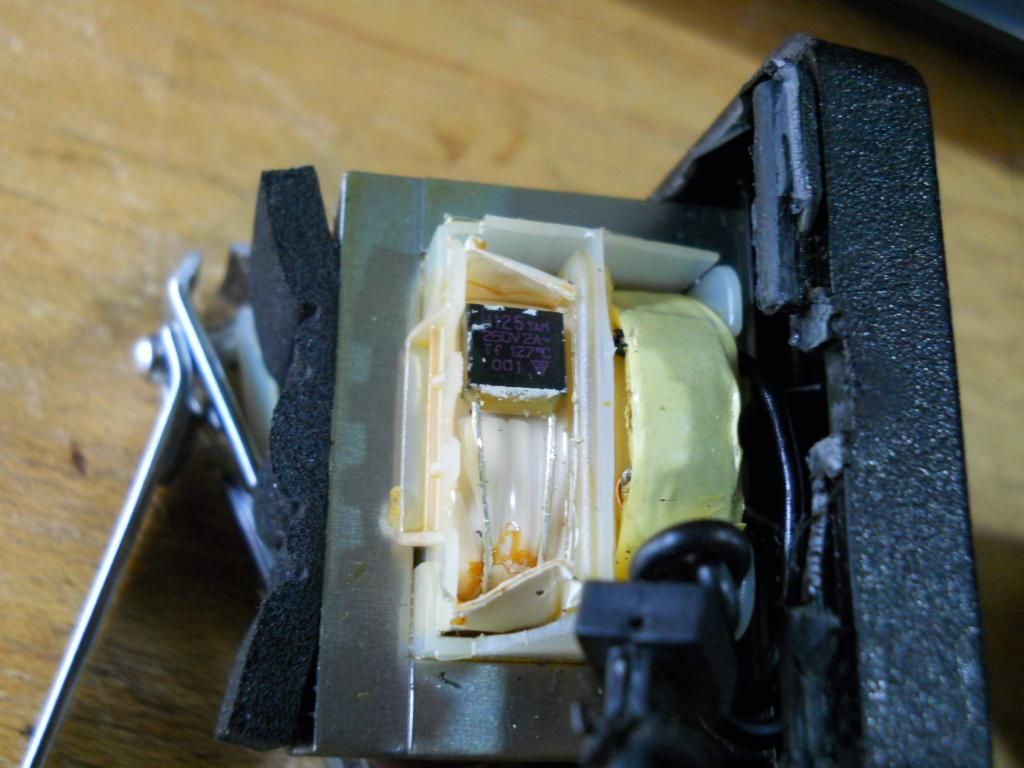 The two leads tested open. If I short them, the primary winding measured at the external prongs shows what I assume is normal resistance. You may have just saved me $15, thanks man! On a side note, I went out and bought a $20 vice so I'll be back in action tomorrow. Edit: It works! Thanks dude! Now I can stop using that kiddie-class drill with a broken trigger. |
|
|
|
Post by cyborg on Aug 12, 2014 20:19:04 GMT -6
Ain't love grand
|
|
|
|
Post by Bashan on Aug 12, 2014 21:33:03 GMT -6
You broke a vise? You broke..a.....vise? I've broke many a sledge hammer handle. I even bent a star type tire iron when I was 20 (broke the lug off too). But I have NEVER trashed a vise. What are you on man? Peruvian marching powder? Starbucks? People don't just "break" vises. You're starting to scare me. 
|
|
Doc's Anything Goes
Currently Offline
Posts: 1,226
Likes: 81
Joined: Apr 4, 2014 3:52:42 GMT -6
|
Post by richardv on Aug 13, 2014 7:06:13 GMT -6
I hear ya about the tinnitus.
Glad to hear about saving the charger. It's good to have smart friends.
Bashan, you never broke a vise? You need bigger hammers.
|
|
Doc's Anything Goes
Currently Offline
Posts: 371  Likes: 18
Joined: Jun 13, 2014 16:48:23 GMT -6
|
Post by glavey on Aug 13, 2014 7:39:05 GMT -6
The vice is made by Fuller, and according to their site they don't even make vices anymore. I am sure it is at least 40 years old. I'm not too surprised it broke. It did put a dent in my car when it flew off, but the car is a beater anyway.
I'm still going to keep it, it was my grandpa's so it has sentimental value.
I might keep the new one until the weekend and then go to the local flea market and get a bigger one for less money and return the other one. I'm cheap like that.
I also bought a rattle can of black paint so I can paint the freshly cut pieces and avoid rust. I brought the pieces I cut inside after I broke the vise because, as usual, my garage is always humid although about 5 degrees cooler than outside, so the freshly cut metal will be in a slightly less humid environment.
I have one can of gray primer that is about 30% full, so I'll use that on the ends I cut. As for the rest of the metal, it seems to be coated with... something. I won't take the coating off, I'll just clean it up, spray on some adhesion promoter (I have a full can lying around, might as well use it) and then a few coats from the black rattle can.
With some luck I'll have everything completely cut, drilled, sanded, test-fitted, and painted by the end of today.
|
|
Doc's Anything Goes
Currently Offline
Posts: 371  Likes: 18
Joined: Jun 13, 2014 16:48:23 GMT -6
|
Post by glavey on Aug 13, 2014 17:30:50 GMT -6
I bolted in the new vice and finished rough-cutting the remaining pieces: 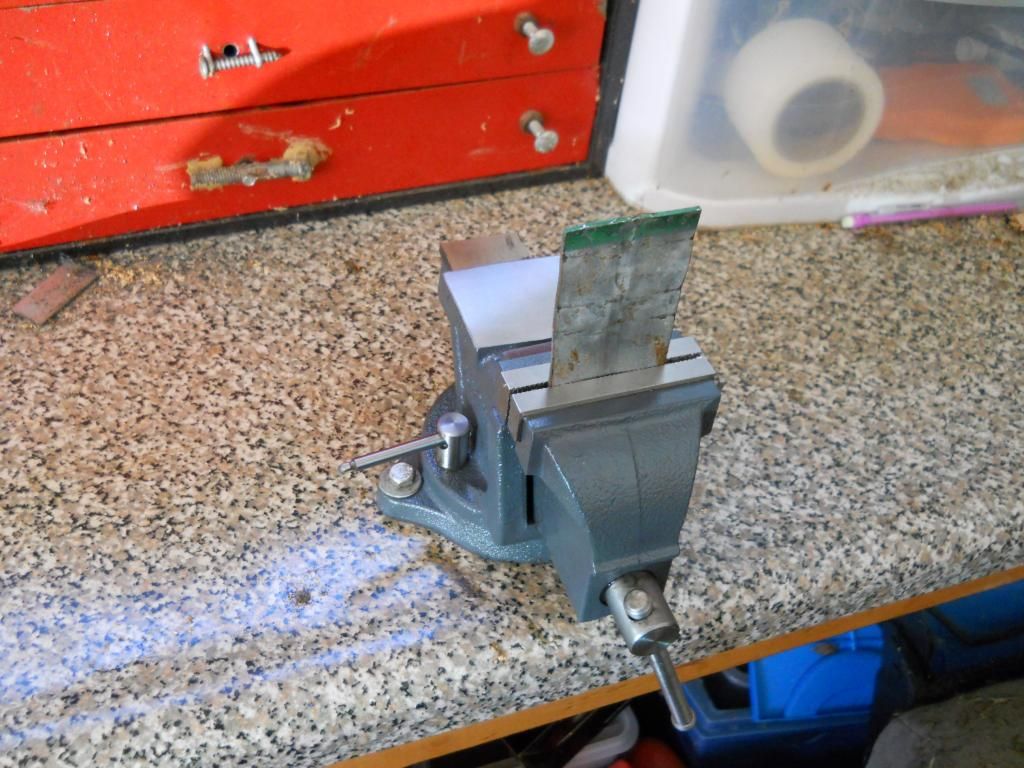 Then I got to cutting and drilling all the little cutouts, holes, and other stuff: 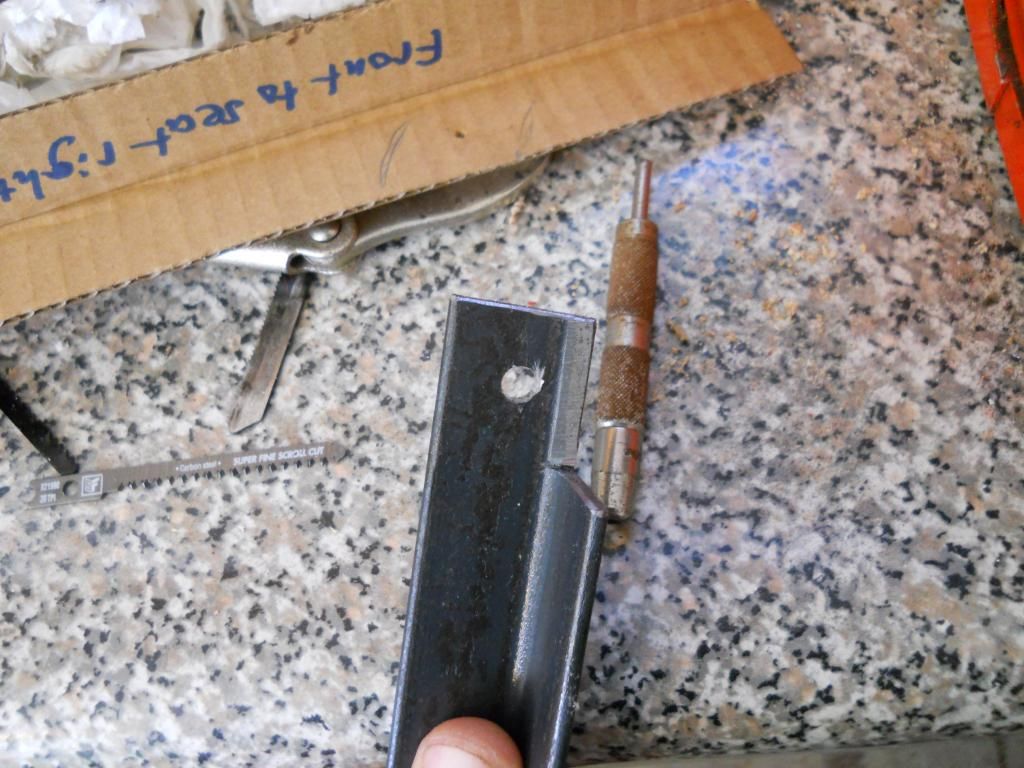 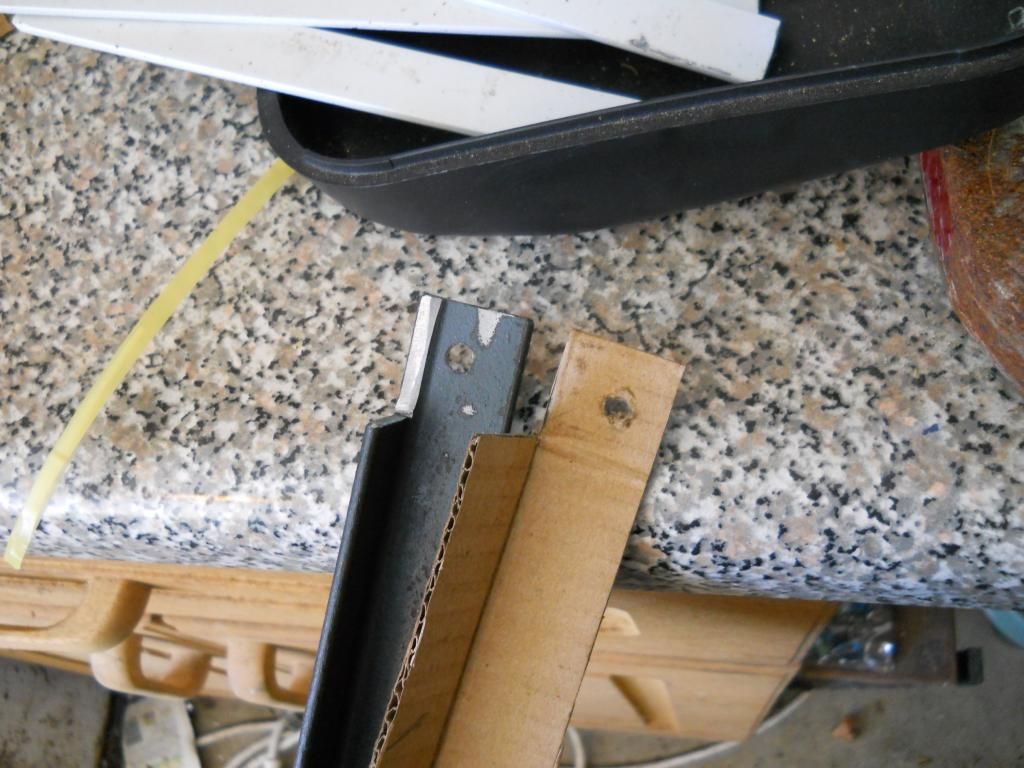 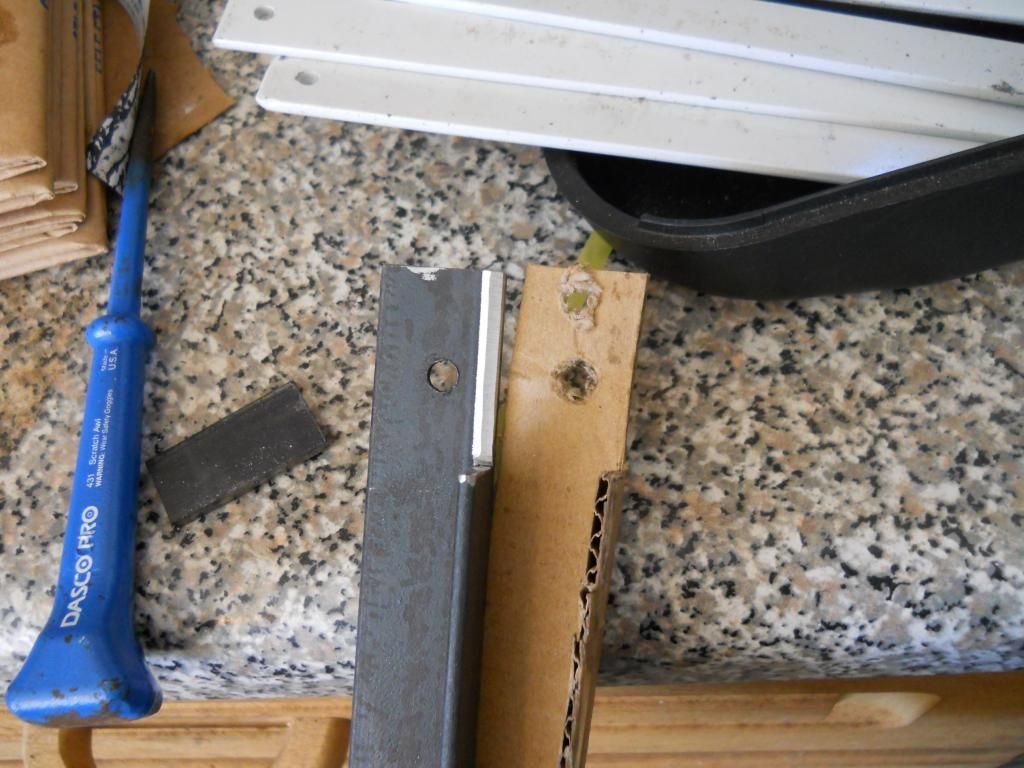 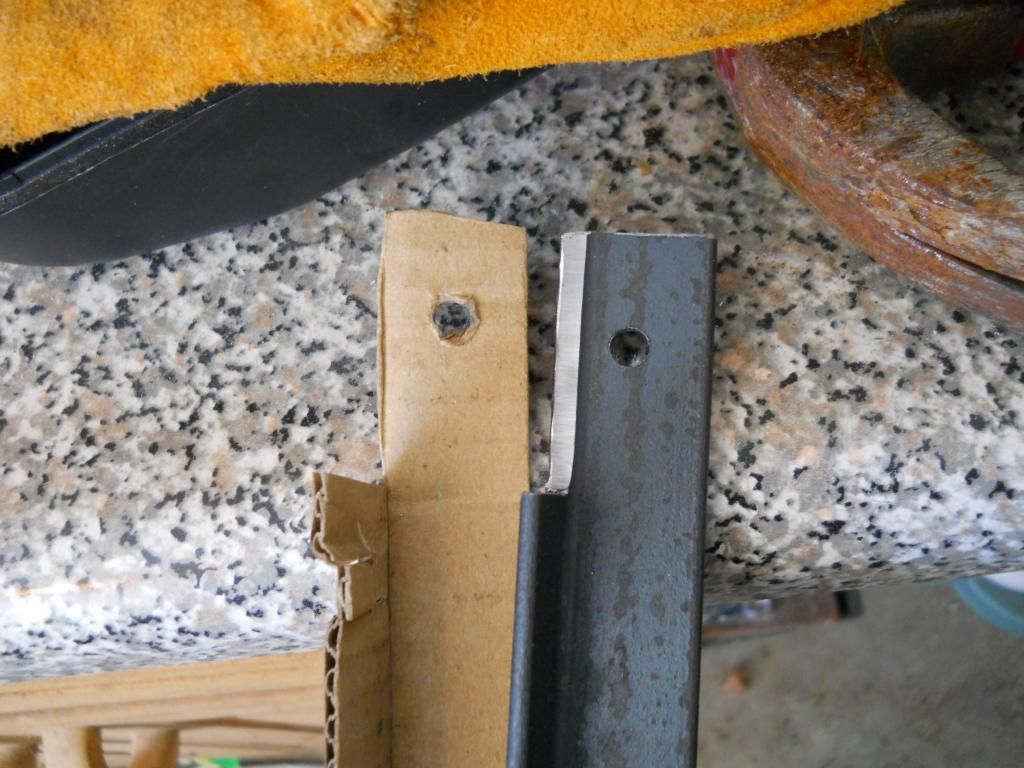 I used my jigsaw to cut all of the metal stock. It works quite well except it has a dust blower pointed at the blade; while that does blow away all of the metal filings and debris, it also blows away all of the lubricating/cooling fluid. As I was grinding away at the corners of a piece I noticed something odd about my grinder: 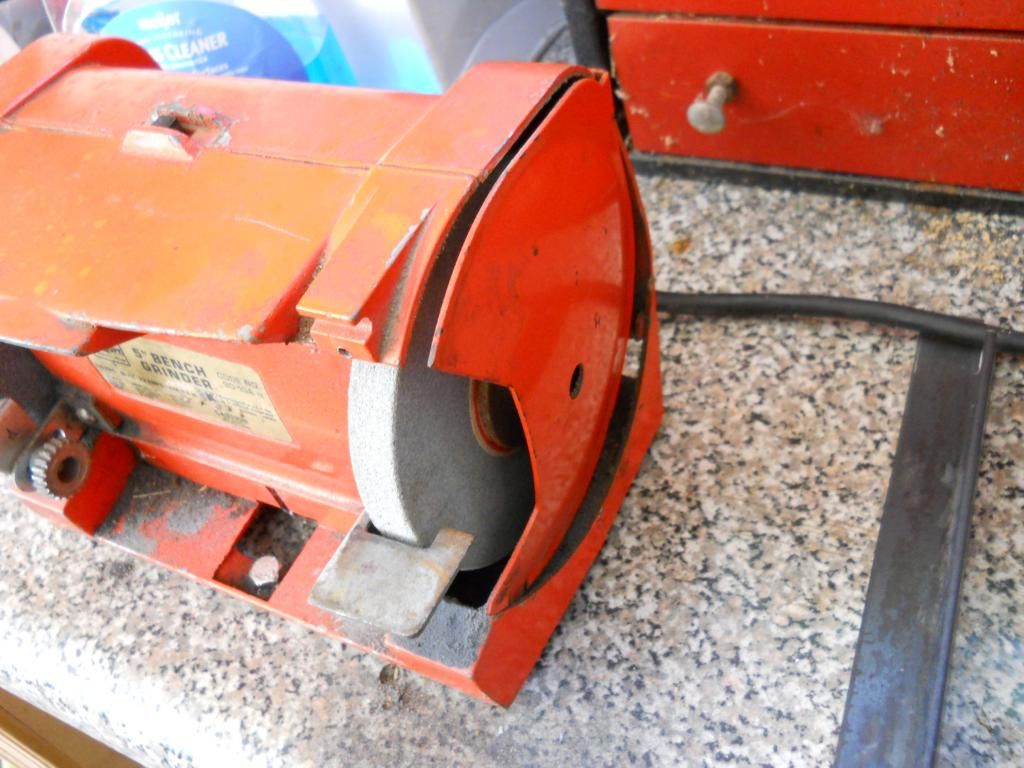 Glad I caught that when I did! Just a few love taps from a hammer and it was back in place. I did cut myself just a wee bit, barely anything, but since I was working with chemicals and metal particulates, I put a band-aid on and then some micropore tape over that. I only fudged one part so far, and it was just a little bit of a fudge; I cut one piece about 1/2 inch too short. The end result is that my seat might sit a little bit farther back than planned, but still perfectly acceptable. Here is a very early mockup without any bracing, triangulation, or seat hinge: 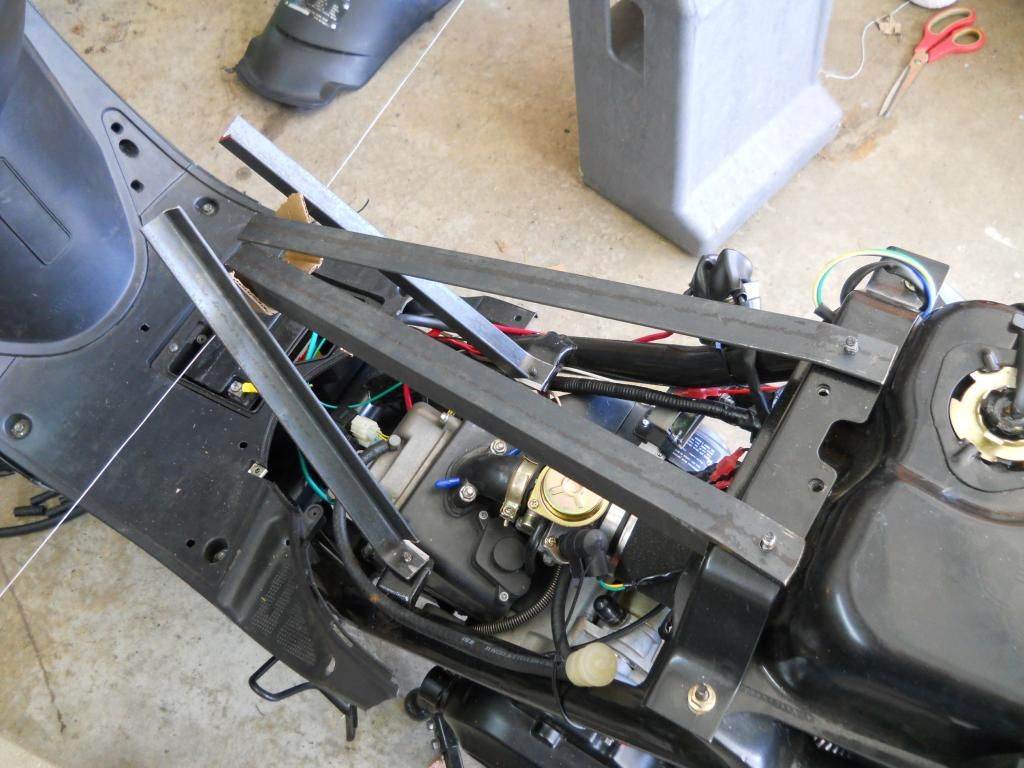 I purposely left the braces and triangulation parts too long and undrilled so I could move and work the major pieces into place first. I still have a few small areas to work with; I'm trying to decide if I should cut out more material, have some slack in mounting locations, trying to visualize how the weight will be distributed, and if an area is cut will it act as a weak point and thus need reinforcement... I got one of the drill's batteries charged, it works, but I can tell the battery is on its way out. After I drilled one hole, the no-load speed dropped noticeably. The stock bolt that attaches the metal seat bracket to the plastic bucket was too short so I went out and bought the biggest one I could find of the same thread type. It was only about 1/4 inch bigger, so I also got a foot long 1/4-20 threaded rod and some nuts along with some primer. Since I've spent all this time and effort into making this, I might as well at least try to make it right. The coating (or is it a paint) that is on the angle iron just chips off at the slightest touch, so I'll have to sand all of the parts before I prime and paint them. That's all for today, I just ate a too-big meal and am in need of a nap. |
|
Doc's Anything Goes
Currently Offline
Posts: 1,226
Likes: 81
Joined: Apr 4, 2014 3:52:42 GMT -6
|
Post by richardv on Aug 14, 2014 17:29:04 GMT -6
Lookin real good. Especially considering limited resources. You will definitely have to get that anti-corrosion coating off, paint will not stick to it. When you get done scrapping/sanding it off give it a good rinse of 1 part vinegar to 4 parts water. This will act as a neutralizer to help the paint stick.
|
|
Doc's Anything Goes
Currently Offline
Posts: 371  Likes: 18
Joined: Jun 13, 2014 16:48:23 GMT -6
|
Post by glavey on Aug 14, 2014 19:13:04 GMT -6
Lookin real good. Especially considering limited resources. You will definitely have to get that anti-corrosion coating off, paint will not stick to it. When you get done scrapping/sanding it off give it a good rinse of 1 part vinegar to 4 parts water. This will act as a neutralizer to help the paint stick. Thanks for the tip! I've got enough holes drilled for the first real fitment test: 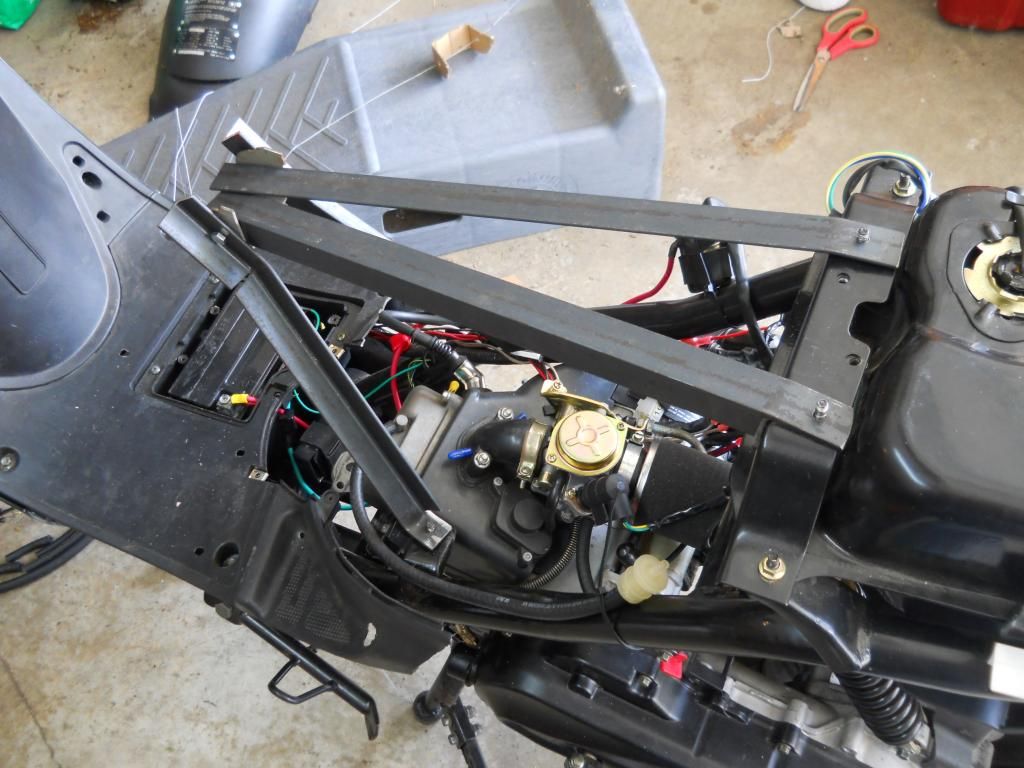 On the two shorter pieces, I had to cut a slit and bend the top part outward to make those pieces mount flush with the piece that bolts to the seat. I don't think that will weaken it. 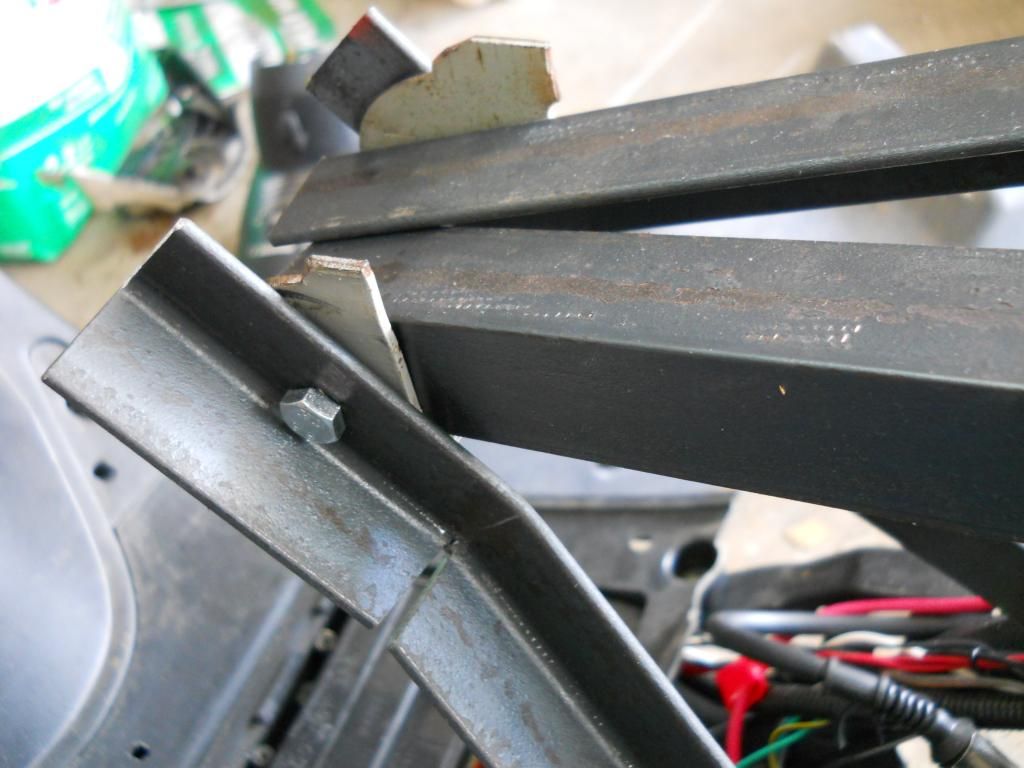 I had to do something similar with the two longer pieces that go across the top. 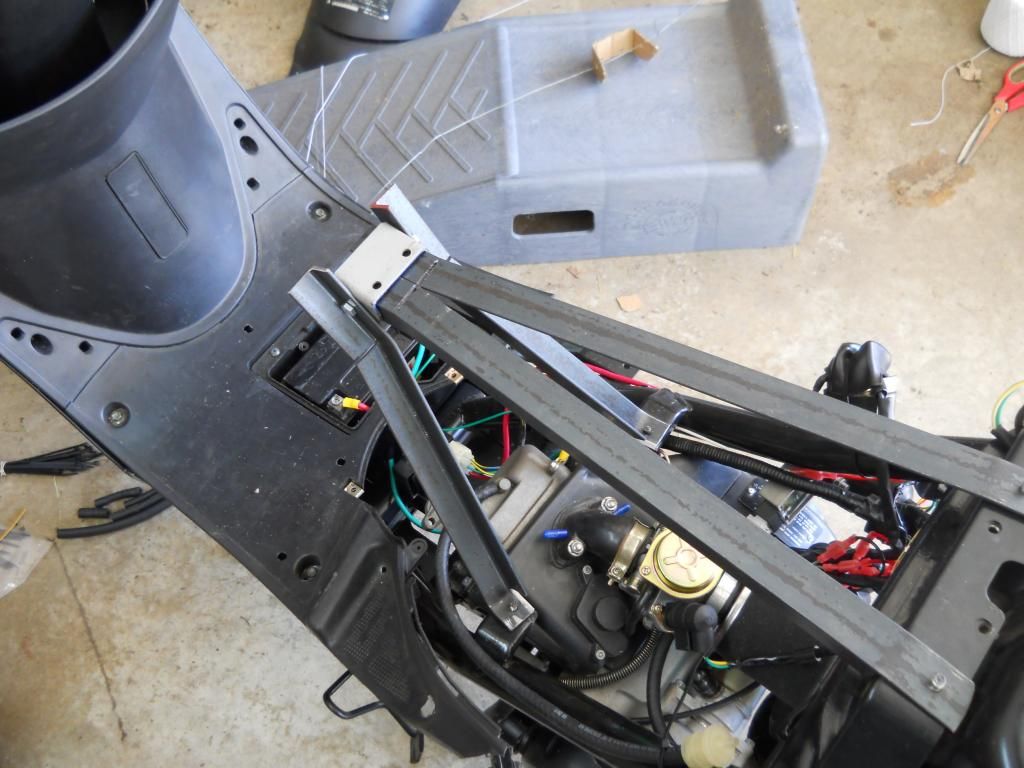 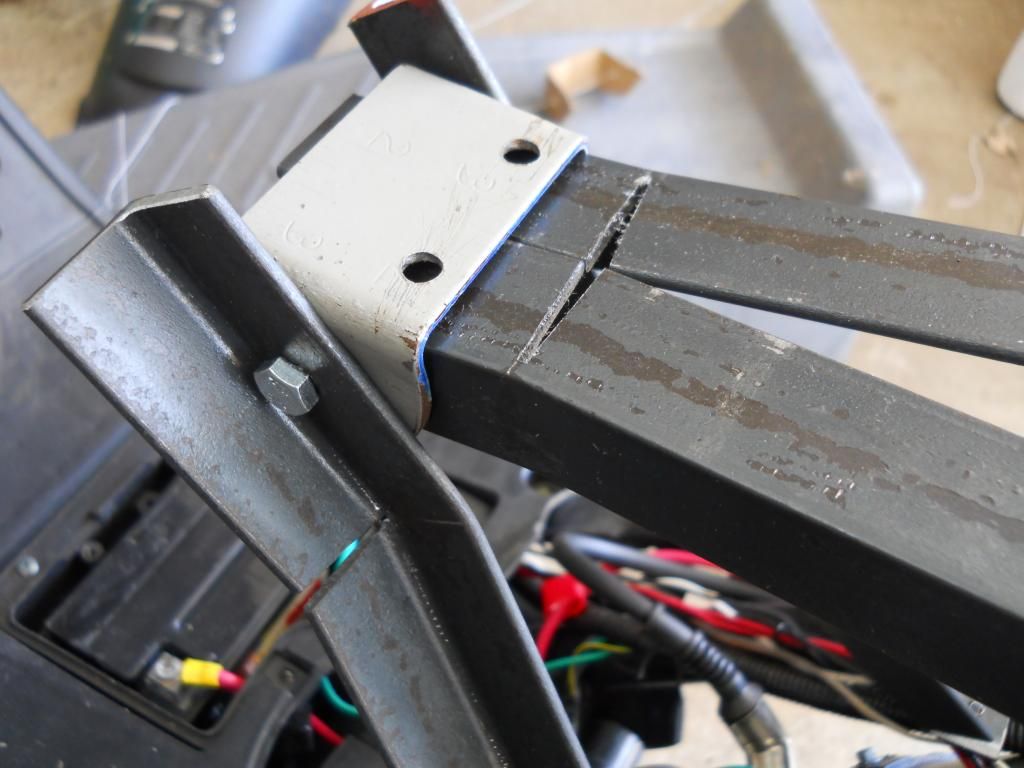 I then had to cut out part of the top pieces for access to the seat's bolts: 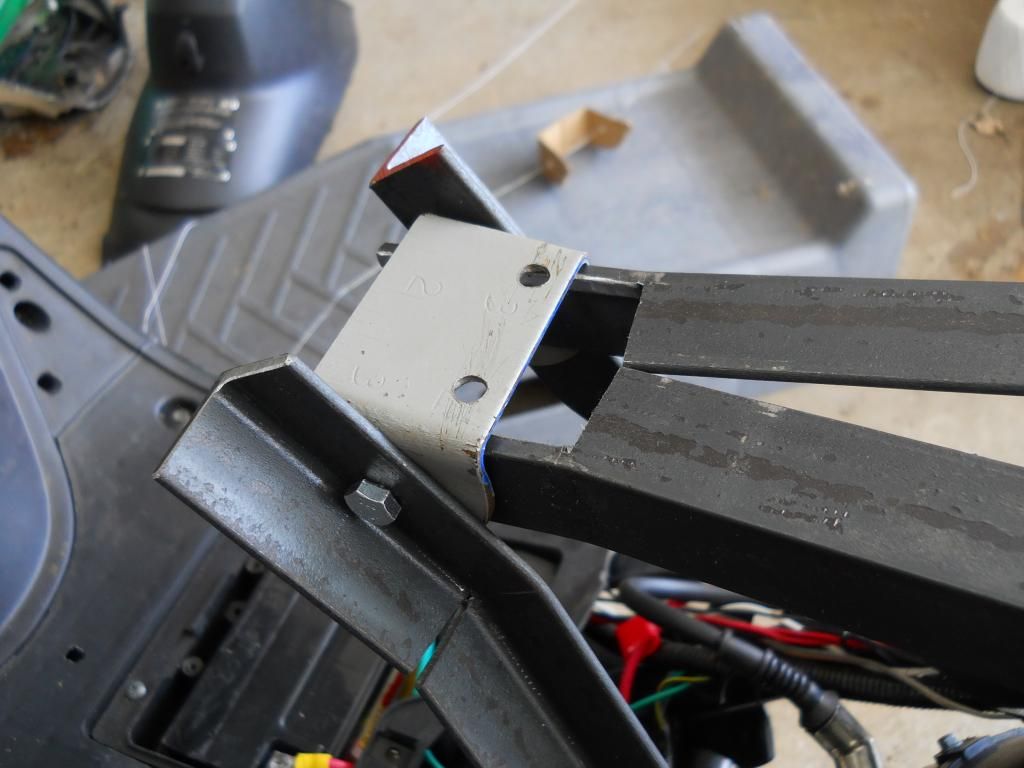 I had to cut part of bottom of the seat off to clear the top pieces: 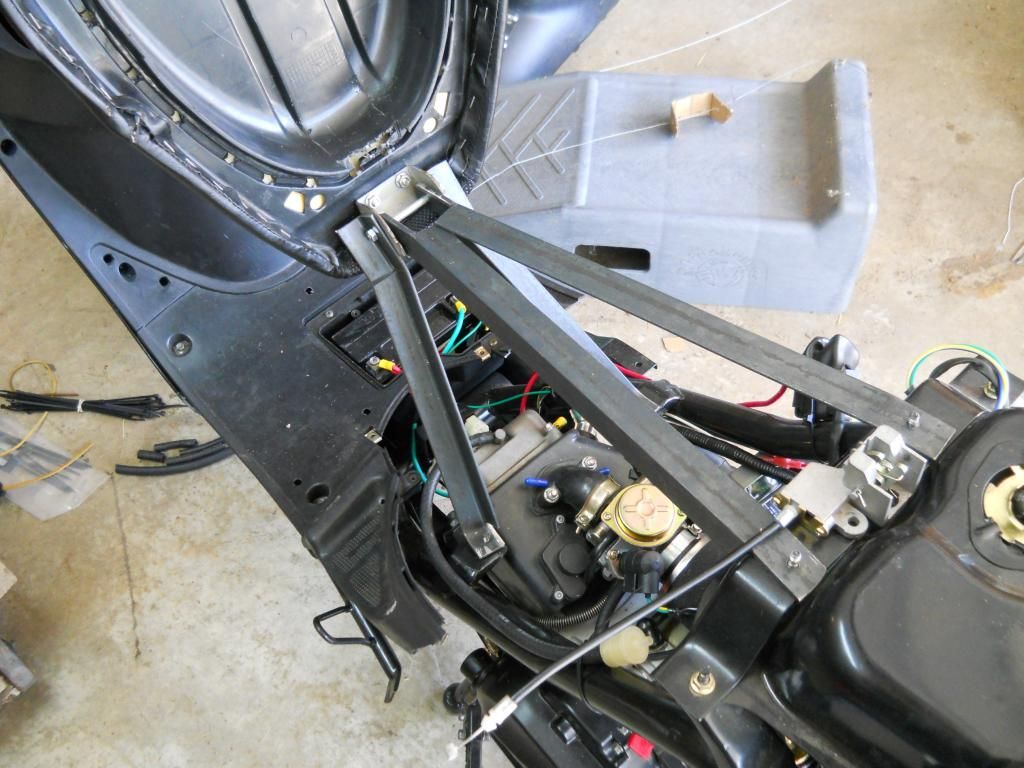 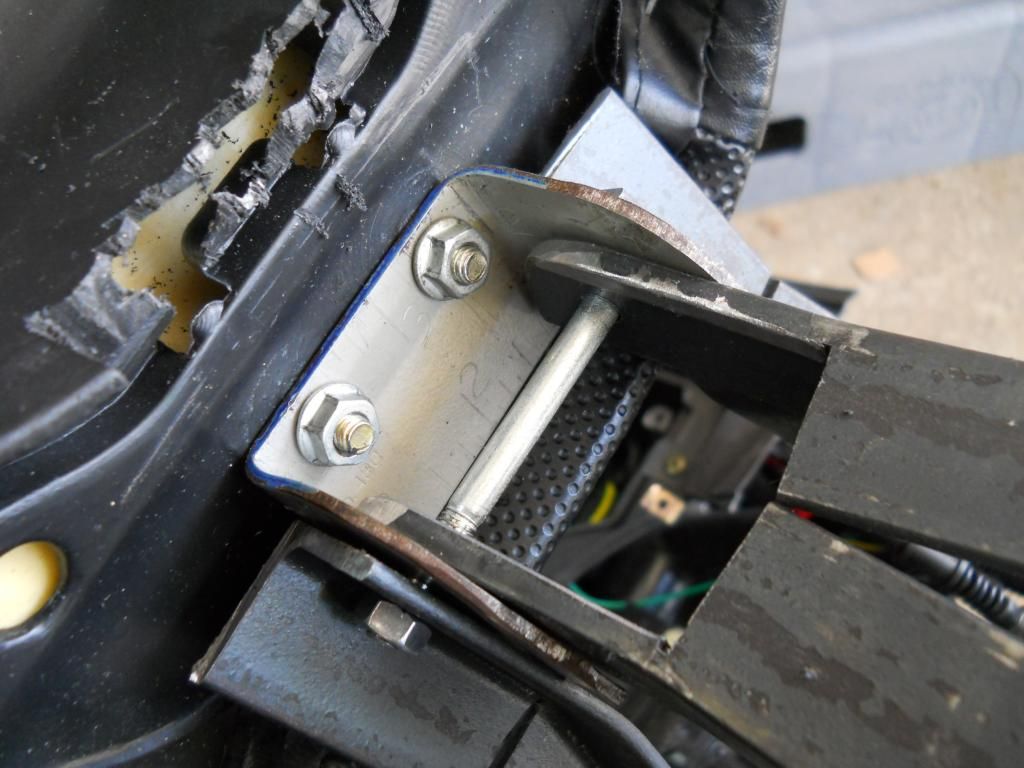 At the point where the two front pieces mount to the scooter frame, the tabs on the scooter frame point up toward the inside, causing the pieces to not sit flush. I tried a little percussive maintenance with a hammer, but no luck. I can't fit a pair of pliers between the engine and the frame. 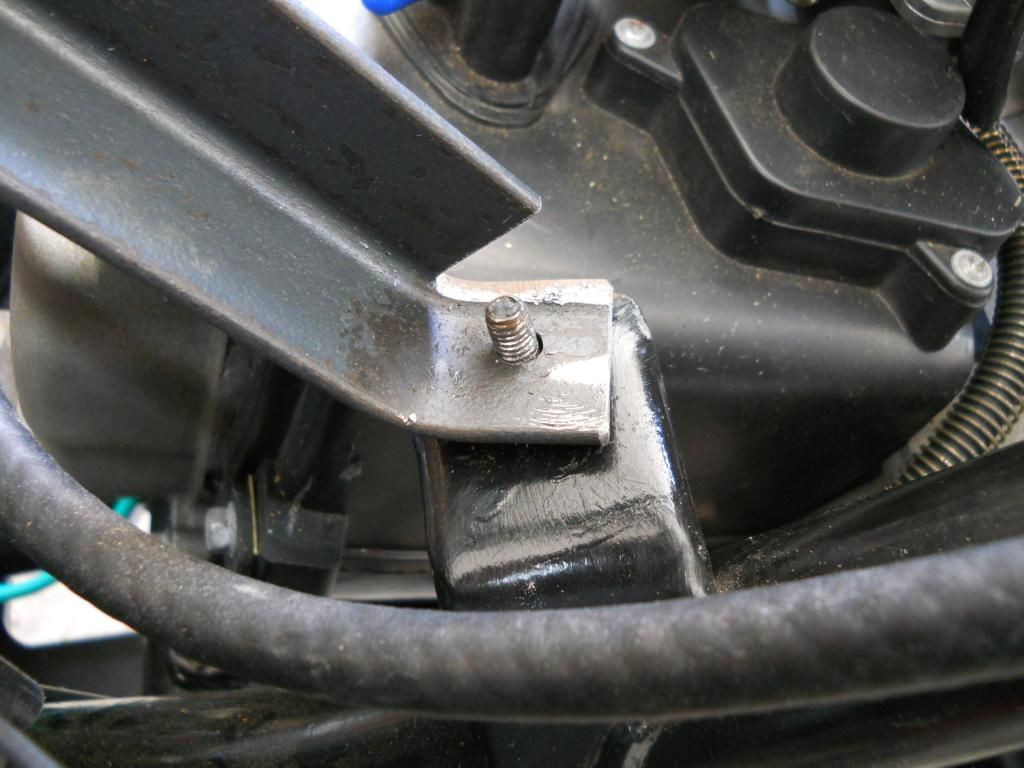 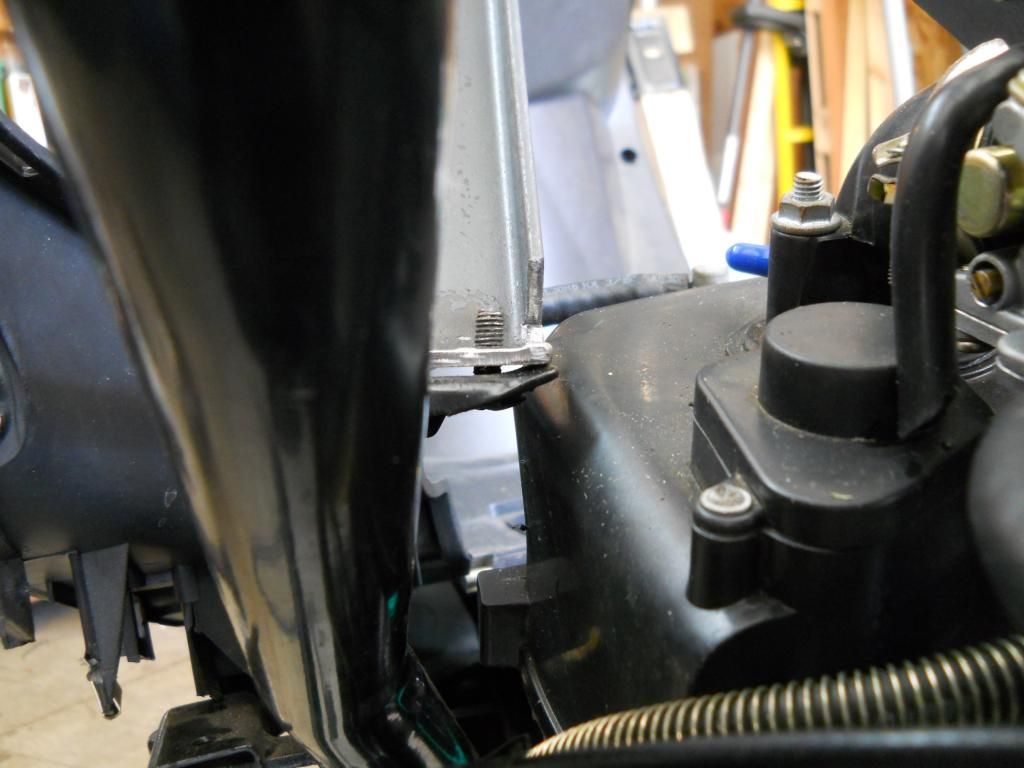 I'll probably use the seat latch to help hold the seat in place, otherwise it will only be secured on one end and the back will just "float". 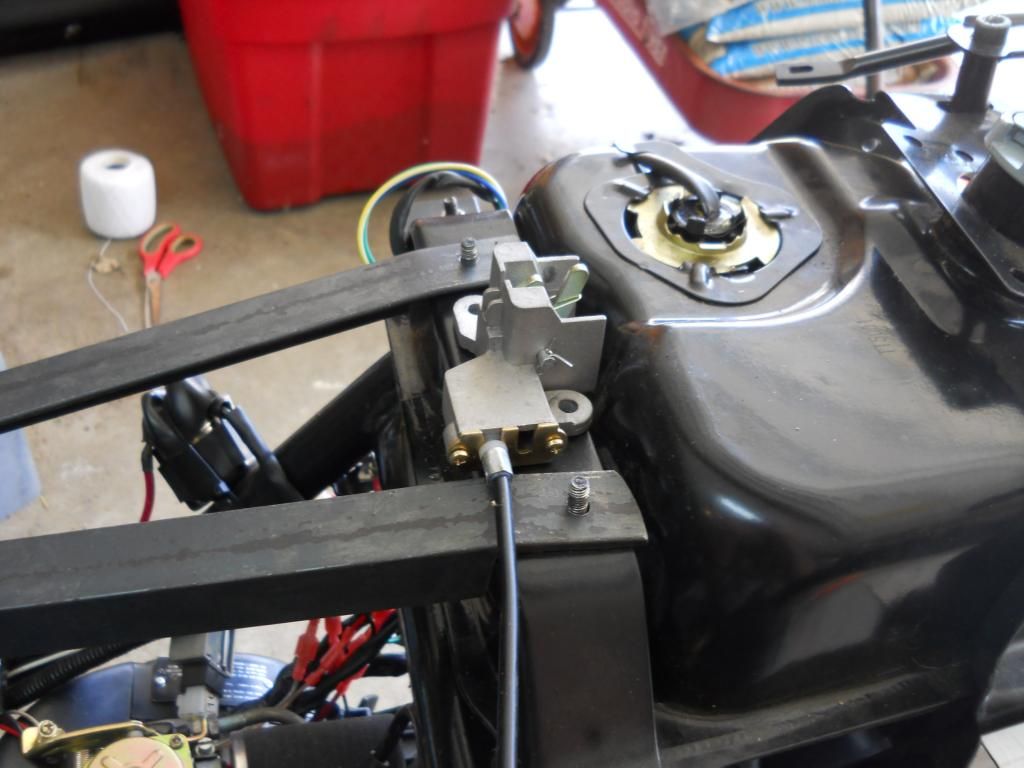 The seat, when fully bolted down and tightened, sits and tilts just a wee bit to the left. Considering my mockup was made with freakin' cardboard, I'd say that's pretty good. 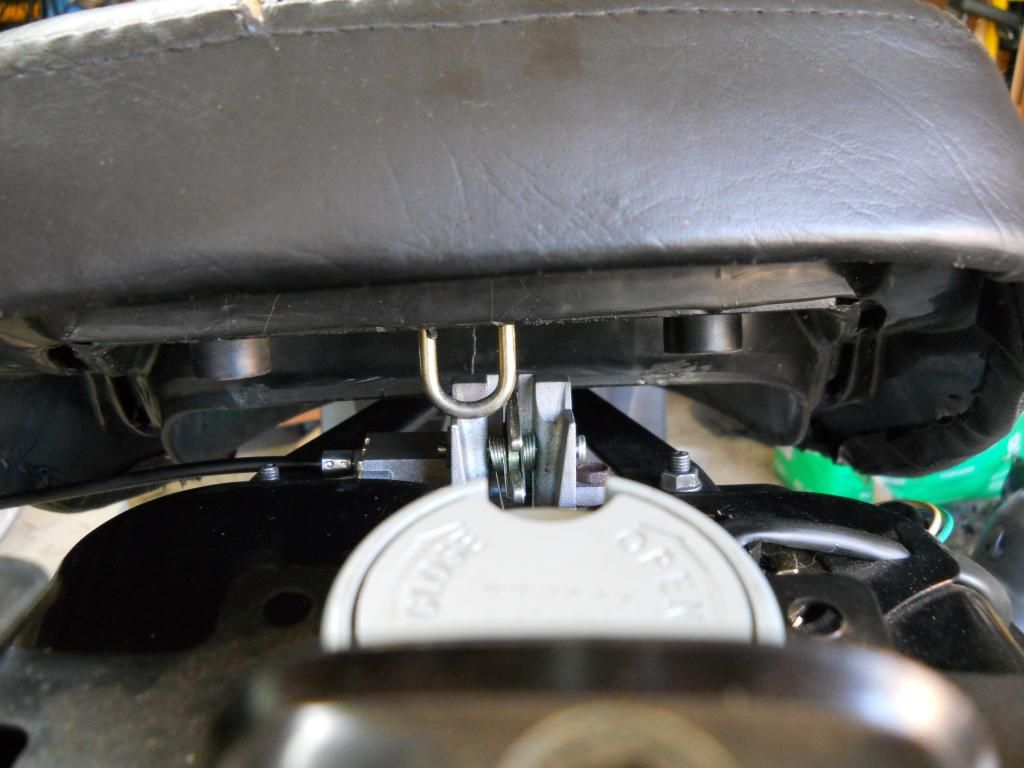 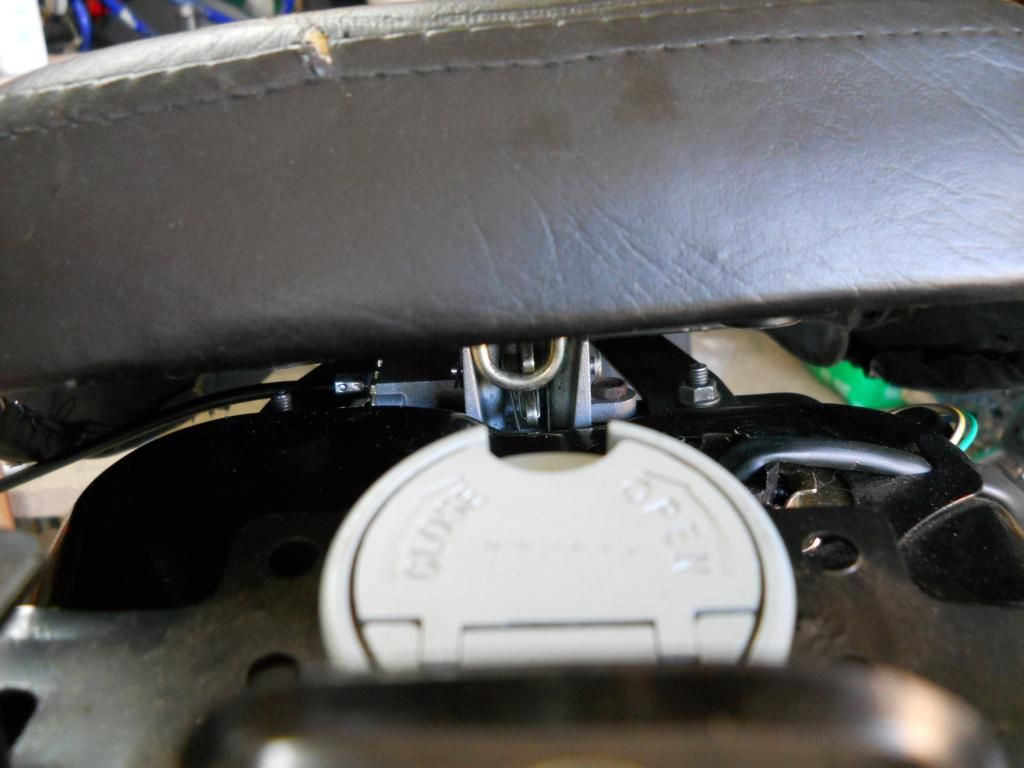 The seat only touches the metal frame at the two extreme ends causing the middle, where my butt goes, to dip down. I'll use the left over piece of angle iron as a brace for the middle part of the seat. It is too tall to be installed on-end, so I'll mount it at a 45 degree angle: 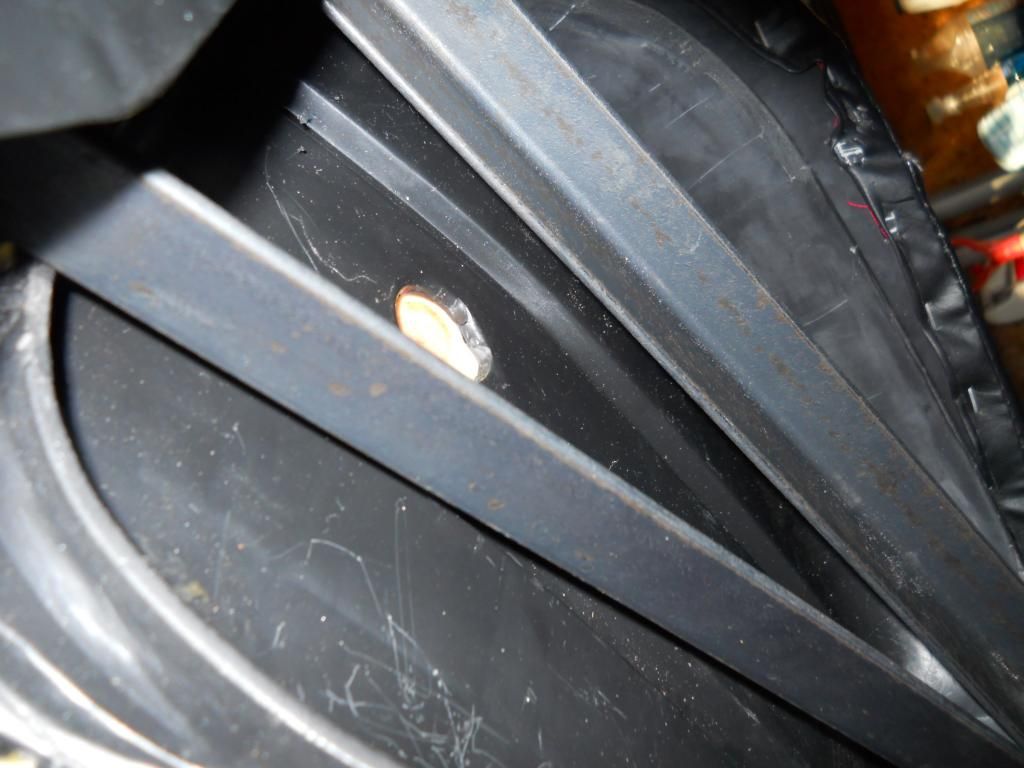 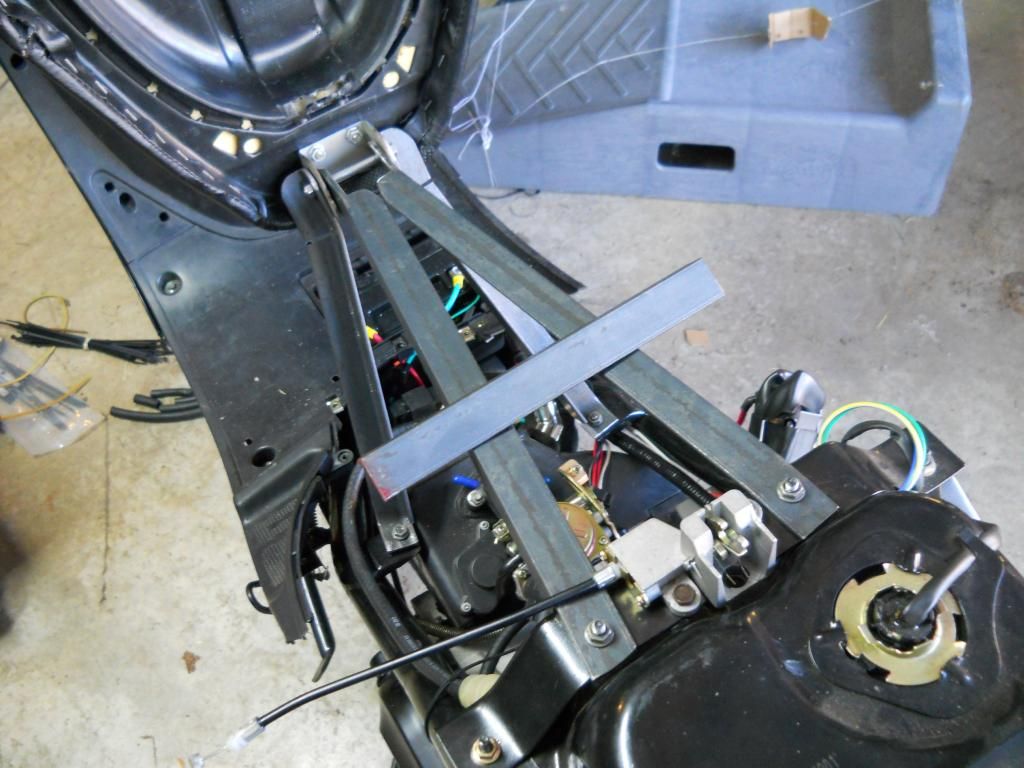 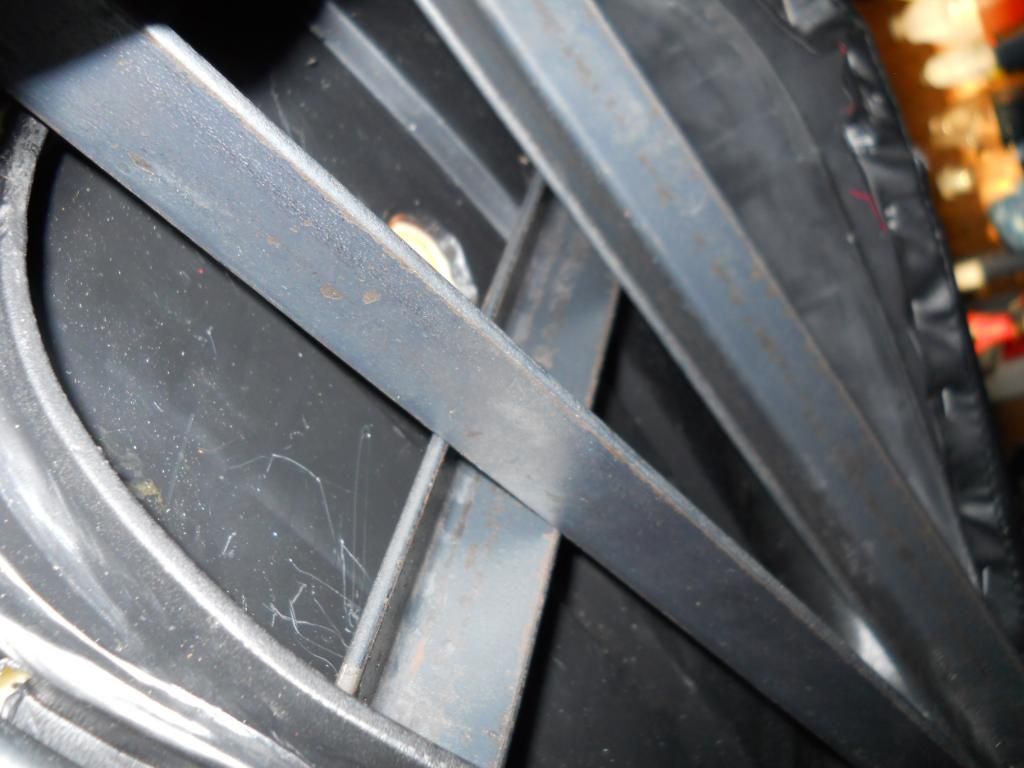 And, why not, I'll show off my tail light mod that I've had since two weeks after I got the scooter: 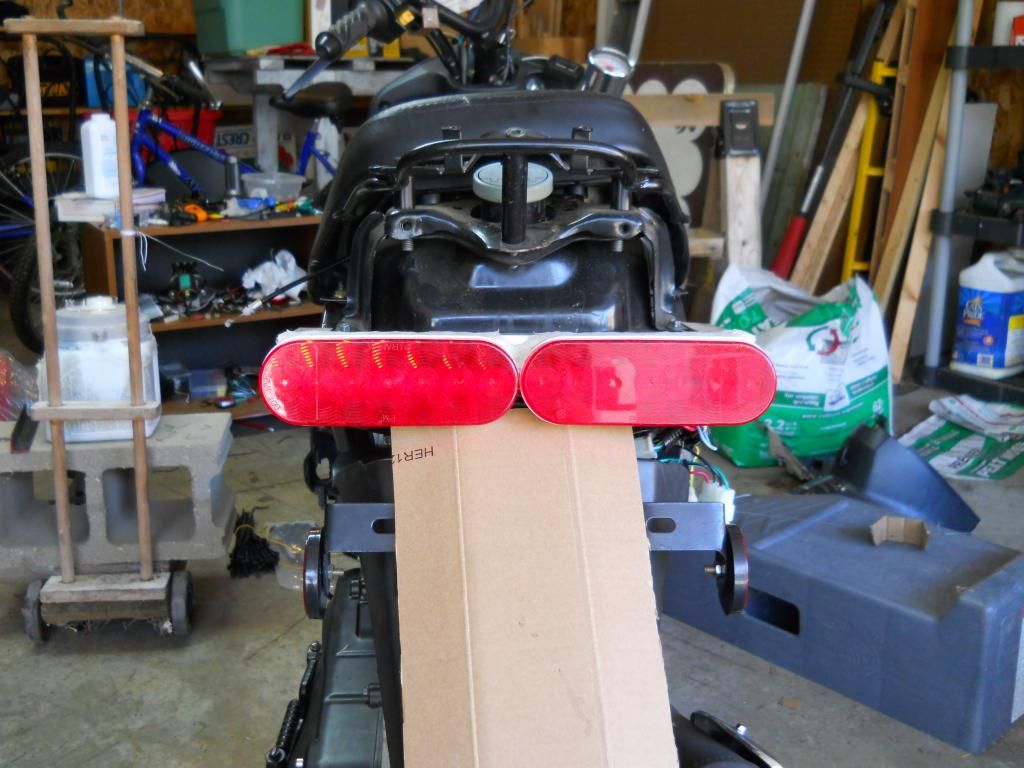 Those are two LED submersible trailer running/brake lights. The tricky part was wiring the brake circuit into the turn signals so when you applied the brakes, one of the lights would still blink. I stuck the lights to aluminum angle stock with silicone and bolted them to the sides of the frame. Honestly, the frame as it is now will easily support my weight, but since I already cut the reinforcements and triangulations, they'll get installed. I think this mini-frame is tougher than the whole scooter frame. |
|
|
|
Post by Bashan on Aug 14, 2014 20:33:26 GMT -6
The bucket is there for a reason, it is what supports all of the weight, the seat has no load bearing abilities. That cross brace may do it but keep an eye on it. The seat will sag, and collapse, I found out the hard way. Rich
|
|
Doc's Anything Goes
Currently Offline
Posts: 371  Likes: 18
Joined: Jun 13, 2014 16:48:23 GMT -6
|
Post by glavey on Aug 15, 2014 5:48:57 GMT -6
The bucket is there for a reason, it is what supports all of the weight, the seat has no load bearing abilities. That cross brace may do it but keep an eye on it. The seat will sag, and collapse, I found out the hard way. Rich I was afraid of that. I'll try and brace it in more than just one position. |
|
Doc's Anything Goes
Currently Offline
Posts: 1,226
Likes: 81
Joined: Apr 4, 2014 3:52:42 GMT -6
|
Post by richardv on Aug 15, 2014 11:34:13 GMT -6
Could you cut a piece of wood to support the seat pan? Spread the weight over a larger area.
|
|

