Doc's Anything Goes
Currently Offline
Posts: 371  Likes: 18
Joined: Jun 13, 2014 16:48:23 GMT -6
|
Post by glavey on Aug 15, 2014 18:31:40 GMT -6
Could you cut a piece of wood to support the seat pan? Spread the weight over a larger area. That seems possible. I'll defer to our resident expert on seats and all things that touch our butts, Bashan. Not too much happened today, I made 4 little tabs to hold the seat brace in place: 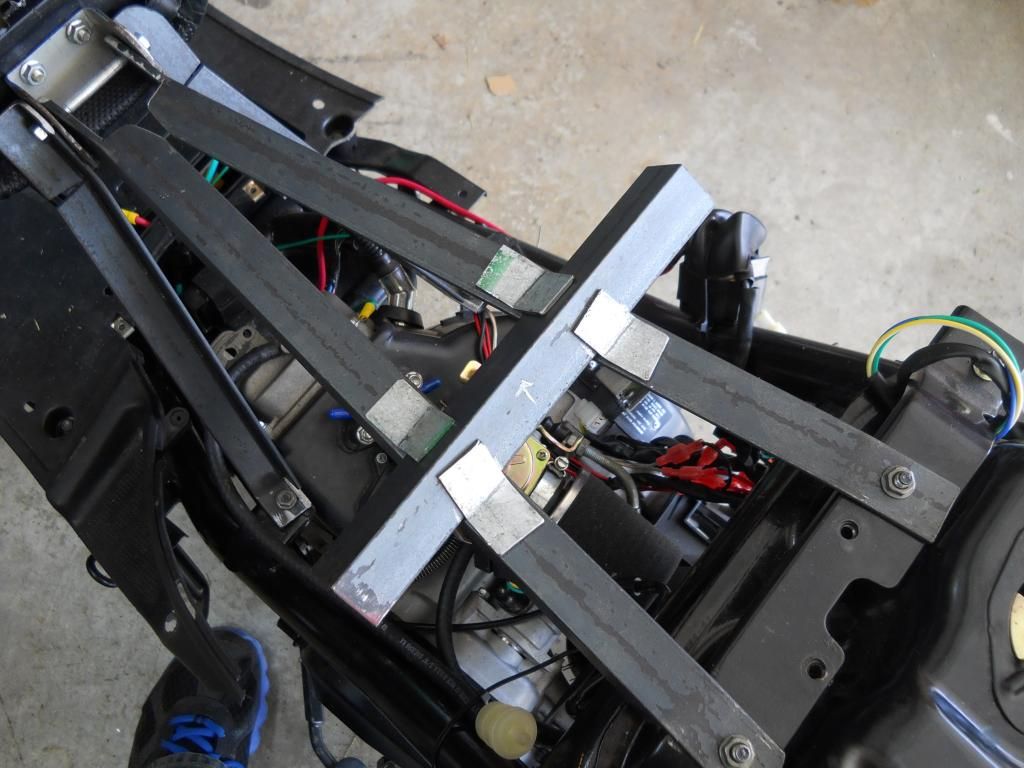 And worked on the reinforcements: 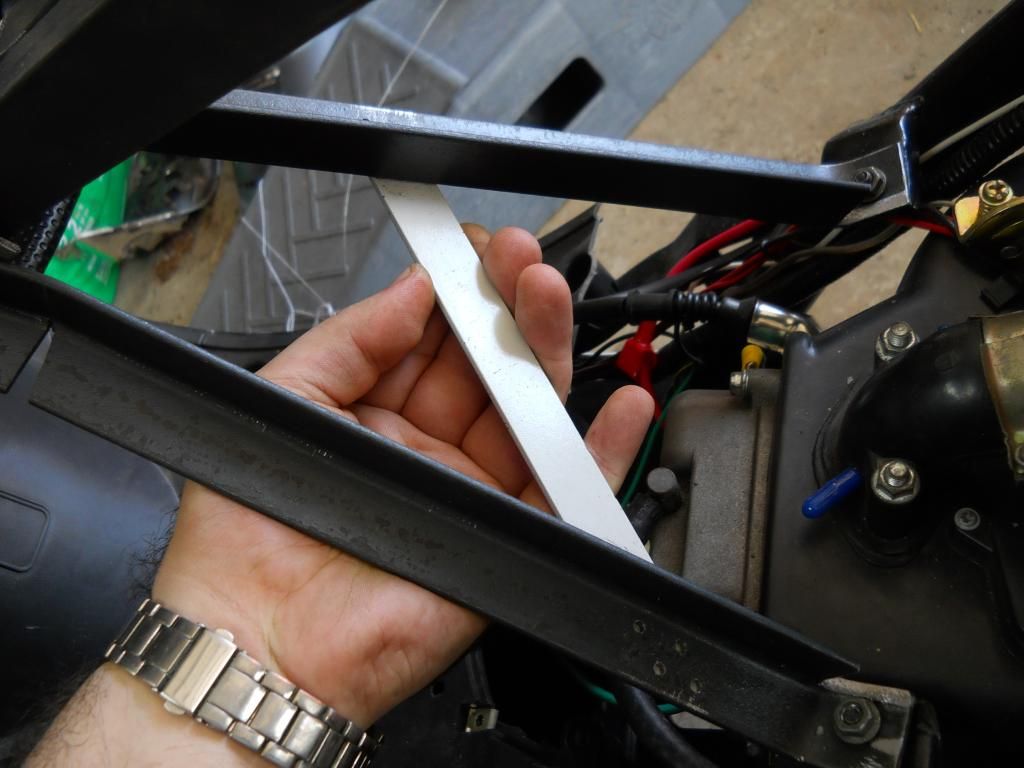 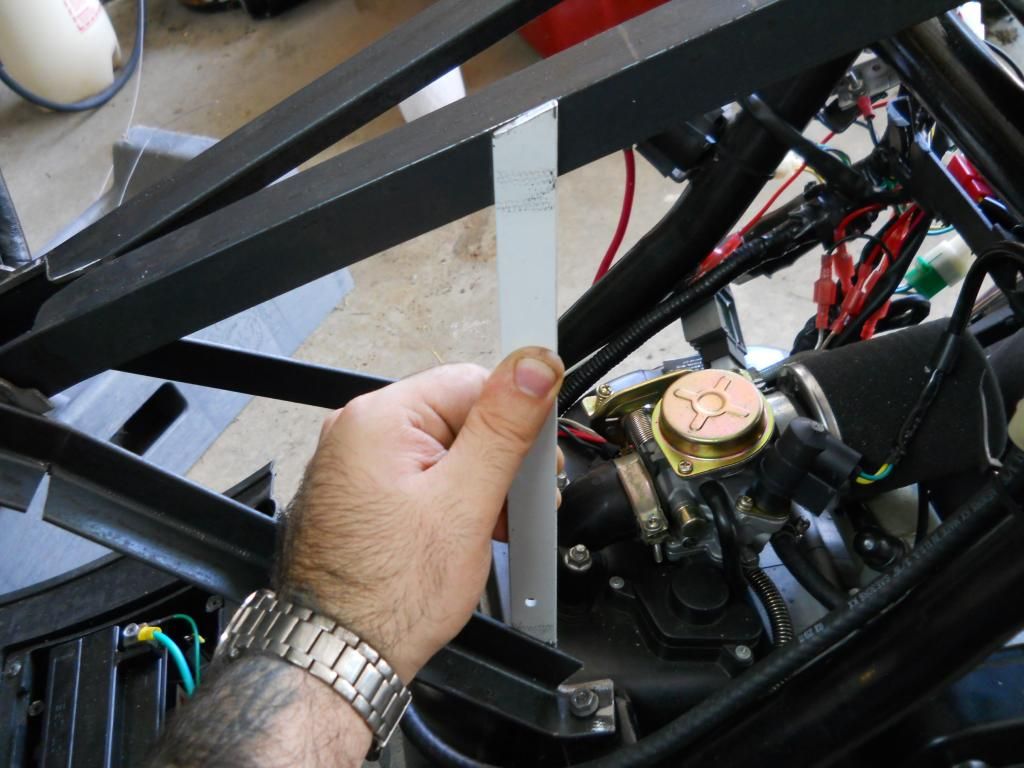 I think I need to clean my garage floor, or my shoes, or look out for those steaming piles of... stuff.  I won't say what I'll do tomorrow because it seems whenever I say I'm going to something, I end up doing something else entirely. Perhaps I can get away with something generic like, "I will work on the project some more". |
|
|
|
Post by Bashan on Aug 15, 2014 19:32:01 GMT -6
I'll defer to our resident expert on seats and all things that touch our butts, Bashan.
After repeated modifications Glavey had gone too far with the seat mods and just kept immediately tipping over with any throttle at all. |
|
Doc's Anything Goes
Currently Offline
Posts: 371  Likes: 18
Joined: Jun 13, 2014 16:48:23 GMT -6
|
Post by glavey on Aug 15, 2014 20:18:11 GMT -6
I've always wondered if those pictures are of a real product or excellently photoshopped.
|
|
|
|
Post by Bashan on Aug 15, 2014 20:32:58 GMT -6
Yes
|
|
Doc's Anything Goes
Currently Offline
Posts: 1,226
Likes: 81
Joined: Apr 4, 2014 3:52:42 GMT -6
|
Post by richardv on Aug 15, 2014 20:52:32 GMT -6
|
|
Doc's Anything Goes
Currently Offline
Posts: 1,226
Likes: 81
Joined: Apr 4, 2014 3:52:42 GMT -6
|
Post by richardv on Aug 15, 2014 20:56:33 GMT -6
With that heavy angle iron I don't see any need to add any reinforcement. It would be just added weight. The weak points will be the mounting bolts. I would just add a little pad to support and level the seat.
|
|
Doc's Anything Goes
Currently Offline
Posts: 371  Likes: 18
Joined: Jun 13, 2014 16:48:23 GMT -6
|
Post by glavey on Aug 16, 2014 8:03:07 GMT -6
I've already started to drill the holes for the reinforcements, so I guess they are going in no matter what. Also, the frame assembly does move slightly left-to-right so I think reinforcements are warranted there.
I will add some additional support for the seat, whether it be wood, metal, or cheese.
|
|
|
|
Post by cyborg on Aug 16, 2014 22:43:10 GMT -6
i think a nice wheel of wisconsin swiss is in order here,,,,,,,a little spicey brown mustard,,a sixer of gulden drak,,,,and away we go,,,,,,,
|
|
Doc's Anything Goes
Currently Offline
Posts: 1,226
Likes: 81
Joined: Apr 4, 2014 3:52:42 GMT -6
|
Post by richardv on Aug 17, 2014 4:42:33 GMT -6
Got to have some good fresh rye bread with that.
|
|
Doc's Anything Goes
Currently Offline
Posts: 371  Likes: 18
Joined: Jun 13, 2014 16:48:23 GMT -6
|
Post by glavey on Aug 17, 2014 7:25:02 GMT -6
I had a Doh! moment yesterday. I went to the local flea market to look for a bench vise; all I could find was one that was about as old as the one I broke and in worse condition for $15. Pass. I did buy a timing light for $5, got it home went to hook it up to the scooter and... Doh! I had bought a timing light that hooks up directly to the spark plug wire via the distributor cap or through other means. That is worthless on one of these scooters except for testing timing during cranking, which I did just to see if the light actually worked, it did. What I needed was an inductive timing light. Oh well, I now have a timing light I can use on my car if I ever need to.
I also bought a ultrasonic jewelery cleaner for $2 at a thrift-store-type-place which gives profits to mentally handicapped people searching for jobs. I figure I might be able to use it for cleaning those small carburetor parts and other such stuff.
I test-cut a few pieces of a 2x4 for the seat support. I need a piece about 1.25 inches tall and 4-5 inches wide.
|
|
Doc's Anything Goes
Currently Offline
 Say no to scooter abuse
Posts: 3,873
Likes: 156
Joined: Mar 31, 2010 19:07:16 GMT -6
|
Post by jct842 on Aug 17, 2014 11:19:07 GMT -6
You ever think about an old fashioned farm tractor seat? Weld one down on the rear side, they are hinged so they can be flipped up. (to work on engine) Then get a long womans leather coat from thrift store and a couch cushion to pad it with. The first seat I ever saw on a harley when I was a kid was like a giant bicycle seat that sat two and a whole lot more comfy than a good percentage of cycle seats today!
|
|
Doc's Anything Goes
Currently Offline
Posts: 371  Likes: 18
Joined: Jun 13, 2014 16:48:23 GMT -6
|
Post by glavey on Aug 17, 2014 18:38:41 GMT -6
I've been looking for a seat other than the one that came with the scooter to use. I've just been searching for "motorcycle seat" on google and ebay, it never occurred to me to search for a tractor seat. Thanks for the tip, I'll look into that. I started today by cutting a piece of wood to add additional support for the seat. I had a heck of a time just cutting the 2x4 in a straight line, even with the jig saw. I managed to get a decent cut of wood; 6"x1.25"x1.5". 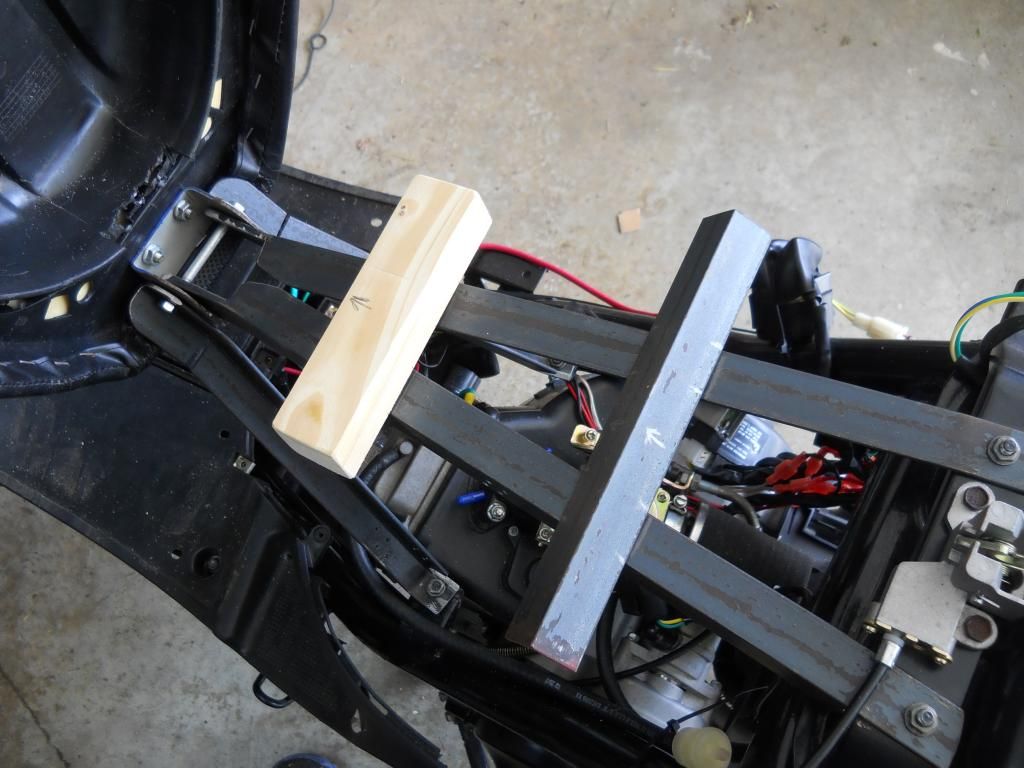 While cutting that piece of wood, my vice became loose and eventually unbolted itself from the bench. The bench in my garage is actually kitchen counter top; made of particle board. No wonder it came undone. I didn't have anyway to attach any "real" wood to the bottom of the bench, but on the front edge of the bench there is a 2x4 supporting it, which I drilled into and anchored the front two bolts into. 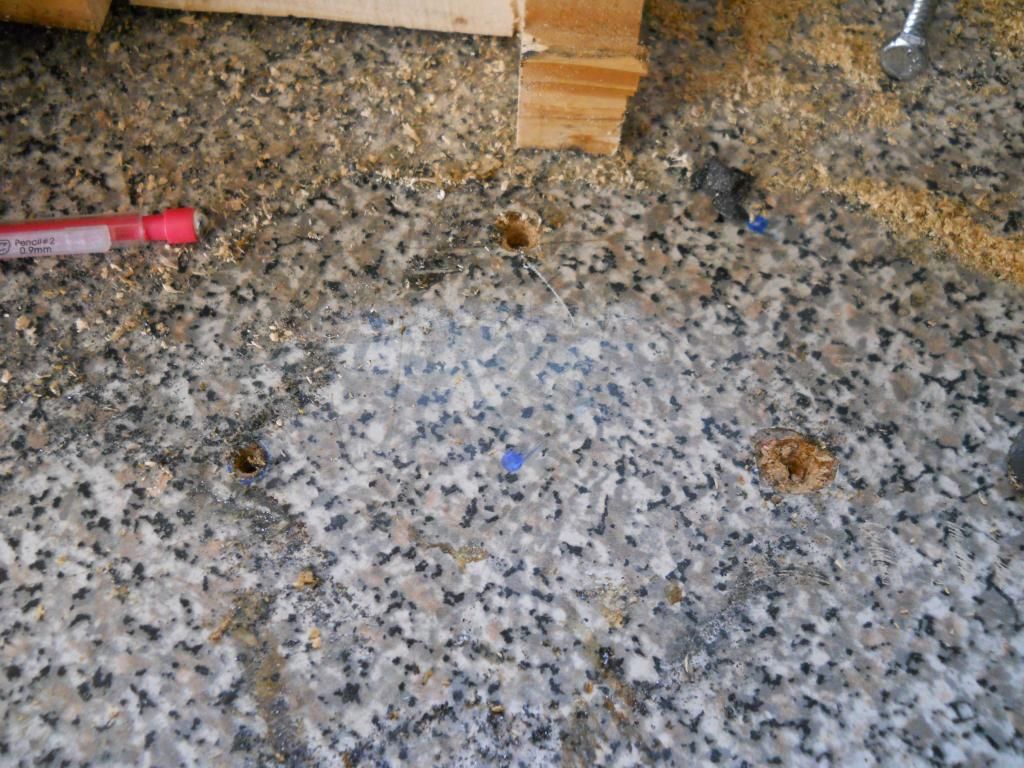 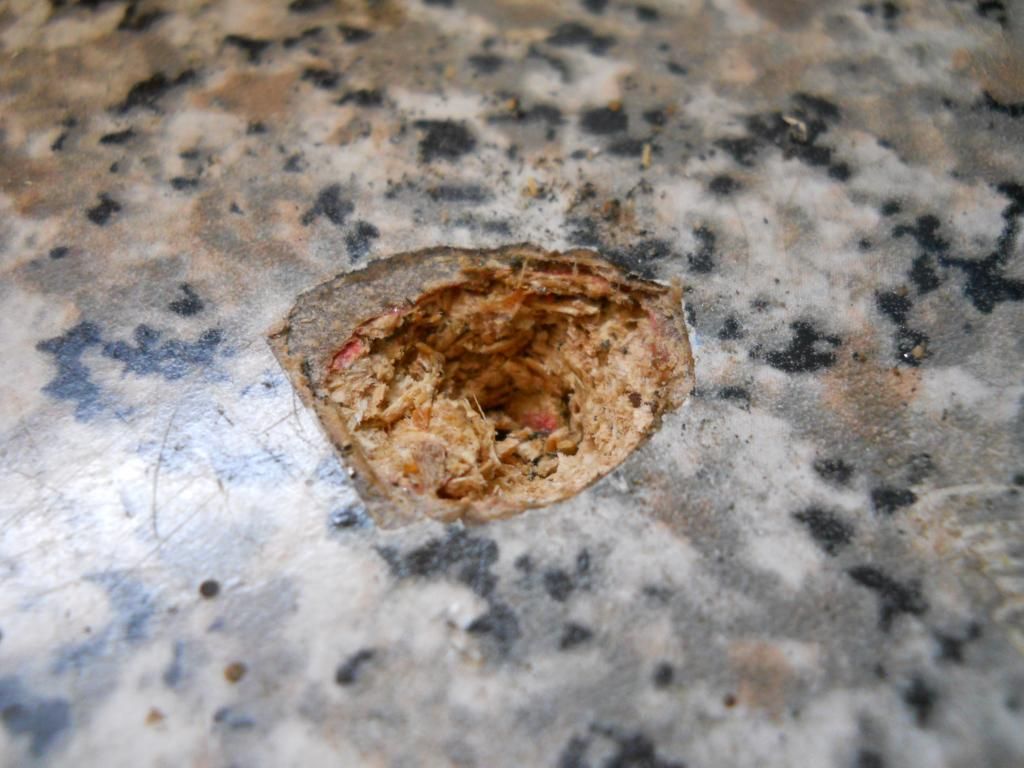 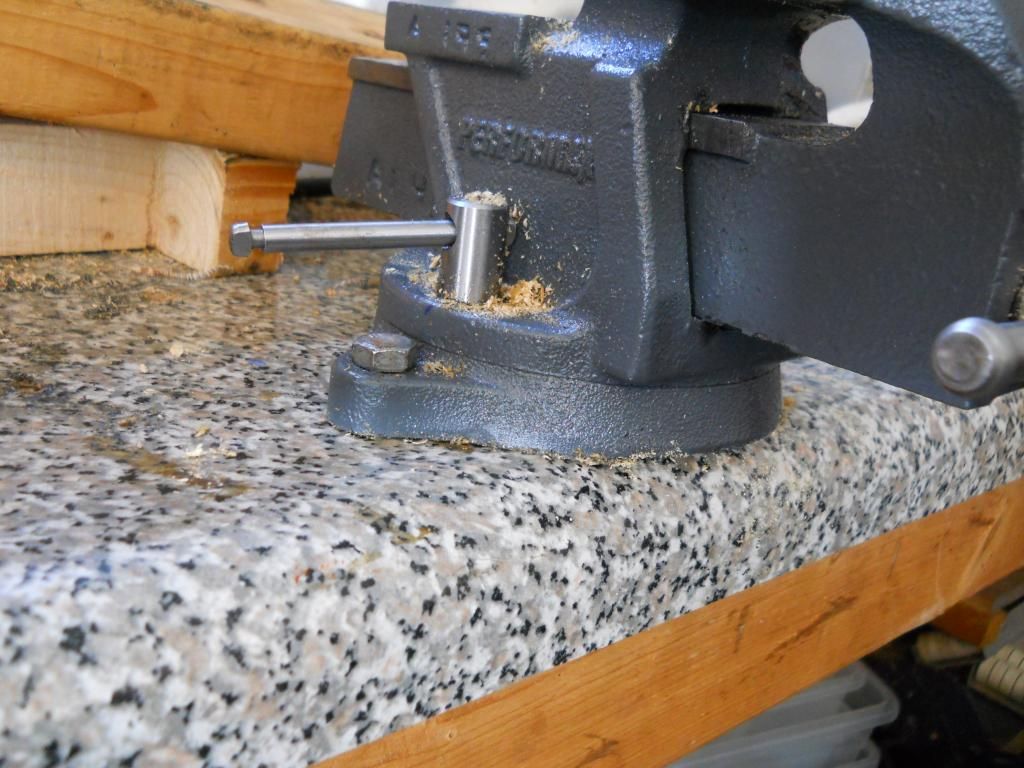 Here is what the bench looked like after many practice cuts, failed attempts, and many, many curse words: 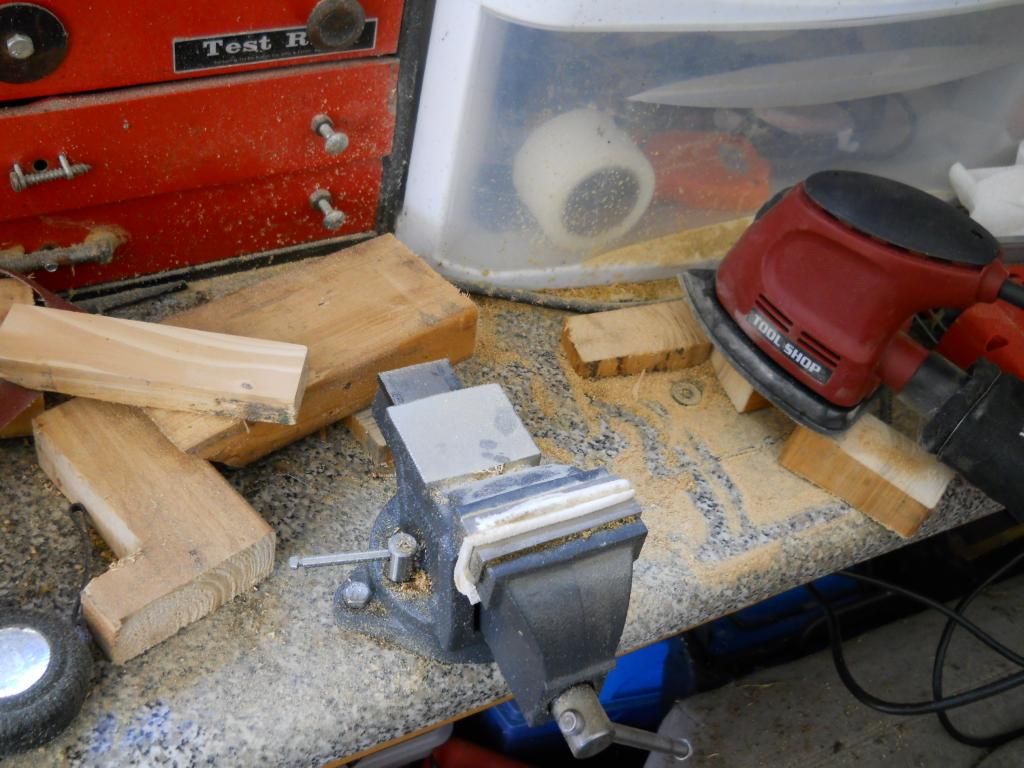 A quick once-over with a mini shop-vac that one of my previous roommates graciously left behind left me with this: 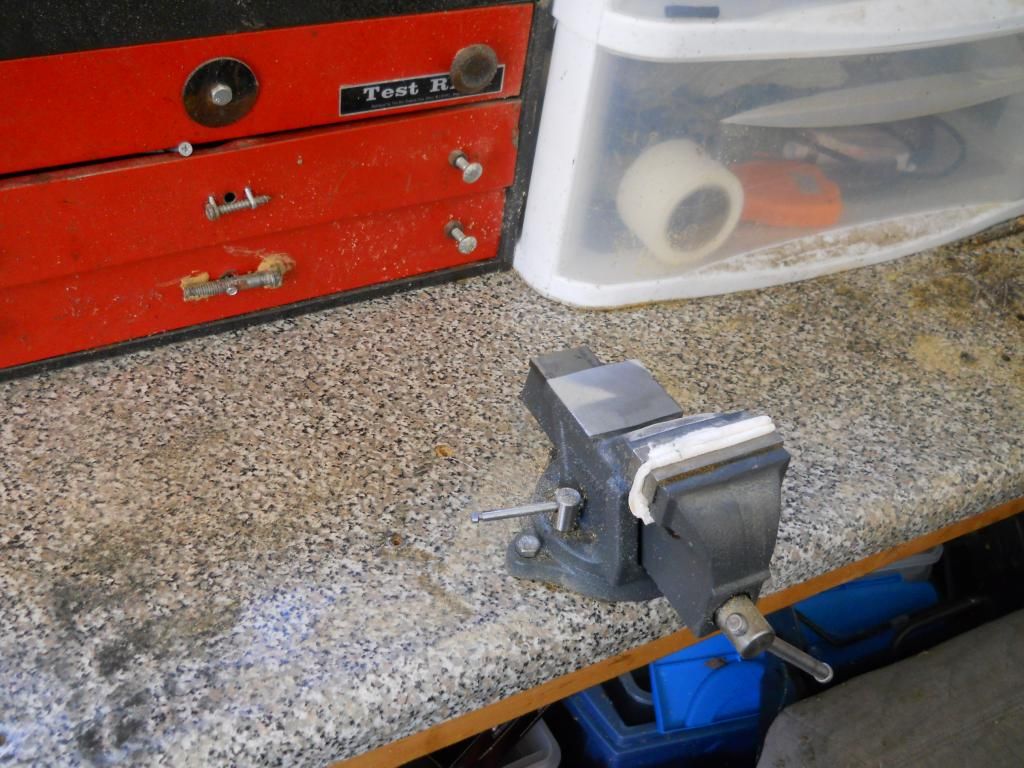 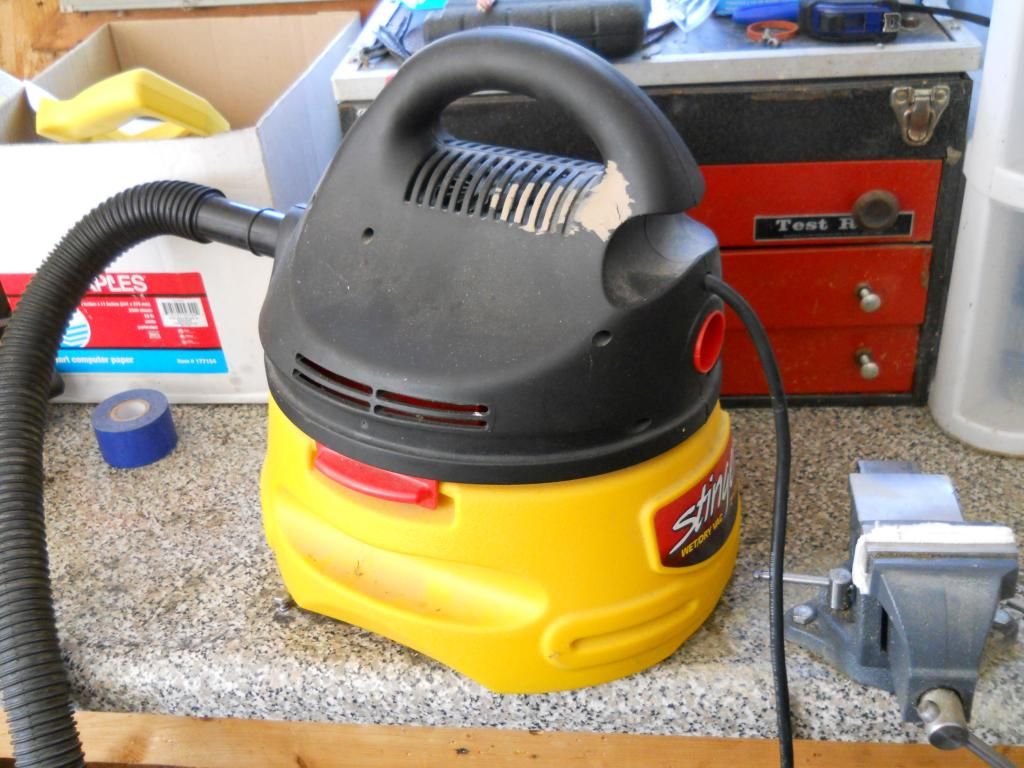 I used this sander to give the piece of wood a better, less splintery look: 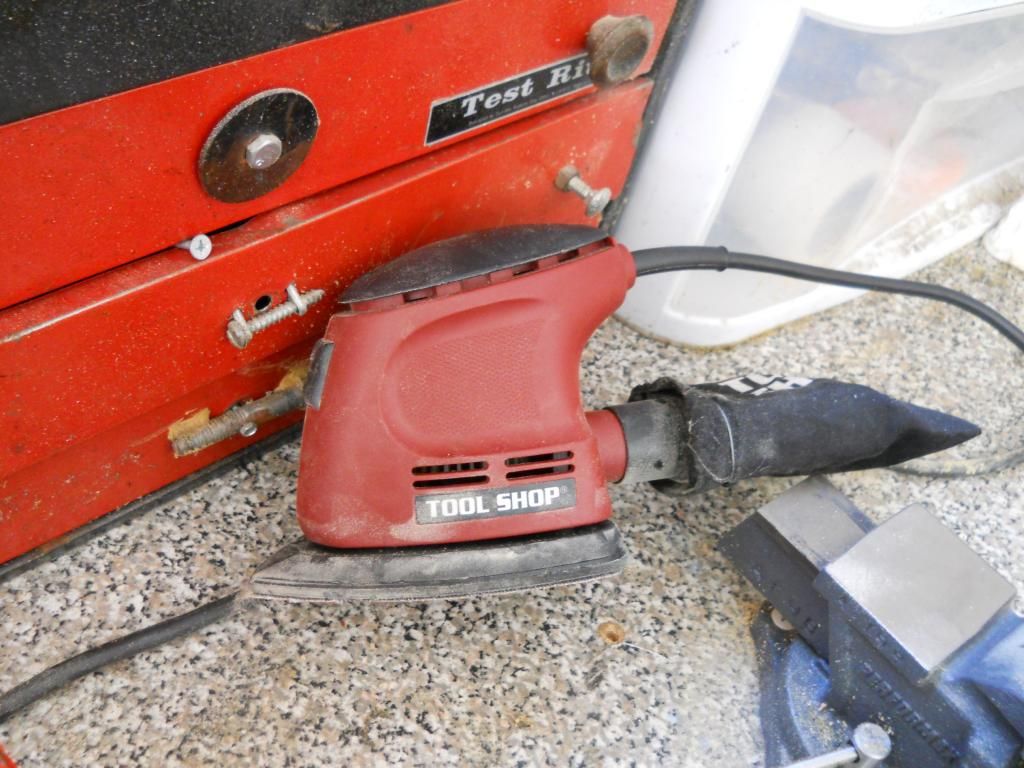 Note: do NOT try and sand an entire picnic table with one of those types of sanders, even the good brand-name ones; it will fail halfway through the job, leaving you to sand the rest manually. I still get sore thinking about that. Here is the underside of the seat with the wood and the metal support: 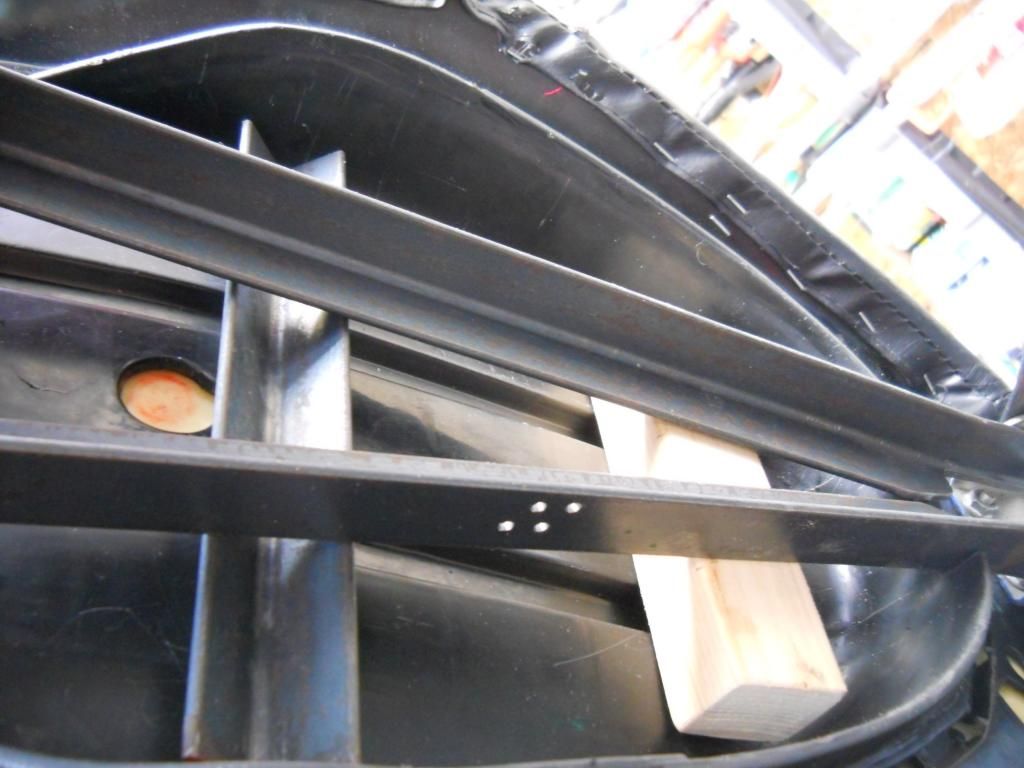 I did a test-sit and the seat is even more firm than it was with the bucket-bottom. Next I worked on the last remaining support brace: 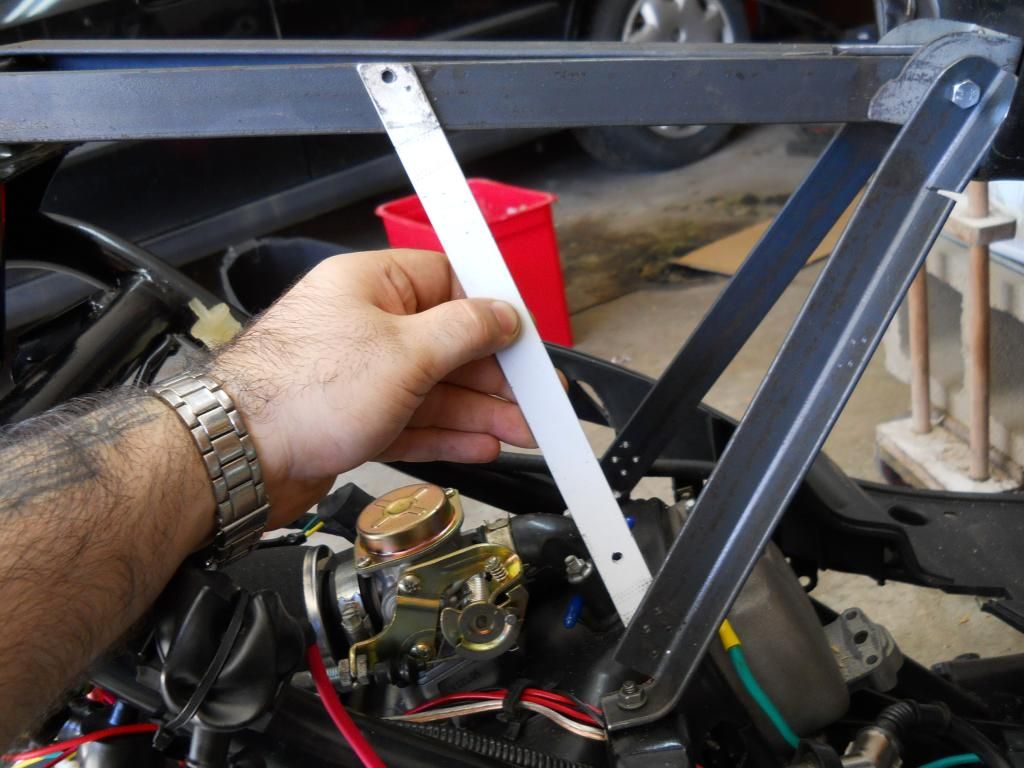 That brace and the one opposite it were real finicky to get just right; both had to have their ends bent ever-so-slightly, maybe 1 or 2 degrees, and the entire length had to be twisted a few degrees as well: 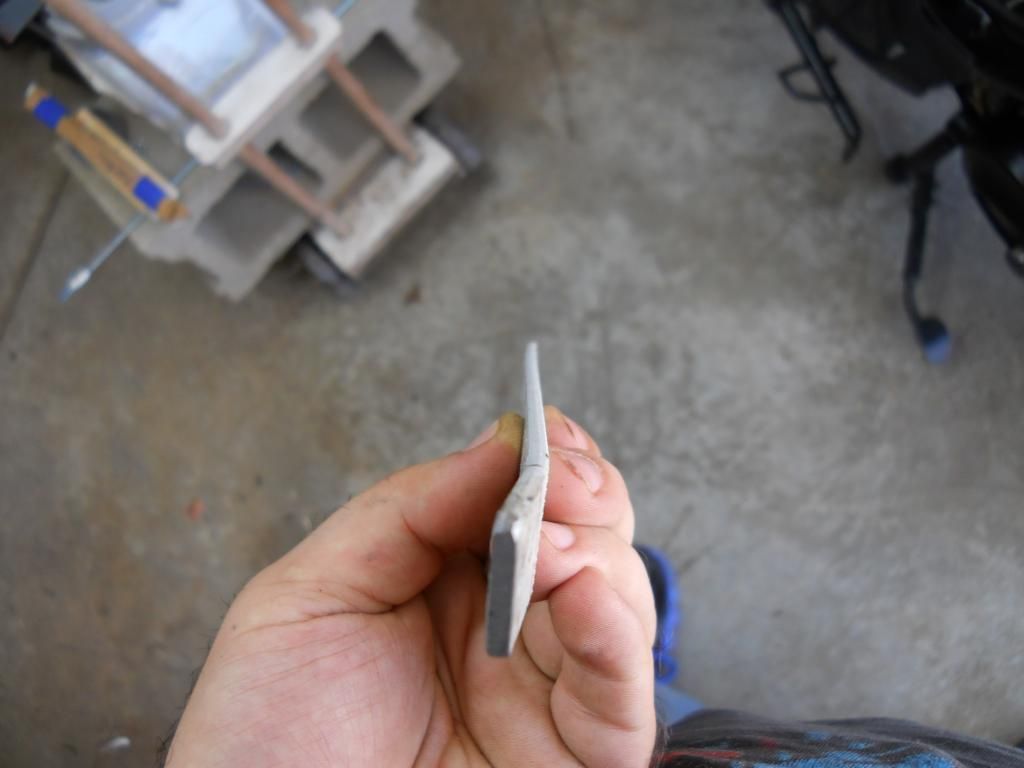 I drilled the holes for the rivets in the metal support brace, then super-glued the mounting tabs to it. I did it that way so I can get the holes lined up exactly right. Once I drill the holes in the mounting tabs and the top frame members, I can't think of anything else standing in the way of me getting all of the pieces down to bare metal and painting them. I'm sure having said that, something will turn up. I have yet to name my scooter; I'd like something cheese-related, but something more becoming than "cheesemobile", which is all my brain can come up with. Ideas, anyone? |
|
Doc's Anything Goes
Currently Offline
Posts: 1,226
Likes: 81
Joined: Apr 4, 2014 3:52:42 GMT -6
|
Post by richardv on Aug 17, 2014 20:33:32 GMT -6
Roquefort Rocket Now that's cheesie.  |
|
Doc's Anything Goes
Currently Offline
Posts: 371  Likes: 18
Joined: Jun 13, 2014 16:48:23 GMT -6
|
Post by glavey on Aug 18, 2014 12:34:08 GMT -6
I drilled all the holes that needed to be drilled except those ones needed for final assembly. I removed all of the rust inhibitor and paint from all of the metal pieces. I looked like a coal miner afterward. This is what I used to remove the inhibitor and paint: 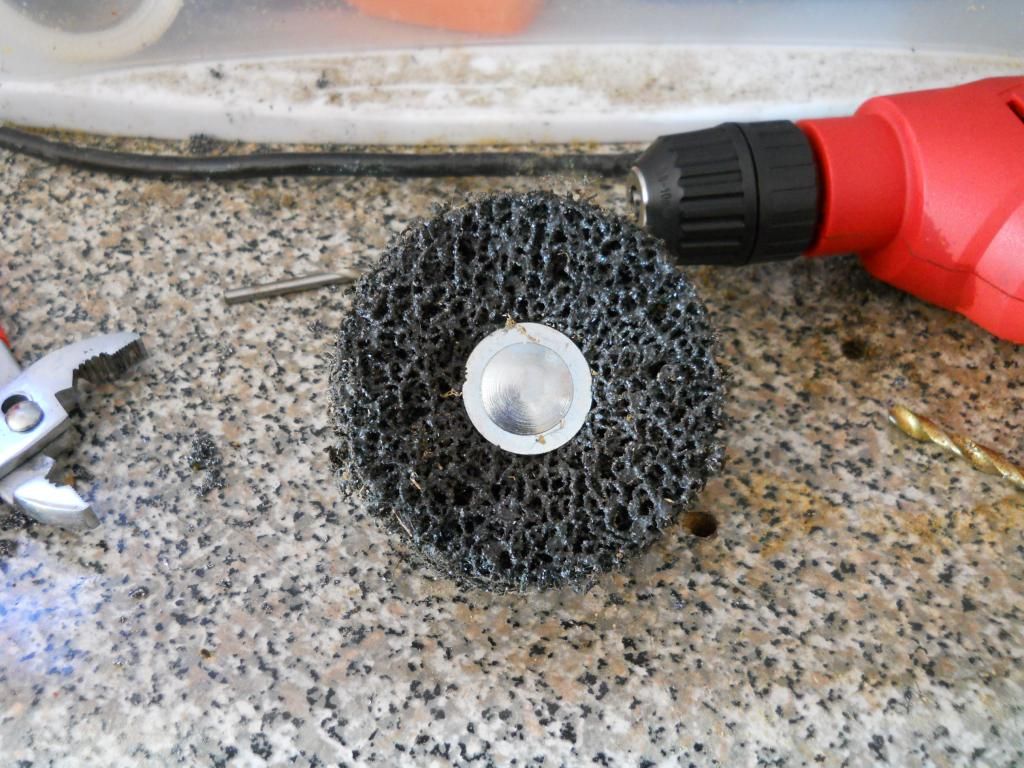 That thing works great for DIY automotive repainting. One word of advise if you are using one with a handheld drill; don't press the drill against the metal in just one direction for the entire time i.e. hold the drill with the handle down, up, and at both sides. I think I damaged a drill a few years ago when I did that, it would actually spin faster if you put pressure on one side of the drill. After that, I needed to eat something so I made a bacon, egg, and grilled cheese sandwich:  MMMmmm... Here's all the bare metal pieces: 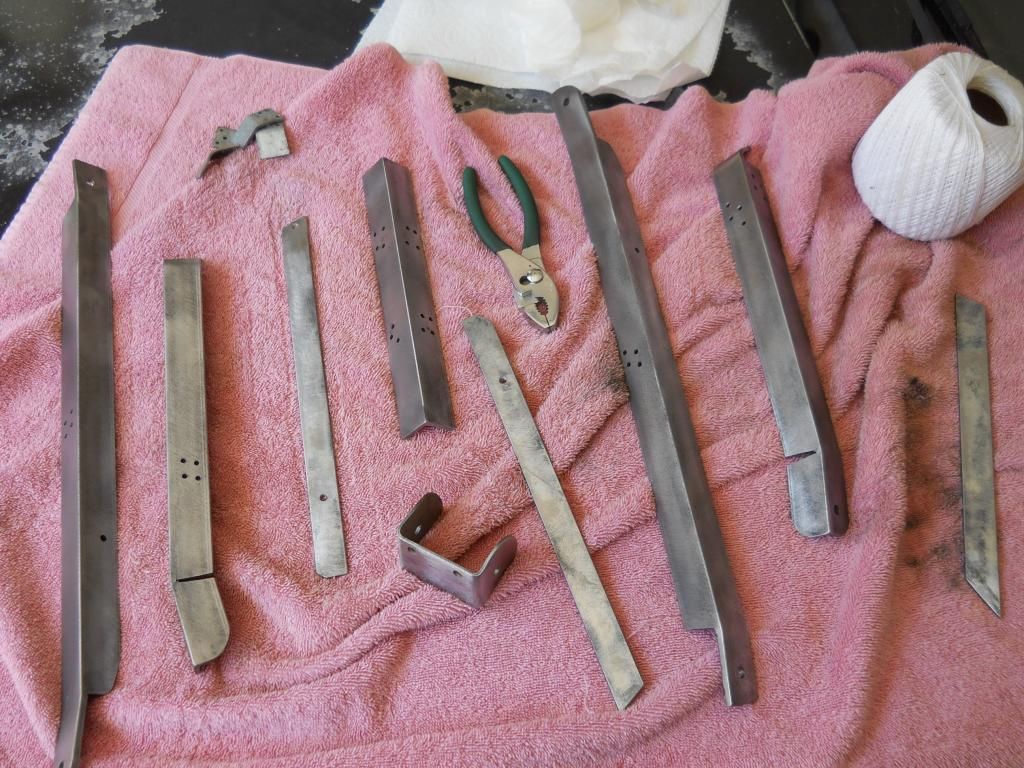 As I type this, the second coat of primer is drying and after I am done with this post I'm going to put on the third. I don't have a set number of coats in mind, just enough until all pieces look uniformly gray. |
|
Doc's Anything Goes
Currently Offline
Posts: 371  Likes: 18
Joined: Jun 13, 2014 16:48:23 GMT -6
|
Post by glavey on Aug 19, 2014 8:26:53 GMT -6
Well, it's supposed to rain for most of today, so probably no painting. Luckily I did get all the parts primed yesterday, so hopefully no rusting will ensue.
|
|

